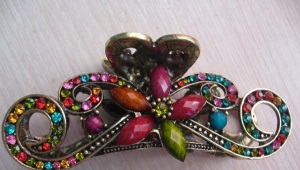
Hairpin Twister
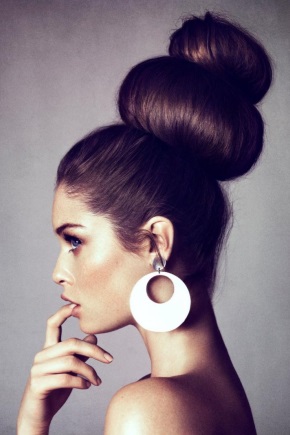
Girls from early childhood like beautiful hairstyles. First with a bunch of bows, multi-colored rubber bands and hairpins, and then with unsurpassed Hollywood curls and bouffants. You can make a beautiful styling with good styling products only in the salon, but if there is absolutely no time to visit it, you can use a handy tool - the Twister hairpin.
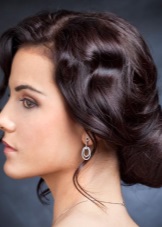


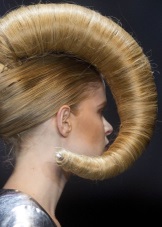
With the help of this functional accessory, you can not only style a protruding strand, but also make a hairstyle worthy of an evening out. Twister, in skillful hands, easily replaces Babette, a diadem, and indeed any solid hair ornament. She can stab her hair, using shells instead of the traditional hairpins. In other words, it is a universal accessory for all occasions.
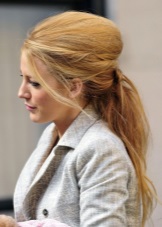

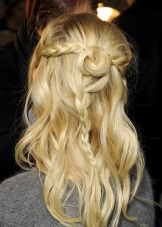
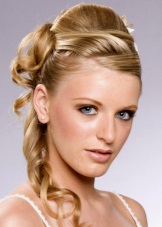
What it is
The Twister hairpin gained particular popularity in the 90s, just at the time when the fashion for non-standard and varied hairstyles appeared. The girls wanted to change without making any special efforts for this, and a hairpin with a wire that bends in any direction contributed to this perfectly.
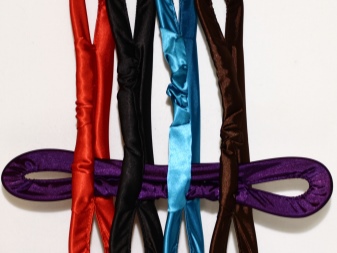
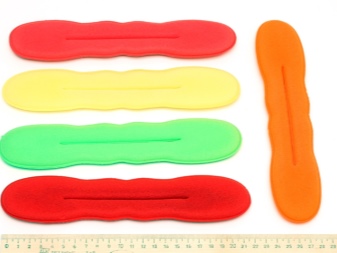
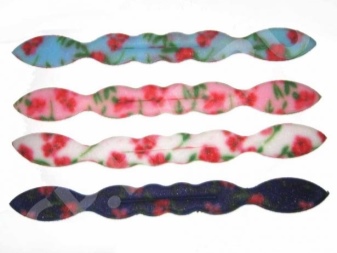
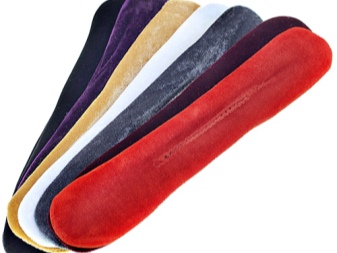
The advantage of this hairpin was that it perfectly fixed even the longest hair, and outwardly looked like a stylish decoration.It could be covered with velvet, silk, lace, decorated with beads and rhinestones, and supplemented with foam rubber for volume.
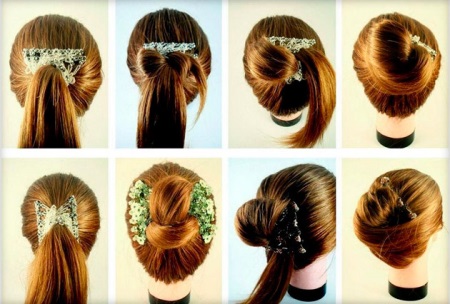
The hairpin has styling functions, because after many hours of wear, you can get twisted strands. With the help of Twister, the girls learned to do more than twenty hairstyles, radically changing their looks. Today, this stylish accessory has returned to the fashion arsenal again and every self-respecting girl should learn how to use it correctly.
How to use
To begin with, I would like to note that the Twister hairpin is designed exclusively for long hair, and if their length does not reach at least the shoulder blades, a normal hairstyle is unlikely to work. A presentable hairstyle can only be done if the hair is carefully combed along the entire length. If the previous condition is met, and the hair length is suitable, you can proceed to the most important thing - creating a hairstyle.

Do it better according to the instructions:
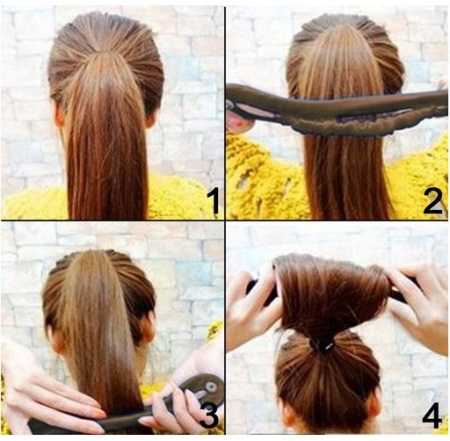
- We collect the hair at the back of the head as if we want to make a tail, but do not fix it with an elastic band. We make sure that the hair is well smoothed at the back of the head, otherwise the hairstyle will not look very neat.
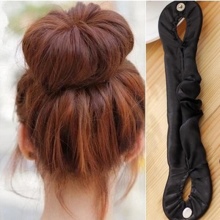
- We take a hairpin and stretch the hair through a special hole. We take into account that the hair should be neatly distributed around the entire perimeter of the hole - from edge to edge.
- If you have a “cascade” hairstyle and the hair in different areas differ in length, the hairpin will have to be brought to the place where the shortest strand ends, and then fixed.
- We begin to scroll the Twister, thus tightly fixing them in the hole. We draw the hairpin from the back of the head to the ends, gradually scrolling, and then we go back, twisting the hair itself under the bottom.
- When we finally brought the hairpin to the base of the tail, it remains to fix it beautifully and neatly in the hair. You can do this in the form of a bundle or a bagel - as you like.
This version of the hairstyle can be called the most simple and homely, because it is hardly suitable for an evening out.
hairstyles
With the help of a Twister hairpin, you can create two dozen hairstyles, but only a few of them are the most popular:
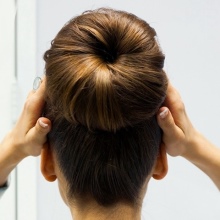
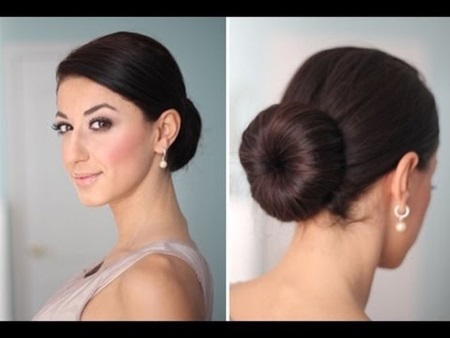
- Bundle. Carefully combed hair is collected in a ponytail at the level of the future bundle and threaded through the hairpin hole. We twist the hair, trying so that the strands do not fall out, and when we reach the edge, we bend the ends. You can twist them together under or over the bundle.
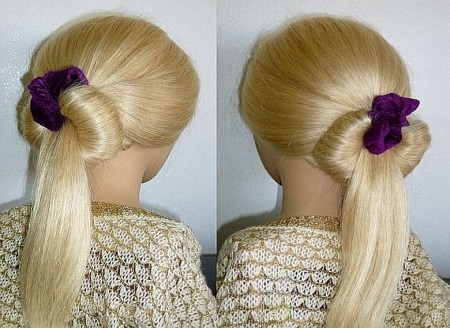
- Tail with harness. First, we make a horizontal parting, dividing the occipital and crown region in half. The tourniquet will consist of hair that was left on the back of the head. With a hairpin, we temporarily fix the hair at the crown, and meanwhile, twist part of the hair from the back of the head into a Twister. After that, remove the hairpin and thread the “upper” hair through the Twister ring.
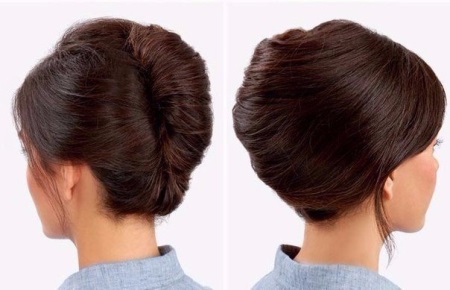
- Shell. We comb the hair and thread it through the hairpin, placing it vertically. From the same position, we begin to scroll the hair, and when the hairpin moves to the back of the head, we firmly fix the ends of the Twister.
- Malvina. We comb through all the strands and form a parting that visually divides the crown and occipital part of the head into two halves. We fix the lower part of the hair with a shell, and begin to wind the upper part on the Twister. When the hairpin is brought to the back of the head, its edges will need to be fixed. Hair from the bottom should be left loose.
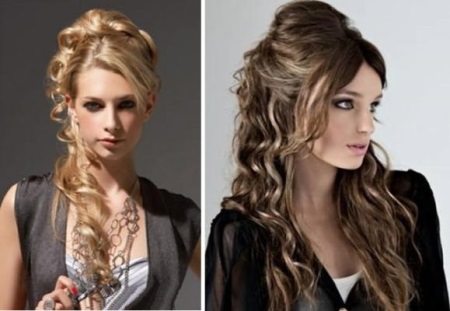
As you can see, the second and fourth hairstyles are created according to a similar principle, only you need to act in the exact opposite way.Evening images with Twister are created by the type of Malvina, but with some changes. So, you can simply wind the lower part of the hair, and twist the top into a tourniquet.
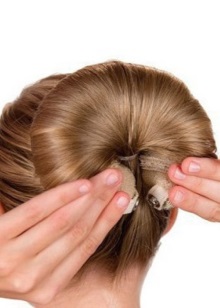
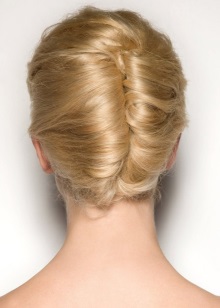
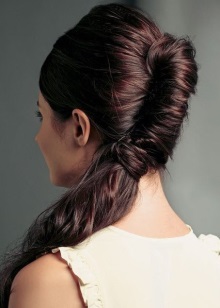
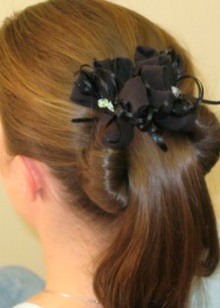
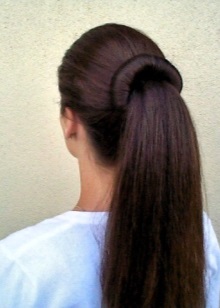
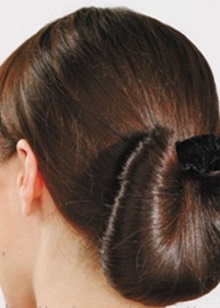
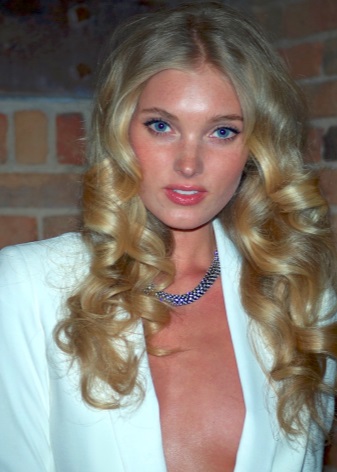
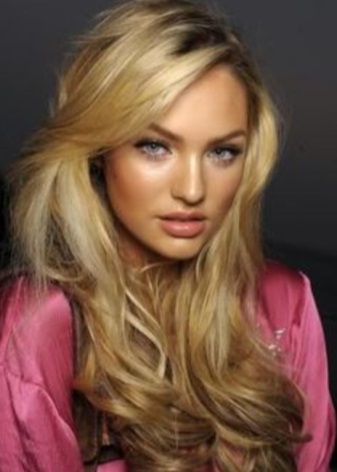
You can create with the help of Twister and Hollywood curls. To do this, just twist wet hair into a hairpin, and after drying, dissolve. It is worth considering that the result will completely depend on how the hair was twisted, so you won’t be able to get the perfect result the first time.

How to make your own hairpin
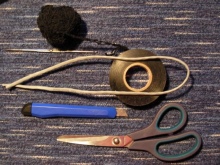
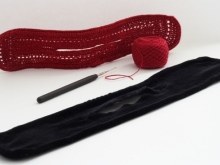
You can also make a Twister hairpin with your own hands. To do this, you just need to get copper wire, tape, wire cutters, and a piece of velvet fabric.
The creation process covers several stages:
- First, a ring is created from the wire, the diameter of which is selected based on the length and volume of the hair.
- The wire is tightly wrapped with adhesive tape to make a fairly reliable frame.
- The hairpin cover is sewn in advance according to a pattern that can be found on the Internet.
- The hole in the case is made based on the diameter of the frame and the volume of the hair itself.
In principle, the cost of the finished product is not so great as to bother creating your own hairpin, but if you want to get an exclusive, go for it.
Kinds
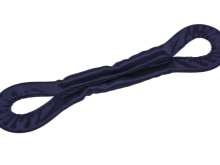
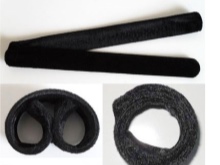
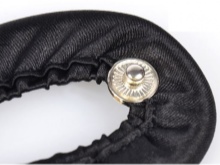
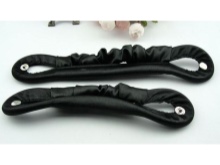
The Twister hairpin always has the same design - oblong in shape, thin, with a hole in the center. But some types of such hairpins differ from each other and this is due not only to external characteristics.
So, for longer hair, massive Twister types with a wide hole in the center are intended. For hair of shorter length, hair clips are smaller in diameter and with a miniature hole in the center. And one more and the same type of hairpin looks different in different hairstyles.
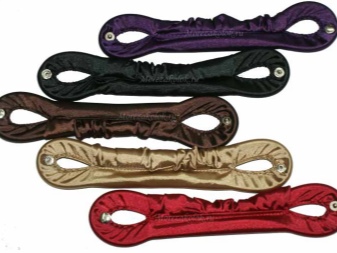
Sophist twist for evening hairstyle
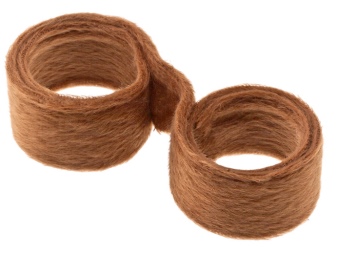
This is a wide and massive Twister with a copper wire at the base. Ideal for evening hairstyles, as well as if you need to hold heavy hair. This type of hairpin is often replenished with foam rubber, so it is better to choose it for the longest and most voluminous hair.
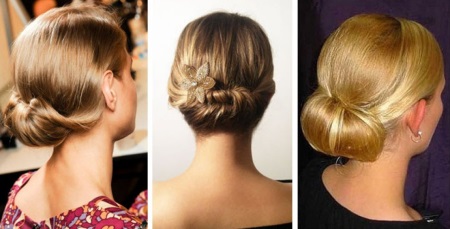
For beam
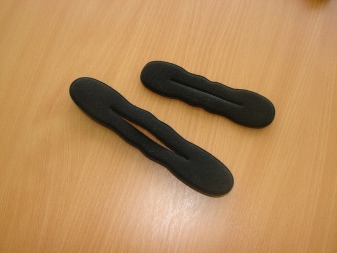
But for a small bundle, it is better to choose a smaller Twister, especially if the hair is not too long or thin. Sophists - Twists for buns are only suitable if the length of the hair reaches the waist or the hair itself is voluminous. Remember that Twisters for beams are also available in a plastic version, but they are definitely not suitable for evening looks.
