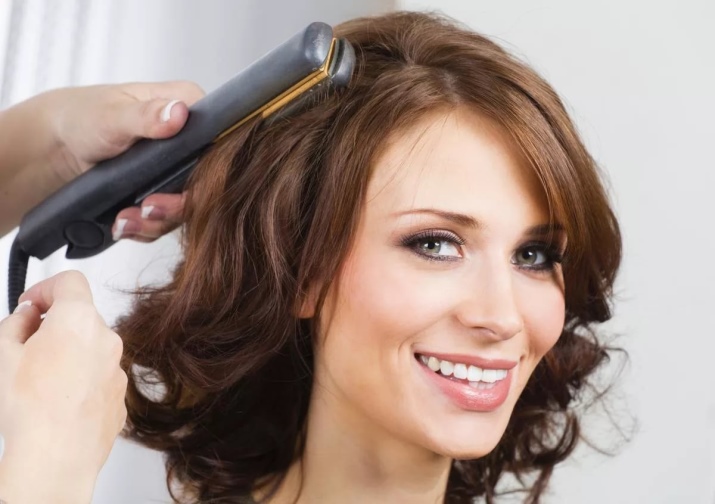
Curls with an iron for short hair
Creating curls for short hair is an easy and fun way to change up your everyday look. If you're tired of your daily styling, then using a flat iron opens up a huge range of new options.
Varieties of curls
There are over twenty waves and curls that can be created with the straightener, ranging from fine spiral curls to a luxurious Hollywood wave. Let's dwell on the most relevant types in more detail.
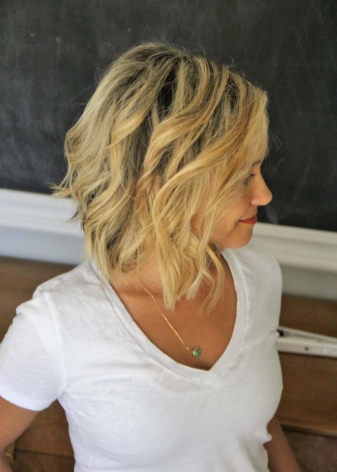
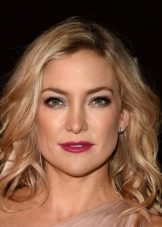
Careless curls
Light careless curls remain in trend for more than a season. A lot of celebrities prefer just such a styling both for going out and as an option for every day. Among the ardent fans of this hairstyle can be noted Cameron Diaz, Rosie Huntington-Whiteley, Lily Collins.
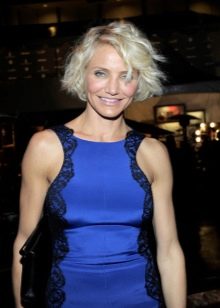
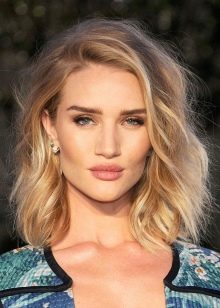
The secret to styling success is that creating an image does not take much time, and the result is almost always great.
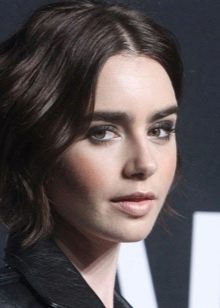
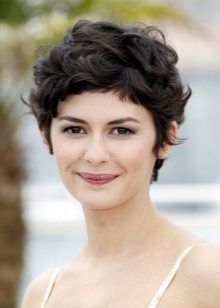
from the roots
Creating curls from the roots requires a little more skill and special training.This hairstyle is suitable for owners of "boyish" haircuts, as it will emphasize the femininity of the face against the background of mischievous naughty curls.
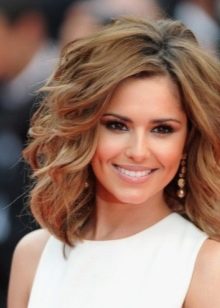
When choosing this styling, we advise you to rely on the images created by Audrey Tautou. She adapted this intricate perm for a casual look, while Audrey's hairstyle looks appropriate on the red carpet. To create a more evening version, take a look at the images Cheryl Cole and Elena Podkaminskaya.
Volumetric curls look festive and solemn, but in general, the general atmosphere of lightness and playfulness is preserved.
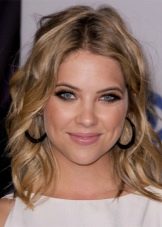
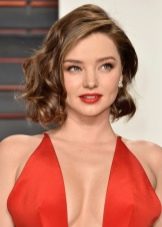
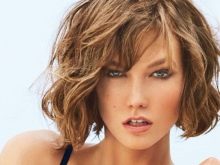
beach waves
Beach waves, like careless curls, serve as an excellent styling option for every day. The secret of success in this case lies in the texture of the hair. They should look very healthy and well-groomed, as if negative external influences, such as wind, sun, humidity, do not affect the condition of your hair.
Beach waves are the most relevant styling at the moment. Celebrities such as Ashley Benson, Selena Gomez, Polina Gagarina, Miranda Kerr and many others.


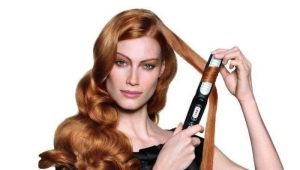
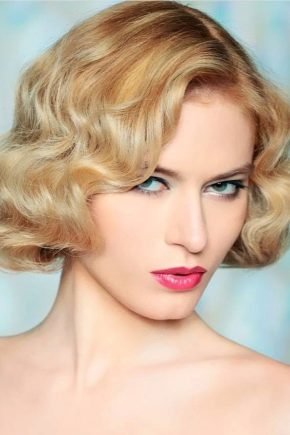
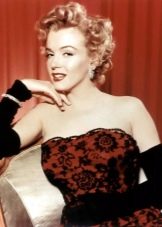
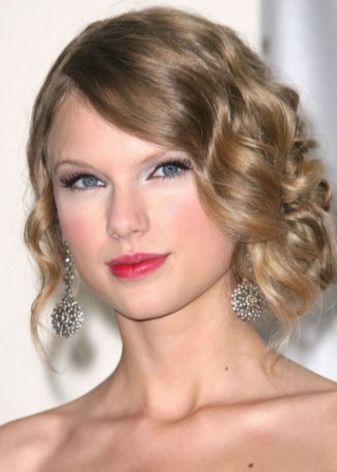
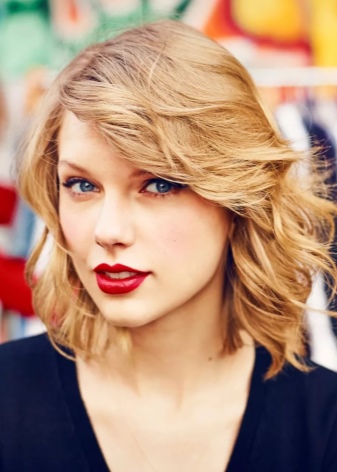
Hollywood waves (retro wave)
Since the time of the magnificent Marilyn Monroe, the “Hollywood wave” has not lost its position and remains one of the most popular styling for publication. The combination of elegance, rigor, grace, femininity, sexuality - it seems that a sophisticated modern look is impossible without this hairstyle.
Stars of all sizes sooner or later tried on the role of a Hollywood diva. The most elegant, in our opinion, were the images of Charlize Theron, Reese Witherspoon and January Jones.
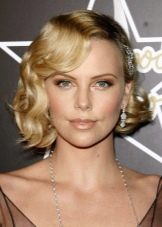
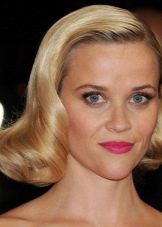

An important feature in creating the "Hollywood wave" can be called the absence of bangs.If there is a bang, it is usually laid so that it seems to be the same length as the total mass of hair.
A good illustration is Retro Wave Taylor Swift. She not only replayed the classic styling in a modern manner, but also skillfully “hid” the presence of a bang.
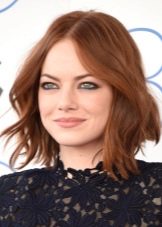
Large
The main difference between large (Hollywood) curls and sloppy ones is that they fit on both sides of the face in the same direction, while sloppy curls are wound randomly. Large curls look more neat, while the hairstyle does not lose its lightness. Many consider such large curls the epitome of sexuality.
No wonder that this is how Victoria's Secret models style their hair for shows and photo shoots. Also successful examples of Hollywood perm can be seen at Emma Stone, Miley Cyrus, Kate Hudson, Lucy Hale and many others.


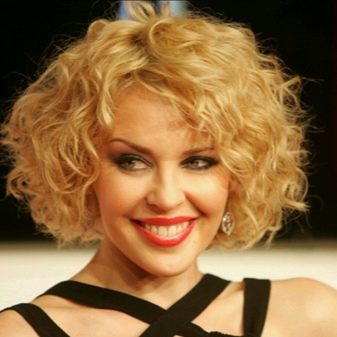
small waves
This styling method is not suitable for all girls. This is primarily due to the fact that many small curls create additional volume in the face and it seems fuller than it actually is. In some cases, this creates certain inconveniences.
However, if you have been thinking about a perm for a long time and want to see the result now, this styling is ideal. It takes a certain amount of time, but the result will last a whole day, and with proper luck, even a couple.
Few celebrities dared to appear on the red carpet with small curls, however Kylie Minogue I took a risk and didn't fail. Thanks to this styling, she added the missing volume to her face, making it more attractive.
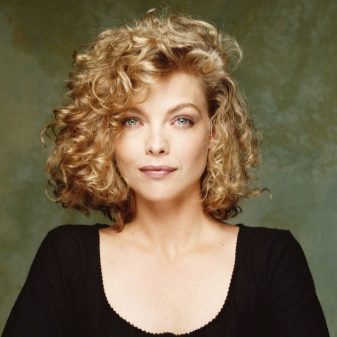
Michelle Pfeiffer also opted for small curls, visually giving a more rounded shape to her square face.
broken curls
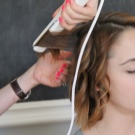
As in the case of small waves, this styling is not suitable for everyone due to the creation of additional volume. Also, the creation of broken curls is the most traumatic. To curl such curls, you need to use foil, with which the strand is fixed in a certain way.
Broken curls are much more common when styling long hair, as few people risk using this type of curl on short hair.
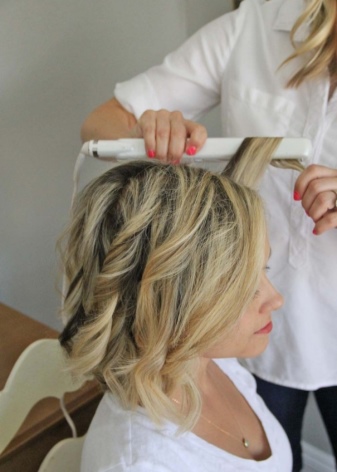
Curling step by step guide
Creating sloppy curls
In order to recreate such curls, you need to follow the steps below:
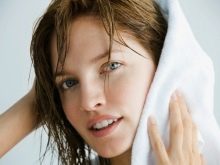
- Wash your head dry with a towel, head down for volume. Apply heat protectant or hair oil and styling mousse.
- Dry your head with a diffuser nozzle until completely dry. Next, for convenience, divide the hair into zones. Many girls prefer division into the occipital, parietal, temporal zones, while others divide their hair into horizontal “layers”: the lower layer is located from the base of the neck to the middle of the ears, it fits first; the second layer - from the middle of the ears to the top of the head; lastly, the parietal zone and the bangs zone are laid.
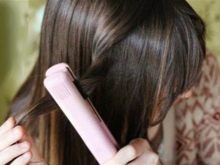
- With ironing wind your hair in any direction. To create a curl, pinch your hair just below where you want the curl to begin. It is not necessary to grab the hair right at the root, especially if you want the curl to look natural. Please note that you should not wind too large or too small a strand. If you grab too much hair, you risk getting a curl only at the ends, and if you grab too little, you risk getting a curl instead of a curl.Next, turn the iron 360 degrees so that the strand is wrapped around the iron, and the free tip is lying in the same direction as before wrapping, that is, looking down. Now slowly move the iron down, continuing to gradually twist the strand with the iron in the direction of wrapping. For a more natural effect, we advise you not to twist the strand to the end and leave the tip straight. After some time, he will “turn up” by himself and the hairstyle will look more natural.
- Tilt your head back and spray the finished curls with varnish along the entire length, without combing your hair. In a pinch, you can comb them with your fingers. We strongly do not recommend using a comb, as this will nullify all your efforts. Shake your head slightly to make the hair fall into place. Hairstyle is ready!


Creating curls from the roots
Be patient and start styling:
- Wash your head dry with a towel, head down for volume. Apply a thickening emulsion or strong hold mousse to your hair.
- Dry your hair lowering your head down to create a basal volume. You can also use a diffuser attachment. Divide your hair into zones.
- Curl your hair grabbing the strand right at the root. Take your time, this styling requires a certain scrupulousness in execution. Curls should look neat. It is better to start curling from the back of the head, since it usually takes the most time. Strands should be curled in an arbitrary direction.
- Lower your head down and spray the finished hairstyle with varnish. In front of the mirror, carefully straighten the curls with your hands for the most neat look. Don't use a comb.
To get curls from the roots without volume, repeat all the same steps, but without lowering your head down. So you get rid of unnecessary splendor.
Watch the master class on creating such a hairstyle in the next video.
Creating Beach Waves
Beach waves are more relevant than ever. To make them yourself, run the following actions:
- Wash your head dry with a towel. Apply heat protectant and salt spray to damp hair and blow dry until almost dry (hair should remain about 5% damp).
- Divide your hair into strands and twist into tight bundles. The width of the strands depends on the size of the desired waves. Now, with a well-heated iron, begin to clamp the tourniquet along the entire length, as if “sealing” it, and not drawing it down in one motion. Repeat until the flagellum is completely dry.
- Finished thermal styling separate the bundles with your fingers and “mix” the strands. Additional fixing is not required. Even if the hair loses its shape a little, it will only benefit the hairstyle.
Making Hollywood Waves
The retro wave is a timeless chic hairstyle. It will not take much time and will delight you with an excellent result:
- Wash your head dry with a towel. Apply a heat protectant and hair shine product. Dry your hair with a hairdryer in the usual way.
- Divide your hair into zones. Please note that the Hollywood wave is usually complemented by a side parting. The universal position of such a parting can be considered the position directly above the corner of the eyebrow. Thus, additionally divide the parietal zone into two parts, depending on the position of the parting.
- straighten your hair in the usual way, except for that part of the hair on the parietal region, which turned out to be wider.Please note that on short hair, the Hollywood wave looks good both against the background of straight and twisted strands.
- The whole gloss of this hairstyle lies in the styling of the wave near the face. The winding technology for the Hollywood wave is slightly different. Separate a small strand, comb it and grab it with your fingers at the tip. Grab the strand at the base with an iron, turn the device 360 degrees, simultaneously twisting the strand in the same direction with your hand, forming a slightly twisted flagellum. Run the iron to the end of the strand. The result should be a semblance of a twisted "lace" that does not crumble. Next, collect the curl along the bends and secure the “ring” with the help of an invisibility at the root. Repeat with the remaining strands. Please note that the hair must be twisted strictly in one direction and from the same level!
- After winding the whole mass of hair in this way, wait for the strands to cool completely and sprinkle them with varnish. Remove invisibles. Now, using a comb with rare teeth, carefully comb the wave. Hairstyle is ready!
The process of creating Hollywood waves, see the following video.
Making Hollywood curls
Hollywood curls are created in the same way as sloppy curls, with the exception of two points. Firstly, all strands are wound in one direction: either towards the face or away from the face. Secondly, the curl should begin at the level of the zygomatic bone. The strands are also taken in medium size. How to wind your hair with an iron for chic Hollywood curls, see below.
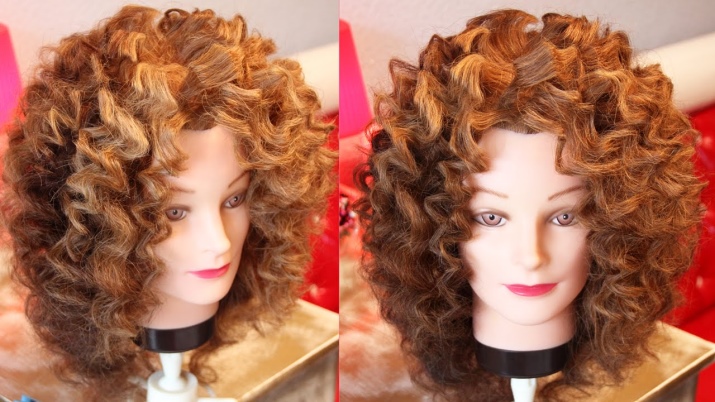
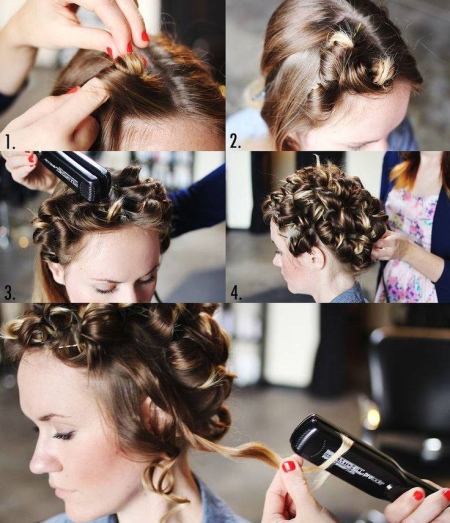
Creation of small waves
Small waves require a lot of time and patience, but as a result you will get the image of a mischievous carefree girl:
- Wash your hair dry with a towel. Apply heat protectant and mousse for a strong hold.Dry your hair completely with a hairdryer.
- Divide your hair into vertical and horizontal parallel partings, the width between them is 2-3 centimeters. Each of the resulting squares is a strand that needs to be rolled into a ring corresponding to the size of the future curl. Secure the ring with an invisibility at the root. Make sure that the ring strands are the same.
- Press each of the rings with an iron. Make sure that the ring sandwiched between the plates does not lose its round shape.
- Wait for the hair to cool completely and sprinkle it with varnish. Carefully remove the invisibility. Straighten the curls with your fingers. Combing your hair is not recommended.
Useful tips from professionals
In this article, we have collected the main secrets that will be useful when creating any styling with an iron:
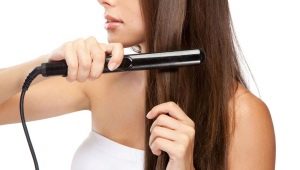
- Do not use the straightener every day, since styling with an iron is always stressful for the hair. Be sure to apply heat protectant to your hair before using the appliance.
- Adjust the ironing temperature according to the structure and condition of your hair.. Coarse hair requires a higher temperature, and damaged or soft hair should not be subjected to extreme heat.
- If you want to create classic waves, hold the flat iron in a horizontal position.. When creating spiral waves, position the straightener vertically.
- If your flat iron has metal plates, never use it on wet strands.. The ceramic coated iron is recommended for use on slightly damp hair.