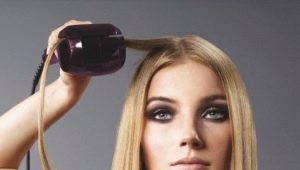
How to make curls with an iron on medium length hair?
Curling irons and curlers are not the only helpers in creating charming curls. In this case, an iron is considered a more advantageous option: it produces a natural effect of naturally shiny and curled hair. How to make curls with an iron on medium length hair at home - there is an answer to this question!
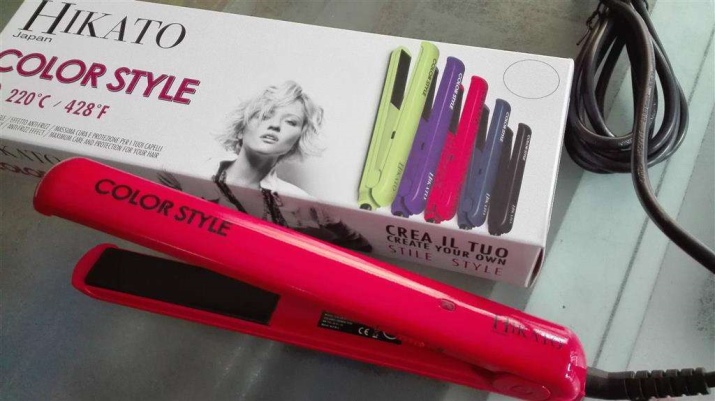
Which to choose?
When choosing an iron to create curls, pay attention to the following:
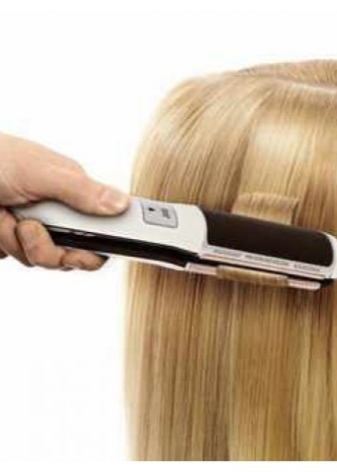
- Material. An iron with metal plates is not suitable - it is high time to get rid of it and get a modern analogue with a tourmaline or ceramic coating. The latter affect the curls more sparingly and do not leave ugly creases;
- edge of the plates. Choose models with rounded edges if you plan to make curls with smooth transitions;
- Temperature regime. Choose an iron with the ability to adjust the heating temperature of the plates - this will allow you to choose the optimal degree for working with hair. Experts recommend heating the device to 160-180 degrees for thin, damaged and bleached hair, 200 for normal and 220 for thick and heavy hair;
- Width. The choice is based on the density and length of your own hair: if they are of medium length or not too thick, choose a model with an average plate width, if they are quite dense and voluminous, then choose a device with a larger area of heating elements in order to be able to warm up each strand or reduce the time to create light curls;
- Additional functions. An iron may have nozzles included, for example, a corrugation - it is useful for creating volume at the roots. Modern models can remove static electricity from the hair (ionization method) or additionally moisten the strands with steam.
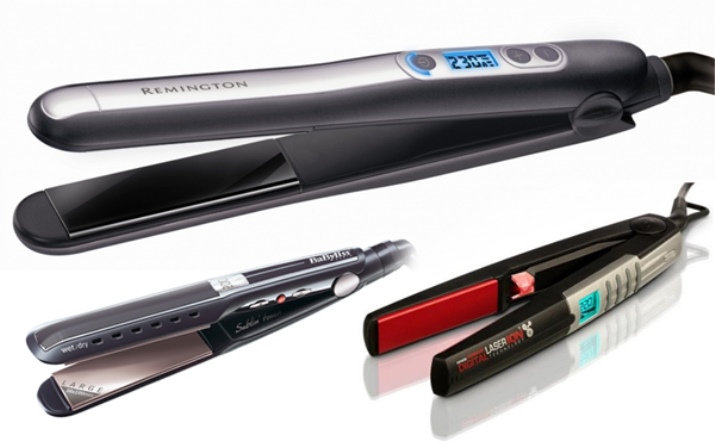
So, the ideal contender is an iron with ceramic or tourmaline coated plates and a temperature control function. Additional features often overestimate the cost of the gadget, but in fact are not useful.
What will be needed?
To create beautiful curls you will need:
- Iron;
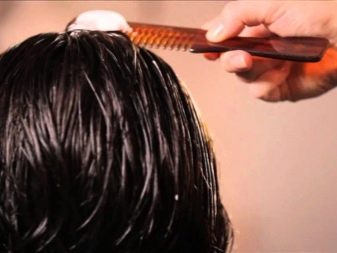
- Habitual comb (with rare teeth) for combing strands;
- Comb with frequent teeth for parting;
- Thermal protective agent;
- Styling agent (mousse, varnish);
- Clamps or crabs.
Basic Rules
Any styling begins with the preparation of hair: washing, moisturizing (or nourishing) and drying. When working with a hot iron, make sure that the hair is 100% dry. Do not lay wet strands, as they can be severely damaged or burned.
Tips for creating the perfect hairstyle:
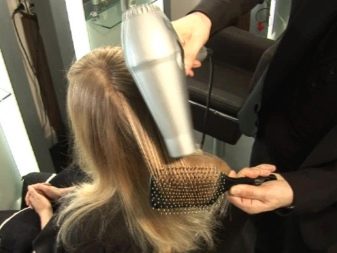
- After washing your hair, apply a heat protectant if using a blow dryer. If you prefer natural drying of your hair, apply a little protective agent 10-15 minutes before the start of the curl so that the product has time to be thoroughly absorbed;
- Divide the curls into several sections - 4-6, depending on the thickness of the hair, each sector for another 2-3 parts - lower and upper;
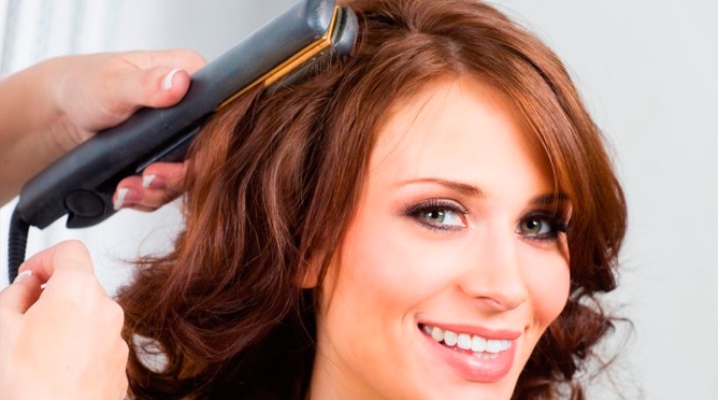
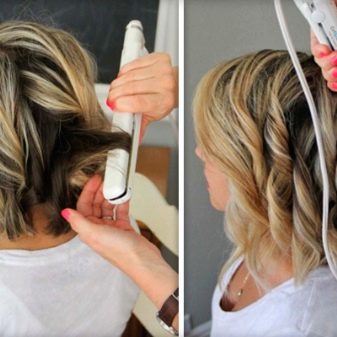
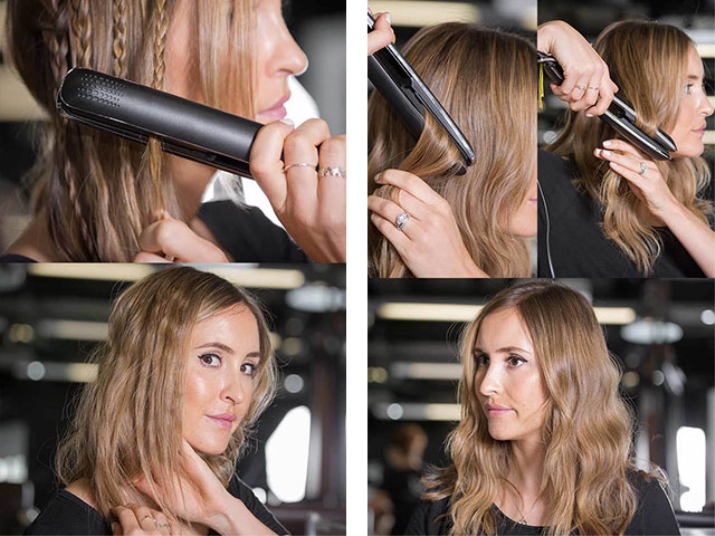
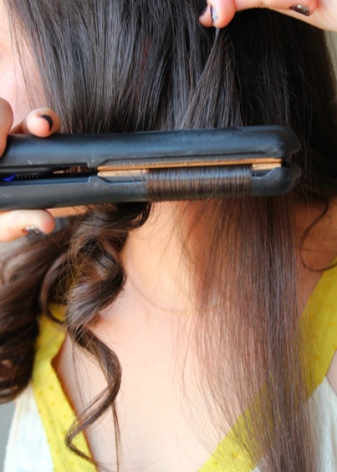
- Grab one strand comb it with a comb and grab it with iron plates;
- Flip it 180 degrees away from your face, grab the tip of the hair and pull it. Gently guide the device down the strand;
- Wrap the tip of the hair with plates, twist.
Curling your hair with a flat iron is easier than you think - the skills for stunning waves or charming curls come with time and experience. Stylists recommend practicing on the front strands and learning how to work and how to grab the strands, where to turn the device and how fast to bring it down.
A few more tips
So, when the principle of working with an iron is clear, There are a few more rules to remember:
- Curl only dry strands: wet hair is easy to damage and very difficult to restore;
- Be sure to use the with thermal protection: it can be a spray, gel or cream;
- For long lasting styling use special products - mousse or hairspray of medium or strong hold. It is recommended to apply mousse before working with an iron (for 10-15 minutes, so that the strands have time to absorb the product), hairspray - after;
- Keep it steady smooth movement with the same speed and pressure;
- Be sure to twist the tip do not break or open the iron at the end, so as not to create the effect of careless curls (in the worst sense of the word);
- Twisting curls from the face, you create a natural wave on your hair, alternating strands (sometimes from the face, then to the face), you create additional volume for medium-length hair;
- Hold the strand in your hand until until it cools down - do not throw it immediately as soon as it has slipped off the ironing plates. A hot curl will quickly straighten out under its own weight, and in order to prevent this, experts advise holding it and letting it cool for 2-3 seconds;
- Don't comb your hair after creating curls - just beat them at the roots with your fingers and fix with varnish. Hold the spray bottle at a distance of 40-50 cm from the hair and do not touch the roots, spray the “fixative” only along the length of the hair;
- You can work out one strand only once. Otherwise, return to it at the end of the laying or when it has already cooled down from the previous capture.
Types and forms of hairstyles
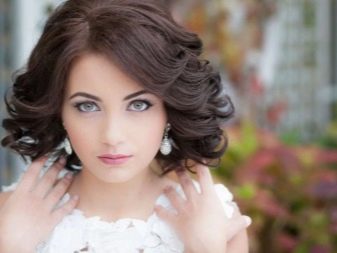
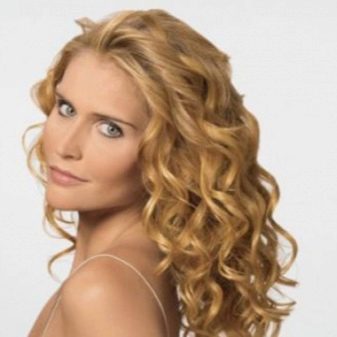
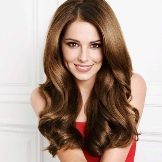
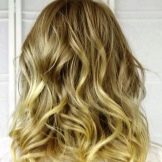
Classic voluminous
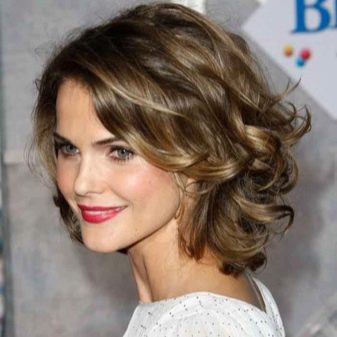
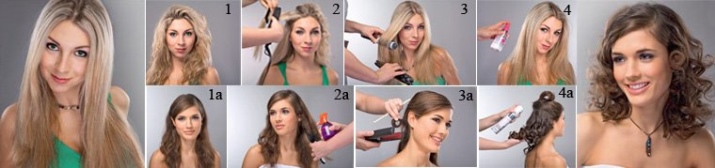
The form of this styling is familiar to each of us - natural, natural curls that fall to the shoulders and look stunning and sophisticated. How to do:
- Divide your hair into sections and each of them into several more parts;
- Start curling from the bottom of your hair moving from the back of the head to the temporal, from the bottom to the top. Strands near the face are curled last;
- retreating 2-3 from the roots, turn it over and lead it from the face;
- Take a strand 3-5 cm wide and grab it with iron plates,Take the next strand in the same way and move it towards the face;
- Alternate gripping and maintaining strands from the face, then to the face to create a voluminous and slightly careless effect;
- Facial hair is curled using the same technology - alternate the direction of the curl;
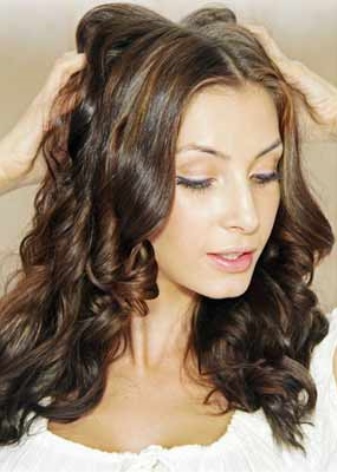
- At the end, fluff the curls at the roots and fix the hairstyle with hairspray;
- Don't brush your hair to maintain the elasticity of curls.
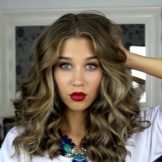
Experiment with the width of the strands and future curls - the wider it is, the more natural the effect is.
Hollywood
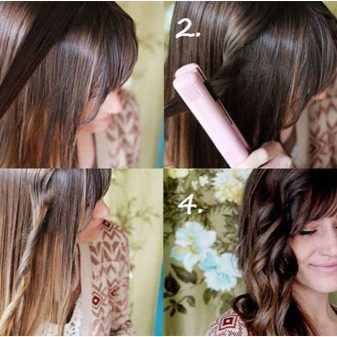
Their creation is reminiscent of working with a curling iron - each strand must be wound onto an iron (therefore, it must have rounded ends of the plate). How to do:
- Divide your hair into several sectors;
- Take a thick strand, clamp it with the plates of the iron and wind it up to the roots (like a curling iron);
- Hold the iron for 7-10 seconds or more depending on the width of the strand and the condition of the hair;
- Let go of the strand.
Do not forget about the tip: you need to twist it as much as possible and do it at the very beginning.
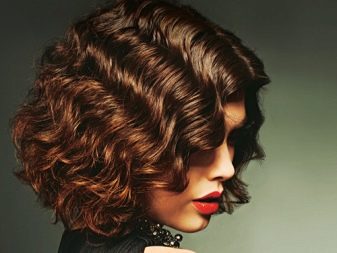
Harnesses
Curls-plaits by the method of creation resemble the previous technique, however, they have a number of differences:
- To create bundles, grab a wide strand and step back from the hair roots by 10-15 cm;
- Create similar curls: use the same technique and curling direction - turn and twist the curls away from the face.
Curls-plaits look especially good on hair of the same length. They are large in size and very light "style".
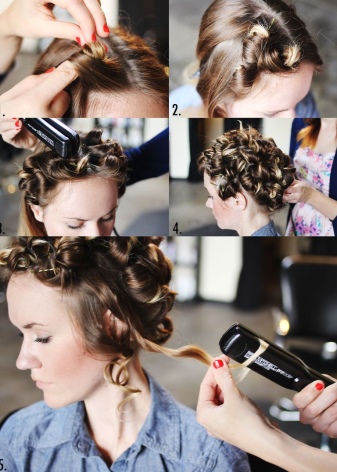
curls
They differ from curls in elasticity and will require a little effort, plus a set of invisibility – for fixation. Installation order:
- Part your hair into parts and them into a couple more sectors;
- Take narrow thin strand (about 3 cm) and grab it with plates, turn them over and lead in a direction perpendicular to the head;
- Do not rush to "throw" the strand at the end - take it with your fingers and wrap it in a ring, fix it on your head with the help of invisibility;
- Do the same with each strand at the same time, set the same direction for each of them from the face;
- After they all turn into invisible rings fixed by invisibility, unravel them and fluff them up with your hands. Curls are ready!
You can also play with the width of the strands, making them smaller or larger.Invisible-clamps allow you to make the bend of the curls tight and long-term.
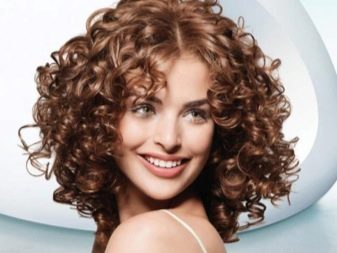
Spirals
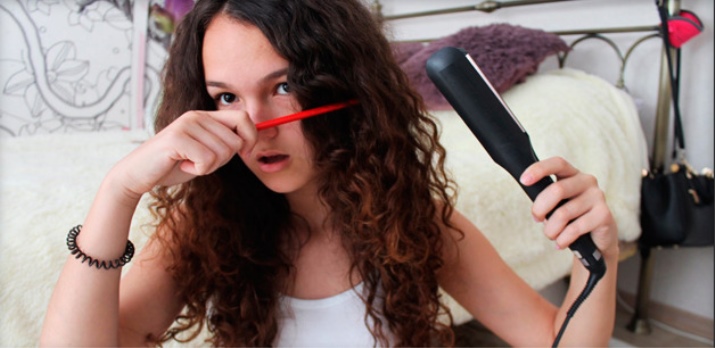
In another way, African curls look great on both medium-length and long hair. To create them, you will need wooden skewers (ordinary pencils will do):
- Separate a thin strand 1-2 cm wide and wind it on a skewer from top to bottom or from root to tip;
- Hold it down a wound strand with an iron for 3-6 seconds (depending on the density, structure and health of the hair);
- let go strand after it has cooled, otherwise the “spiral” will quickly straighten out under its own weight.
Hollywood Wave
- flip your hair to one side focus on the side parting;
- Fix them with hairspray and leave for 3-5 minutes;
- Comb hair with a comb with rare teeth, starting from the tips and moving to the roots;
- Hold your hand all hair when you comb it, giving it an upward direction;
- Now with the palm of your hand comb at the roots and lift the strand, fix it with a flat clip;
- Comb its bottom and lift it slightly up with your hand and fix it with a clip again;
- Do it until 3-5 bends are formed (depending on the length of the hair and the desired effect).
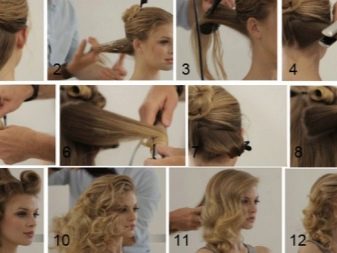
Each bend should be smooth and the same width, so distribute the clips evenly.
Winding curls with an iron on medium-length hair turns out to be easy even on your own. There is another little secret for creating basal volume: grab the strand with forceps right at its base and pull it up 4-5 cm, then turn the iron 180 degrees and make the usual curl.This technique allows you to smooth out the "roosters" and give a little volume to hair devoid of it.

For information on how to properly style your hair with an iron, see the following video.