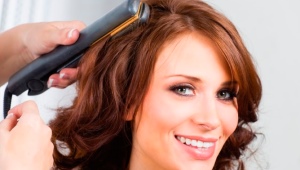
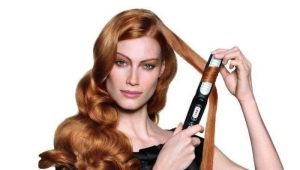
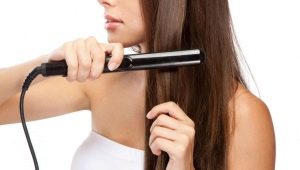
How to make curls with an iron?
A straightener will help smooth and straighten unruly wavy hair, but not everyone knows that with this simple device you can get not only perfectly straight strands, but also soft natural curls.
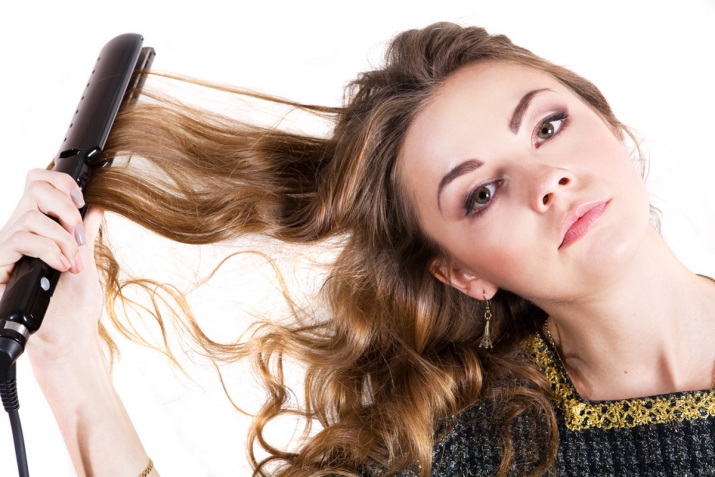
How to curl your hair with a straightener?
Making curls with an iron is very simple, the main thing is to know the technology and choose the right styler. So, the shorter the hair, the smaller the diameter of the plates must be chosen, the width of the working surface is considered ideal from 2 to 5 centimeters. This width is suitable for almost any length and density of curls. Depending on the structural features of the hair, it is worth paying attention to the material that the straightener plates are covered with. So, it is worth refusing to use irons with a metal coating, as it adversely affects the health of the hairline.
It is worth stopping the choice on the popular ceramic or Teflon coating - these materials reduce the electrification of the strands, allow them to slide better between the plates, which makes curling easier, and also have less detrimental effect on the quality of the hair.You can also choose a styler with additional nozzles, such as, for example, corrugation - it will help you create small waves without much effort.
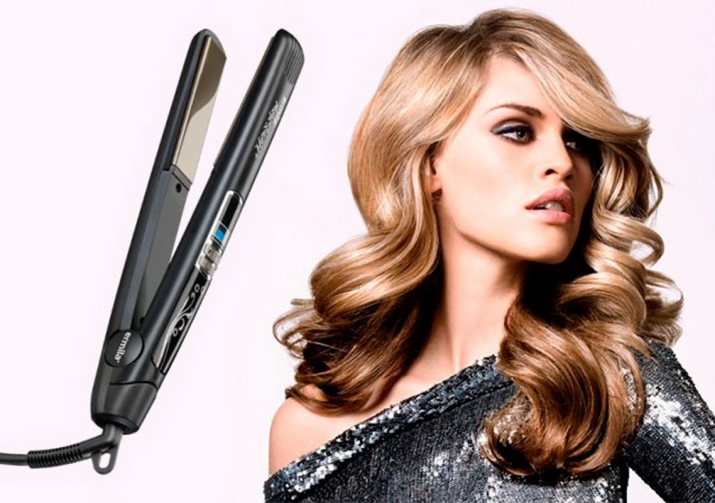
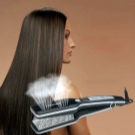
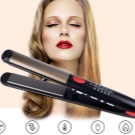
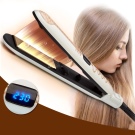
Also, when choosing, you should pay attention to the shape of the styler itself so that in the process of creating ideal curls, ugly sharp creases do not form. It is necessary to choose an iron with rounded edges so that when closed it looks like a standard curling iron familiar to many.
Besides, it is necessary to calculate the temperature regime, taking into account the peculiarities of the structure and health of the curls. For thin and light hair, heating the plates over 150 degrees is not recommended, hard dense porous hair must be curled at higher temperatures - up to 200 degrees, otherwise styling may not work. On intact hair, it is possible to perm at medium temperatures from 150 to 180 degrees, so an iron with a thermostat will be an ideal option so that you can easily monitor to what temperature the device has already heated up and make sure that it does not heat up more than necessary and is safe for hair .
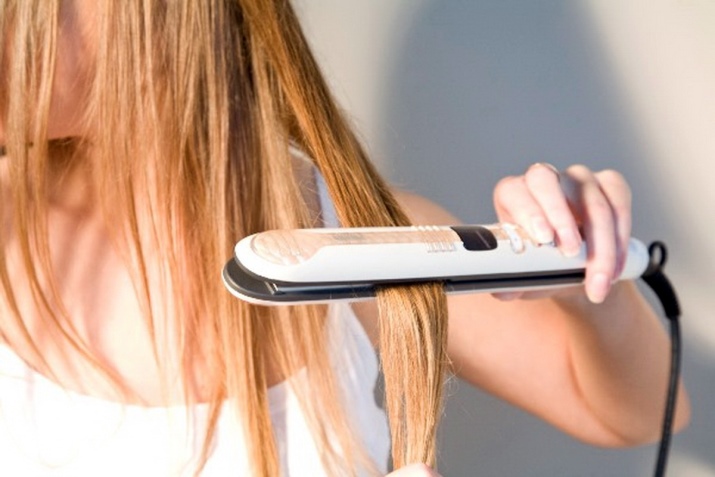
However, you must always remember that even the right temperature and high-quality coating will not be able to completely protect the hair from the harmful effectsso you should always use thermal protection. It can be sprays, mousses or other means. But even despite careful treatment with thermal protection, the harmful effects of high temperatures cannot be completely excluded, therefore it is recommended to repeat a full curl with an iron no more than twice a week.
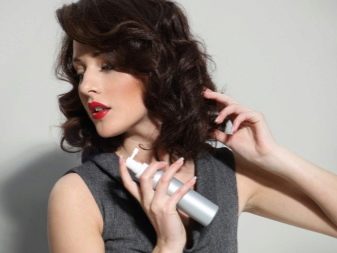
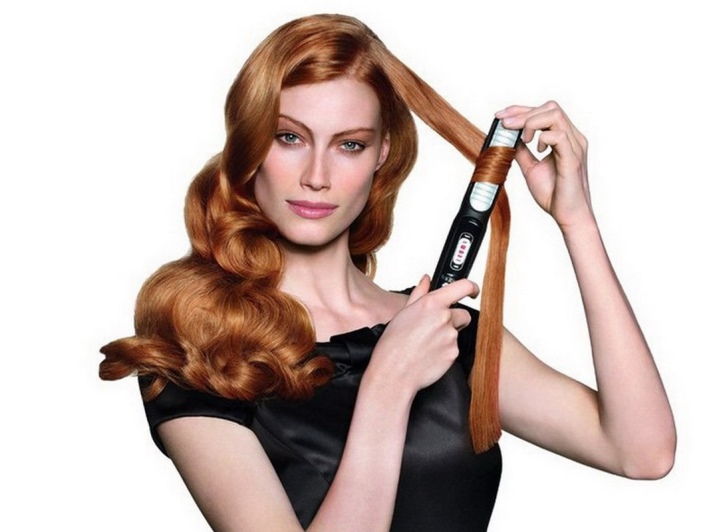
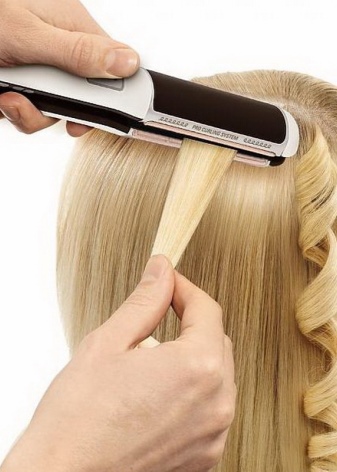
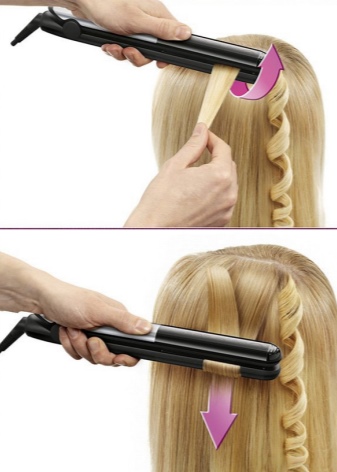
So, by selecting the desired styler model, you can go directly to the perm. Here you can use the classic option, when the strand is located between the ironing plates from the root itself, twists onto the iron, after which the styler is slowly and carefully pulled along the entire length. In this way, you can curl all your hair and get beautiful romantic curls. With this type of curling, it is necessary to take into account the location of the iron. If the tongs are located down, then the created wave will start from the middle of the strand, but if, when curling, the iron is directed upwards, then it will be completely curled.
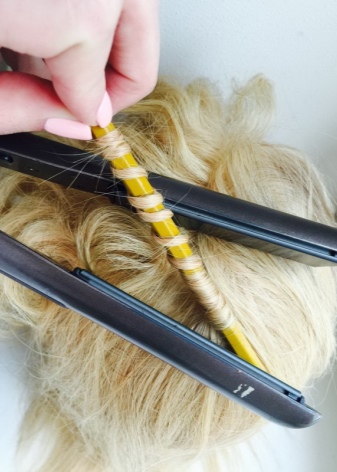
To create more extreme styling, you can use cylindrical objects of various diameters - for example, when using a regular pencil, you can get small perky curls. The technology for creating such a hairstyle is painfully simple - a thin strand of hair is separated, twisted onto a pencil, and then warmed up with an iron, after removing the strand from the pencil, strong beautiful curls are obtained.
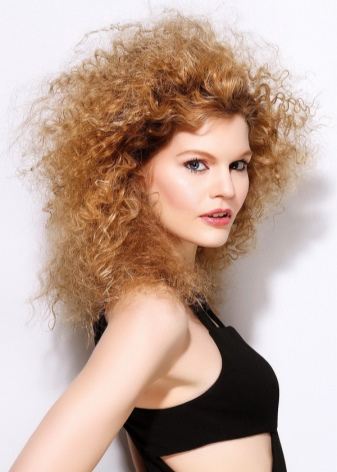
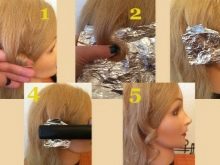
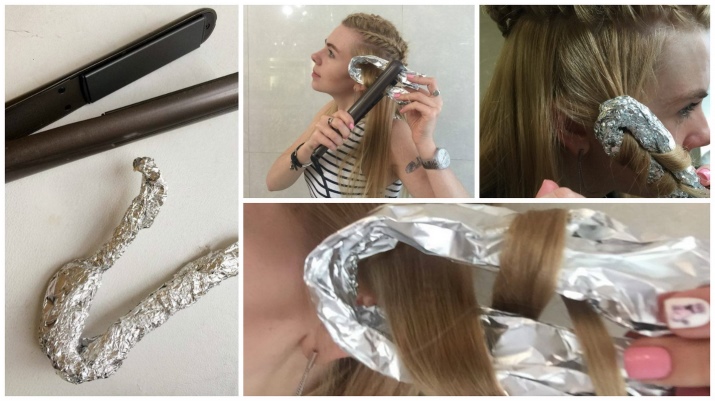
To implement another laying method, it will be necessary to stock up on foil. True, with this method it is necessary to be especially careful and use not too high temperatures of the styler. So, to create curls, you need to twist each strand into a ring with your fingers, wrap the hair ring with foil and heat it between the ironing plates. After the foil has cooled, release the hair from it, sprinkle it with varnish and enjoy flawless styling.
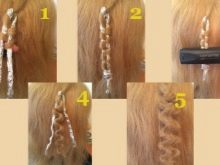
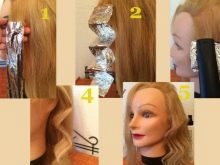
How to create waves: step by step guide
The process of creating perfect curls with an iron includes certain stages, which will help to achieve the desired result immediately and without much effort:
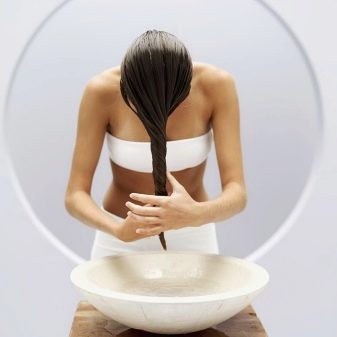
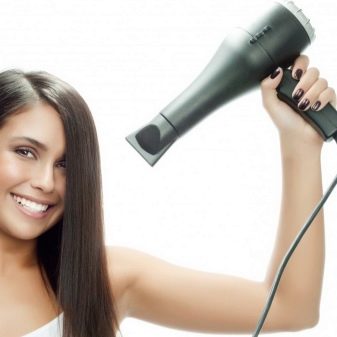
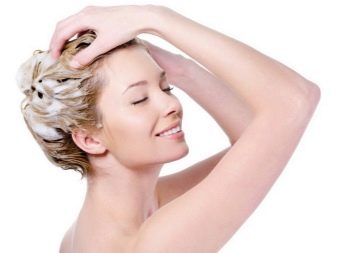
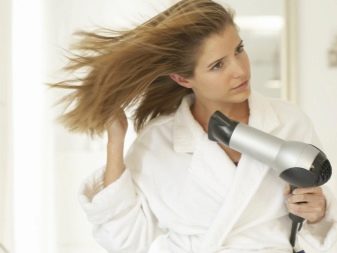
- In order for the curls to turn out beautiful and shiny, you need to thoroughly wash your hair before creating a hairstyle. After that, it is necessary to dry it thoroughly with a hair dryer or in a natural way, which is certainly preferable, because hot air also negatively affects the quality of the hair, and when curling, the hair will get a lot of heat treatment, but there is also a minus in natural drying. Naturally dried hair always has less root volume than blow-dried hair.
- When the hair is perfectly dry, it is necessary to apply thermal protection to them. - it can be a spray, gel or other similar product. After the product is evenly distributed, you must wait until it is absorbed and the hair becomes completely dry, otherwise there is a risk of simply burning future curls. The ends of the hair can be additionally treated with a regular nourishing hand cream.
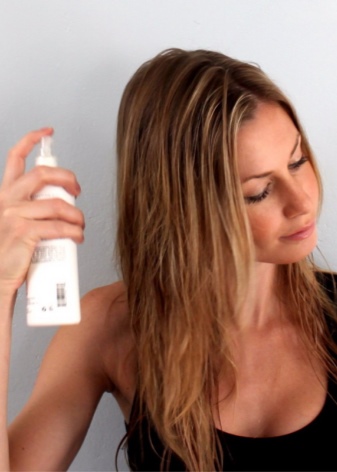
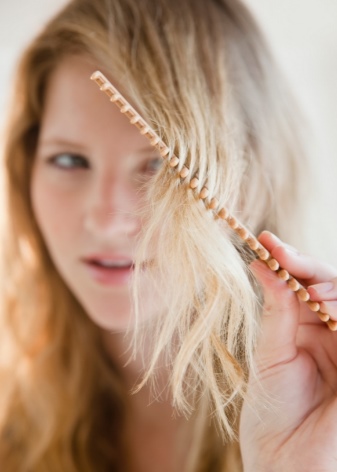
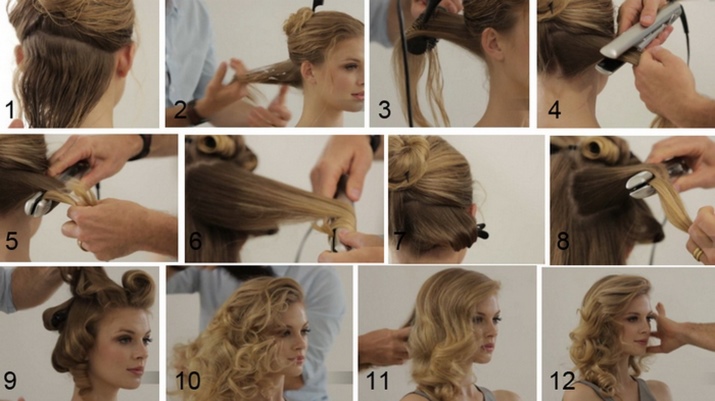
- Next, you need to heat the iron to the desired temperature. As soon as it warms up, you can proceed directly to the creation of the styling of the selected type. After carefully combing the hair, it is necessary to separate the upper part of the hair and temporarily fix it with a hairpin, you must start winding it from the bottom. A strand is separated from the total mass. The thinner it is, the stronger and more accurate the wave will be in the end.
- Next, the strand is stretched and clamped with a styler at a distance of 1-2 cm from the scalpso as not to get burned, after which it is necessary to turn the iron 180 degrees, directing it away from the face, while continuing to hold the strand by the tip.
- Gently, not lingering for a long time in one place, you should hold the iron along the entire length of the strand. Similarly, it is necessary to do with the entire lower tier of prepared hair. Once the bottom part is done, you can start winding the top.
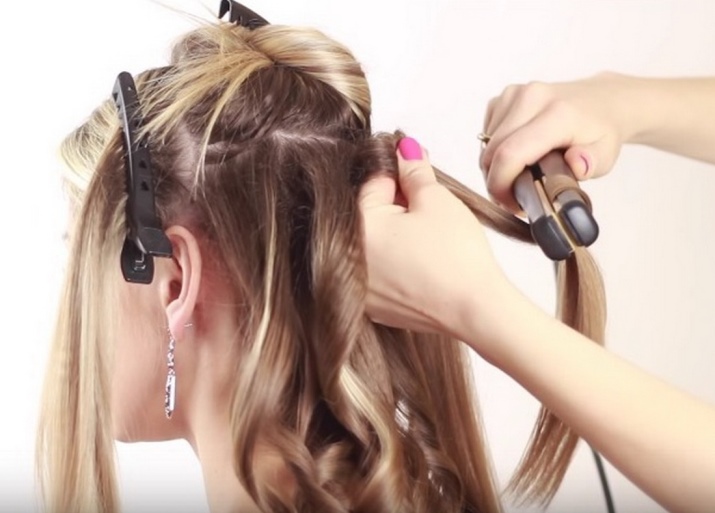
- We dissolve the collected hair and divide it into a parting. Here you need to rely on your own imagination and the case for which the hairstyle is created. So, the parting can be either straight, passing strictly in the center of the head, or offset to either side; in special cases, you can create a figured parting on the head, for example, with teeth or waves.
- After creating the parting, we act by analogy with the lower tier - We divide the hair into small strands and wind them with a styler. In order for the strand to hold better in the future, it is necessary immediately after the end of the curl to fix it in a twisted state with hairpins and wait for it to cool completely, you can also do this simply with your fingers.
- After the strands have completely cooled, you need to dissolve them and straighten them a little with your hands. The hairstyle is ready, it remains only to sprinkle it with a strong fixation varnish so that the beauty and elasticity of the waves are preserved for a longer time.
Top 10 popular styling at home
With the help of an iron, you can create amazing styling on hair of any length, you just have to choose the right styler and decide on the type of desired hairstyle.
For short hair
A lot of girls, cutting their hair short, think that now ironing and beautiful styling with curls are not for them. However, nothing is impossible - it is possible to create a modern fashionable styling on short hair on your own, for this you will need an iron and a little time.
For short and medium length hair, it is better to choose an iron with heated ceramic plates 2-2.5 centimeters wide, it will help you get beautiful, neat, even curls of the desired shape.
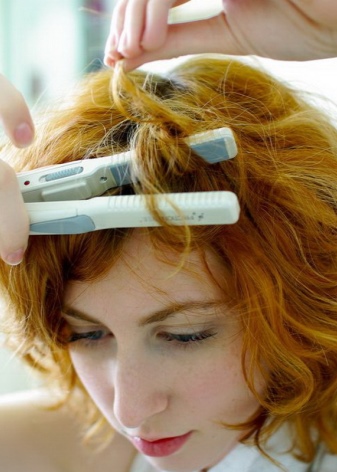
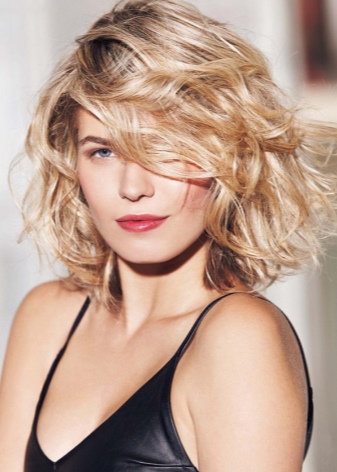
With ease, you can create a slightly casual and natural styling that is popular today - beach waves. No wonder they say that the sea is the best hairdresser-stylist, because always the best styling is not only on vacation, but also in the bustle of the city - light natural waves. To create a beach styling yourself, you need:
- Divide all hair into separate strands. If they are of different sizes, so much the better, the hairstyle will look more natural.
- Twist each strand into a tourniquet and hold it warmed up to a temperature suitable for the type of hair.
- After all the hair has been processed in this way, it is necessary lightly fluff with hands to give more volume and the desired shape.
For medium
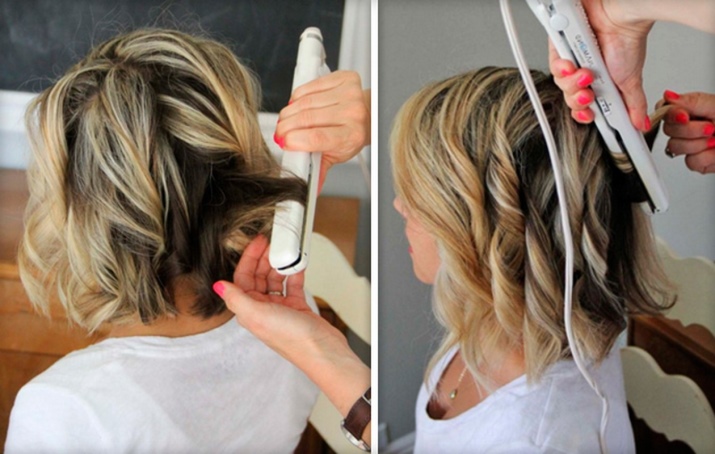
Hair of medium length, for example, cut under a caret, opens up a huge scope for creativity, both light beach waves and voluminous curls are appropriate here. Today it is very popular to create small waves of the corrugation type at medium length:
- For this it is necessary wash hair, dry, process with a thermal protective spray, then divide into small strands and braid them into thin braids African type.
- Further it is necessary place the pigtail between the working surfaces of the iron and heat them evenly. It is necessary to wait for the complete cooling of the braids.
- After that it is necessary loosen them up and straighten them out a little the resulting wavy strands with light whipping movements. This will help create a more natural and soft look.
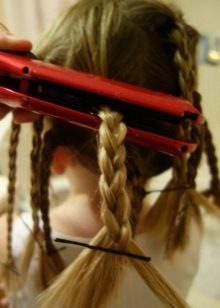
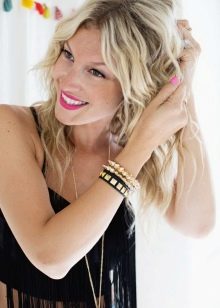
At the peak of popularity today retro hairstyles. It is worth noting that on medium hair styling in the style of the 60s will look great. To create it, you need a straightener and a good mood:
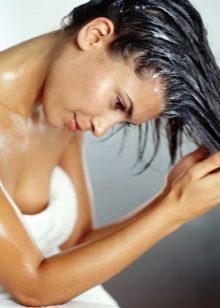
- You need to start creating hairstyles with thoroughly washing hair and treating it with balm and conditioner along the entire length, then they must be dried and carefully treated with a thermal protective agent.
- Then you need to use straightening styler for its intended purpose. After stretching all the strands to perfect smoothness, you need to go through all the tips and wrap them outward from the face. A stylish look from the 60s is ready.
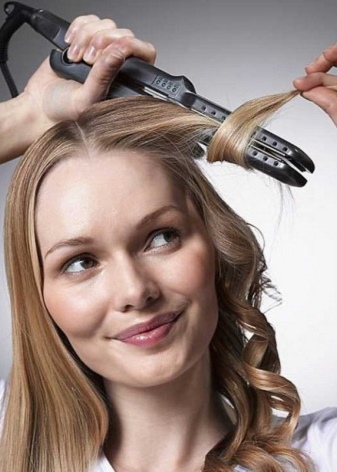
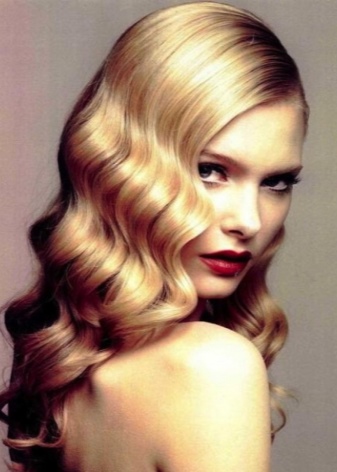
Big classic curls will also find their embodiment in the middle length. The larger the waves will adorn the head, the more voluminous the hairstyle will look and the easier it will be to hide some minor face flaws, for example, too wide cheekbones or a high forehead. To create such curls, an iron with a wider working surface is useful:
- As in the rest of the options described, before creating the styling, you need to wash your hair with a mild shampoo., wait for the natural drying of the hair or dry it with a hair dryer to speed up the process, treat it with high-quality and suitable thermal protection for the type of hair.
- After that, you need to divide the hair into strands of medium size and do the following manipulations with each: holding the strand by the tip, it is necessary to clamp it between the working surfaces of the heated iron, while its nose should be directed downward, turn it around its axis, wrapping the strand around and stretch the iron to the very tips. You need to do this procedure with all the strands. Light romantic styling will be the perfect option for a date.
You should not save on thermal protective agents, otherwise beautiful and healthy hair risks turning into lifeless burnt straw.
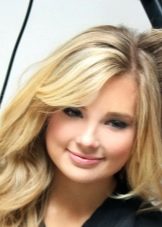
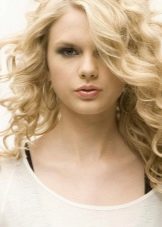
On medium length hair will also look advantageous African hairstyles. Small elastic curls with volume at the roots will be a great option for a party. To create this type of styling, you will need foil, an iron and a pencil, or any other cylindrical object of small diameter:
- Pencil wrapped in foil, a small strand is tightly wound onto it, after which, holding by the tip, it is necessary to warm the future curls along the entire length.
- When this is done, and the foil is already completely cool, you need to carefully pull out the pencil and repeat the procedure with all strands.
- Slightly whip the resulting curls at the roots to add volume and natural fluffiness.
For long
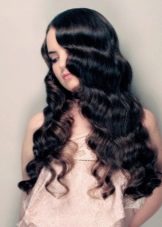
Of course, long hair is a huge field for creativity. Here, the styling options are simply unmeasured. One of the most popular options that can be done with a flat iron today is Hollywood curls. Any girl has ever dreamed of walking down the red carpet in a luxurious dress with perfect makeup and hair, like the most popular Hollywood beauties. At least one of the desires can be easily realized with the help of a styler.
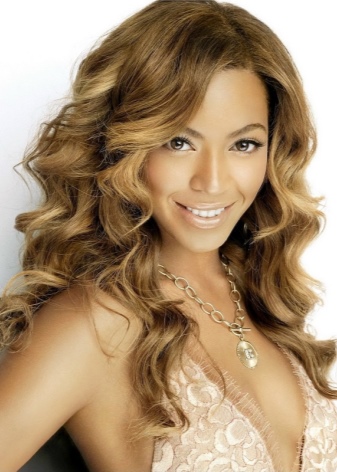
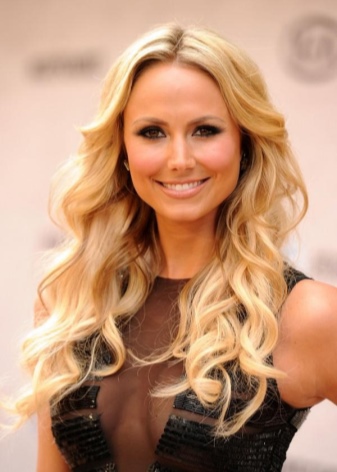
So, Hollywood curls are different from other styling, created with the help of a rectifier, first of all, because here the wave is created not along the entire length, but starting from the line of the eyes. This option is more like natural waviness:
- The creation of this styling, as described above, begins with washing your hair with a mild shampoo., then, as a standard, it is necessary to dry and treat the strands with thermal protection, in addition, to make the hairstyle look even more impressive, you can use special products for extra shine.
- This hairstyle is easier to create on perfectly straight hair, so further it is necessary to stretch naughty curls with an iron and comb them carefully.
- If they are initially straight, then you can do without straightening and limit yourself only thorough combingso that not a single random knot in the hair can interfere with the creation of ideal Hollywood curls.
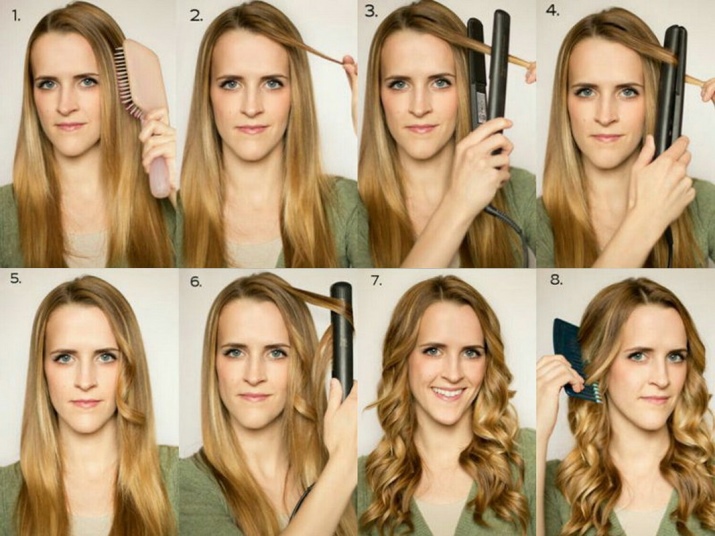
- Now that the hair is fully prepared for styling, it is necessary to use a comb with large teeth to make a parting.. It is more convenient to start curling from the back of the head, so then you should separate a small strand of hair at the back of the head, squeeze it between the ironing plates, the clamp should occur approximately at eye level. At this stage, it is important to ensure that the nozzle of the device is directed straight up perpendicular to the floor.
- Next, you need to turn the iron around its axis and hold the styler to the very tip of the processed strand. When all the strands have been processed in this way and they have cooled down enough, you need to tilt your head forward and comb the curls with your fingers - this will allow you to get additional volume at the roots and softer natural waves along the entire length.
- In addition, you can lightly comb the hair at the roots. - this will also add volume and styling will look even more spectacular. After all the manipulations are completed, it is necessary to fix the hairstyle with a strong fixation varnish so that the Hollywood curls last as long as possible.
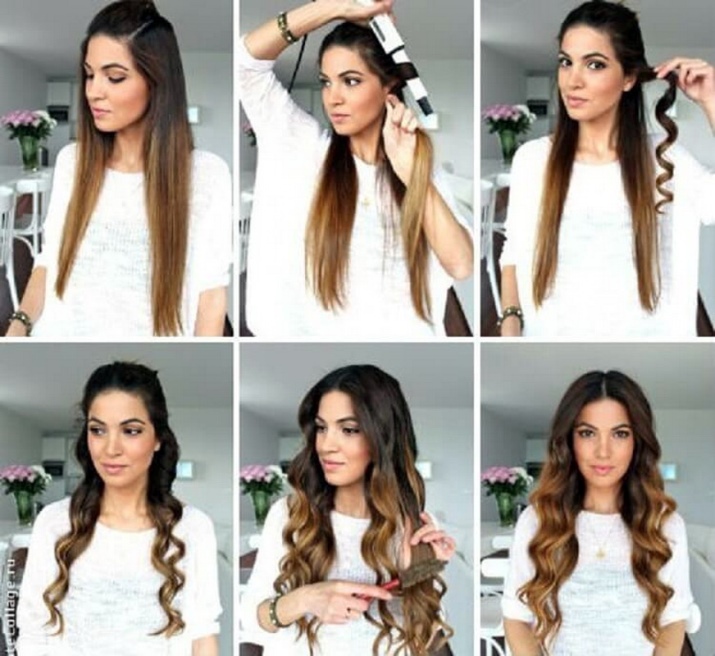
Also at the peak of popularity today are hairstyles made of strong elastic spirals. To create them with an iron, you will need pieces of foil in an amount equal to the number of strands being curled. Performance:
- In this option, it is necessary to divide the clean, treated with thermal mousse hair into identical thin strands. Departing from the roots of 2-3 centimeters, you need to start winding the strand on 2 or 3 fingers, depending on the diameter of the curl, which you need to get in the end, or you can use any cylindrical object of the desired diameter for this.
- Having twisted the strand, it must be carefully removed so that the ring shape is preserved - it should not fall apart or deform in any case. Next, you need to wrap the ring in a piece of foil and heat it evenly for 10-15 seconds, while heating it is necessary to ensure that it retains its original shape.
- Do the same with all strands., then wait for the foil to cool completely, remove it and fix the resulting curls with strong fixation varnish. If you fix each strand separately with varnish, the effect of the curl will last for a longer time.
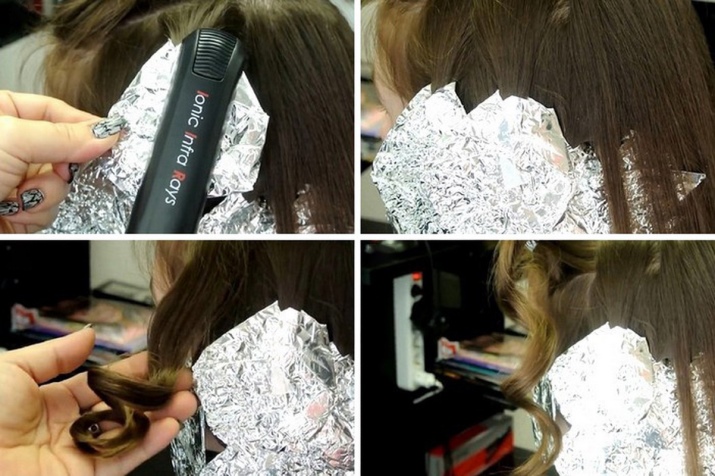
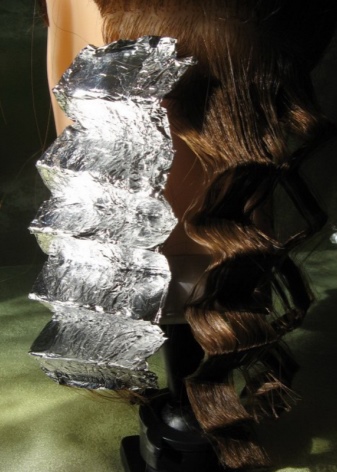
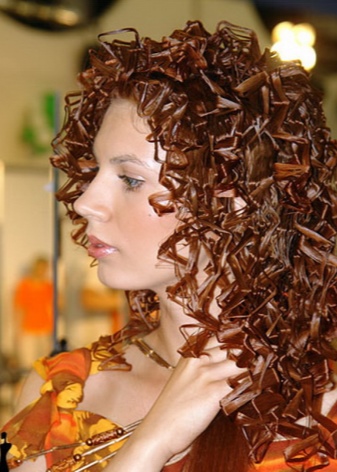
Another way to create modern styling with foil allows you to get unusual broken curls. A feature of this styling is that the curl here does not have a soft streamlined shape, there are sharp sharp corners here, which adds a bold touch and rebellion to the image. So, in order to achieve the effect of broken curls, you must:
- Put the strand between the strips of foil, then you need to fold the foil in a zigzag so that you end up with a square of foil with hair inside.
- After all the strands are "packed" in foil in this way, it is necessary warm each bundle with a hot straightener. Allow the foil to cool, then remove it and lightly straighten the hair with your hands.
- Optionally you can sprinkle the resulting broken curls varnish for better fixation and preservation.
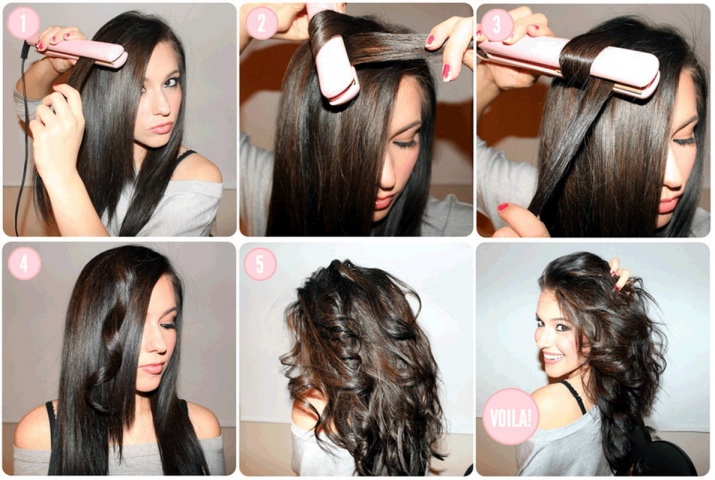
There is another easy way to get interesting wavy hair with a straightener. The resulting effect will look like a beach styling option., however, it is not suitable for a short haircut, because a styler with a wider working surface will be used here. As with any styling mentioned, it is necessary to carry out a standard ritual with washing, drying and processing with a protective agent, after which it is necessary:
- Separate the strand, hold it between the working surfaces of the straightener and slowly leading the iron down the strand, turn it 90 degrees, alternating direction towards and away from the face.
- Repeat this action with all strands, shake your head for a slight effect of negligence in styling - and you're done.
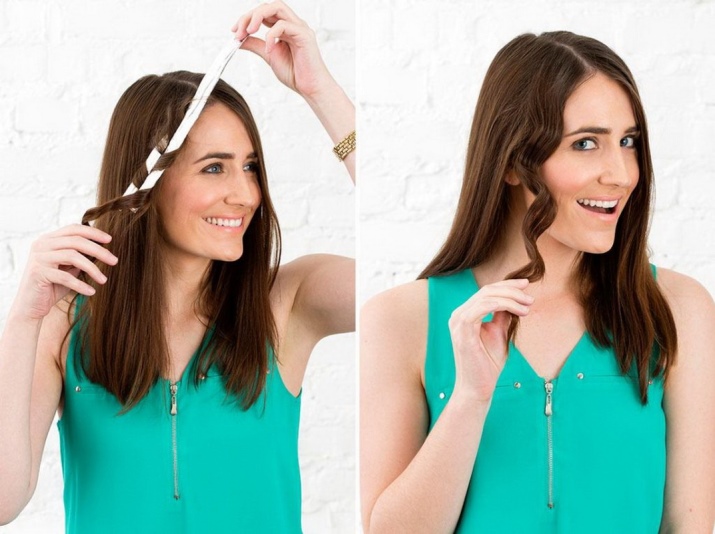
Large voluminous curls - Another popular option for long hair. This styling is done like an African one, but not a pencil is used for it, but any other cylindrical object with a large diameter, ideally if it is at least 2.5-3 centimeters. Performance:
- The separated strand is wound onto the selected item and thoroughly heated from all sides by a rectifier. Due to the larger diameter, this will take more time.
- Next, all the strands are wound, and it’s better to start from the back of the head, moving towards the forehead, so the curl will come out more accurate, and the process itself will be much more convenient.
- It is necessary to remove still warm strands from the base and collect them in a ring, which itself is formed from the resulting curls, until completely cooled, fix them with hairpins in this form, then remove the invisibility and fix the hairstyle with varnish.
Reviews
Reviews on recommendation sites and comments from girls who tried to create curls for themselves with a straightener are diametrically opposed. All those who managed to create the styling of their dreams say that the styler is perfect for creating perfect curls, cute curls, light careless waves or elastic small curls. Many girls, comparing with curling irons, note that an iron is a more functional and convenient means for curling, curls made with it last longer and look more natural. Besides, with just one item, you can create a huge number of styling options without changing nozzles, which sometimes take up a lot of space.
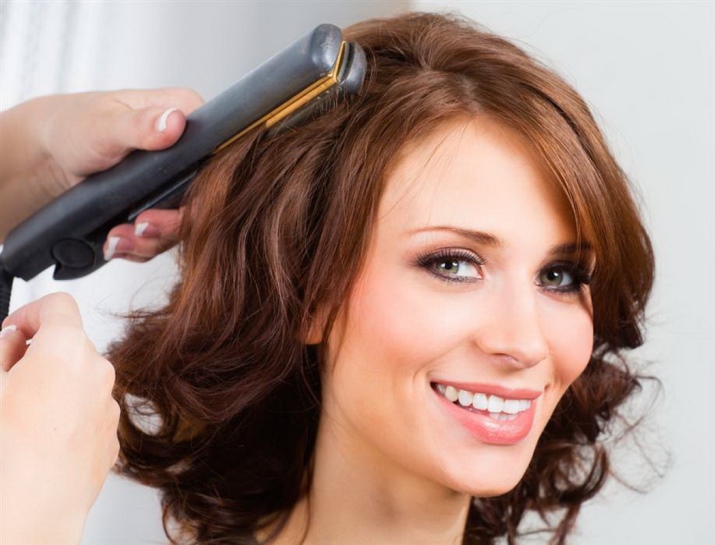
Girls also note that having started using an iron to create curls, they began to spend much less time styling than with a curling iron or curlers. Now there is no need to sleep all night with an uncomfortable hat made of curlers, and in the morning still fiddle with dense, unnatural-looking springs, especially if the hair has a predisposition to curling and keeps the wave well.
However, there is also a fairly high percentage of those who, in their reviews, quite negatively oppose the creation of wavy styling using a straightener. Most often this is due to the fact that for some reason the curls simply did not work out with an iron or very quickly blossomed, not retaining their shape for the desired period.The reason for this may be non-compliance with the curling technology, for example, if it does not occur on clean, only washed hair or the iron is in the wrong position. Only experience will help here. You just need to study the master classes and tips on creating hairstyles as carefully as possible and train, train. It will work out sooner or later, you just need to be patient.
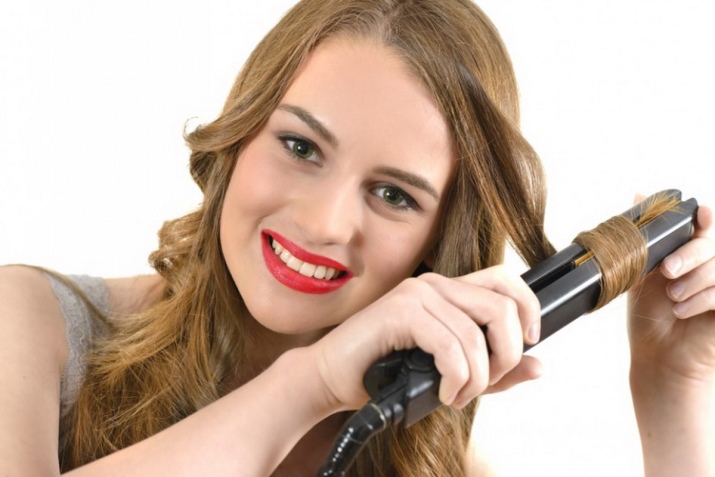
Hair dries, smokes and deteriorates during such aggressive styling - such reviews also appear from non-compliance with simple rules. It is necessary to start curling only on perfectly dry hair., otherwise they will smoke and dry from too much heat, in addition, it is important to use products with a high degree of protection against hot temperatures. This will help protect the hair, keep it soft and healthy looking.
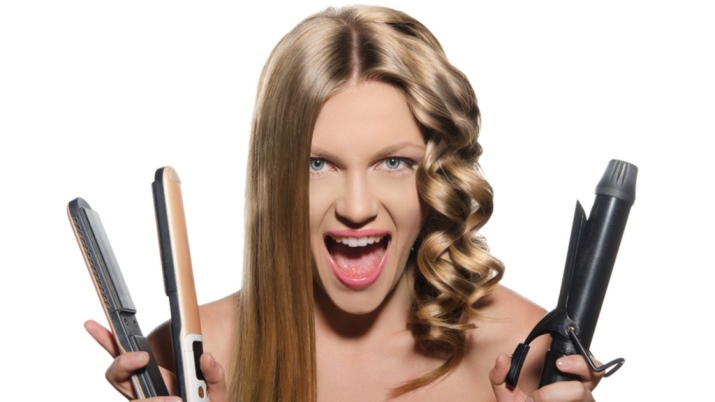
And if the hair is thin, soft and does not hold styling well, then using a styling foam or mousse with a strong hold, as well as treating each strand after curling with hairspray, can help.
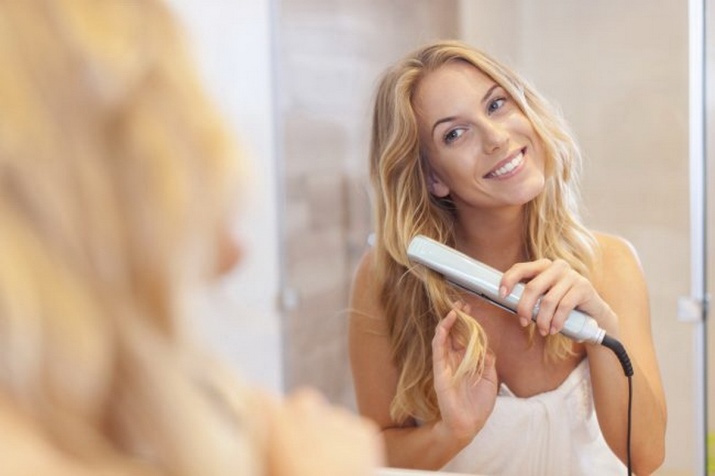
How to make curls with an iron, see the next video.


