How to clean the seams between the tiles in the bathroom?
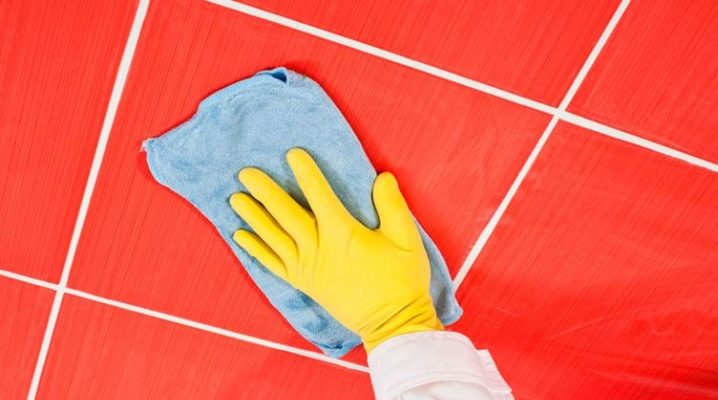
If you neglect to clean the walls and floors after each bath, sooner or later, repulsive dirt and mold will appear on the walls and floor. Water, lime and dust accumulate at the joints between tiles, which is an excellent breeding ground for the growth of fungus.
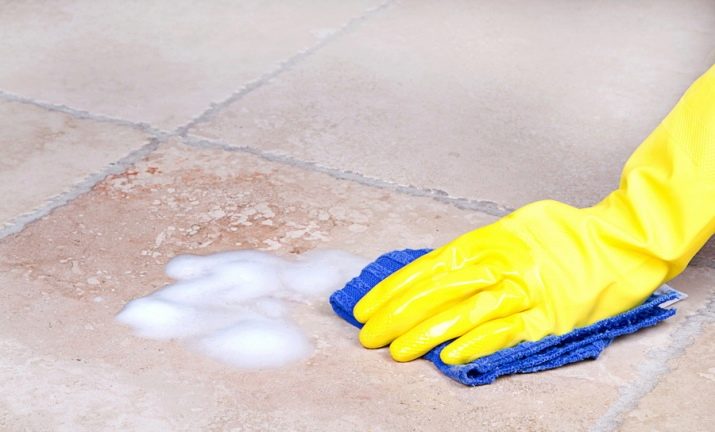
Peculiarities
Tiles are an excellent finishing material, which belongs to the category of durable and easy to clean. However, rarely does anyone manage to avoid darkening, against which the usual wet cleaning is powerless. The sloppy look of tile joints that were recently white will upset any hostess.
Before moving on to learning how to clean the seams, let's figure out why the tile seams darken. The level of pollution depends on the purpose of the room in which the tile was laid. Often, in the corridor and in the kitchen, the coating quickly loses its appearance, because these rooms are more polluted than others. The tile itself is cleaned regularly, but cleaning the seams is much more difficult, so this space is cleaned infrequently. The method of combating darkening must be chosen depending on the type of pollution. They lead to the remnants of food and detergents, dust, street dirt.
Unfortunately, the grout loses its original appearance very quickly, because it has a rough surface in which dirt easily gets stuck. Therefore, when thinking over the repair and design of the room, it is important to take care of practicality and choose a darker grout, otherwise the snow-white seams will delight you with whiteness for a very short time.
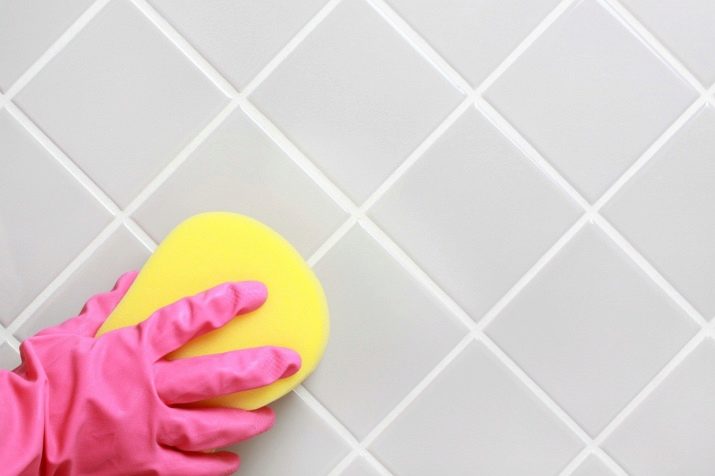
We clean from dirt
Even after a general cleaning, tile joints may have a sloppy appearance. But there are still ways to return the seams to their original state, and there are a lot of them.
The choice of method depends on the color of the grout and the type of tile itself. The key differences between these methods are the use of household chemicals or home remedies. Both of them are quite effective.
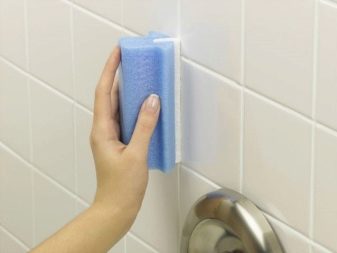
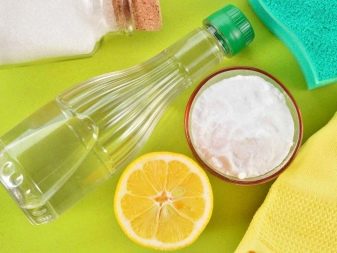
soda and vinegar
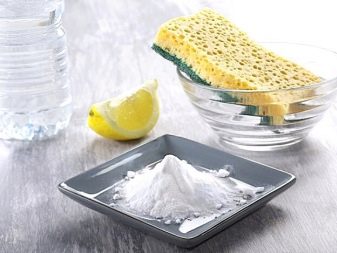
It is necessary to make a mixture of water and table soda in a ratio of 3 to 1. You should get a thick paste that is suitable for cleaning colored joints, but can harm natural limestone and marble materials. The algorithm of work is as follows:
- The paste is applied to the joint with fingers in rubber gloves, so as not to cause microtrauma to the skin of the hands;
- A solution of water and vinegar is made in a ratio of 1 to 1. The solution is poured into a container with a spray gun;
- The agent is sprayed onto the applied paste. The mass begins to bubble, therefore, the process of a chemical reaction has begun;
- Wait for the bubbling to stop;
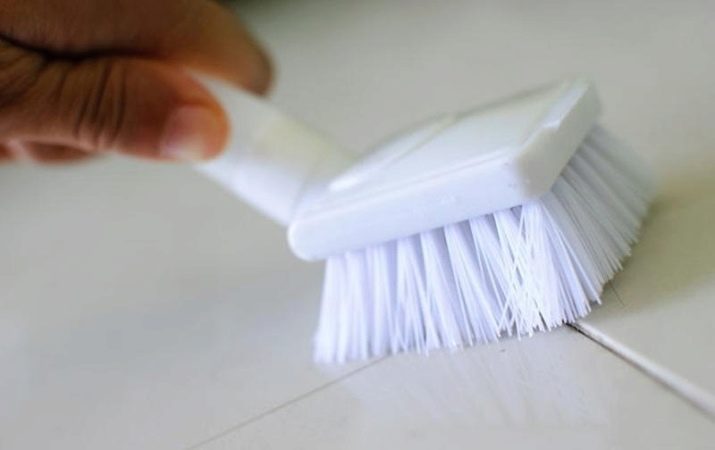
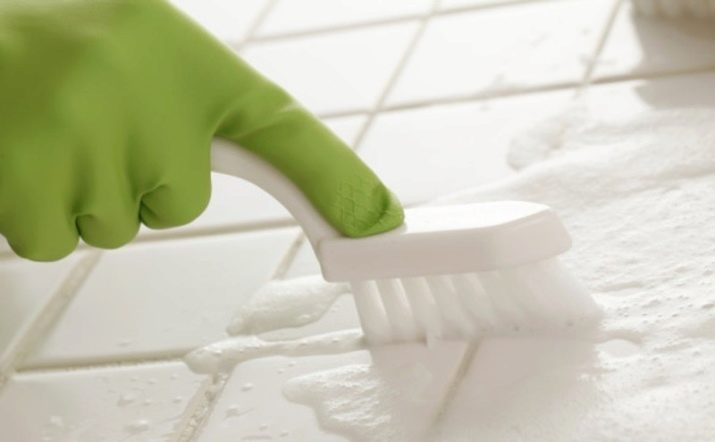
- Scrub the joints with a stiff brush;
- Do a wet mop several times to wash off the remaining solution.
Oxidized bleach
This method is not recommended for colored joints, but it is absolutely safe for tiles. The solution must be used immediately after preparation, otherwise it will be ineffective. Order of execution:
- Oxidized bleach in the amount of 2 tablespoons is dissolved in 2 glasses of water;
- It is necessary to test the liquid in an inconspicuous place before applying it to the entire tile surface. In some cases, there is a discoloration of the grout, so make sure you don't ruin the grout;
- We pour the seams with a solution.
- We clean in small areas so that puddles of liquid do not collect on the floor;
- Rub the solution into the joint with a brush. Especially carefully it is necessary to walk around the corners and edges;
- At the end, rinse the floor well.
Hydrogen peroxide, baking soda and dishwashing liquid
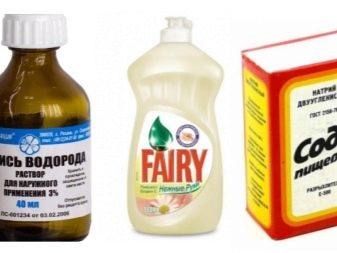
Make a paste with 3/4 cup baking soda, 1/4 peroxide, and 1 tablespoon dish soap. This method is very effective due to its components:
- Baking soda works as an abrasive;
- Peroxide reacts with soda, thereby providing a whitening effect;
- Detergent for dishes easily copes with grease.
Apply the paste evenly with a brush to the joints and leave for a quarter of an hour. Wash the seams with warm water several times.
Steam cleaner
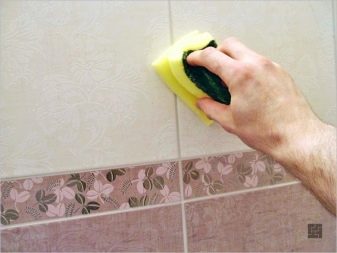
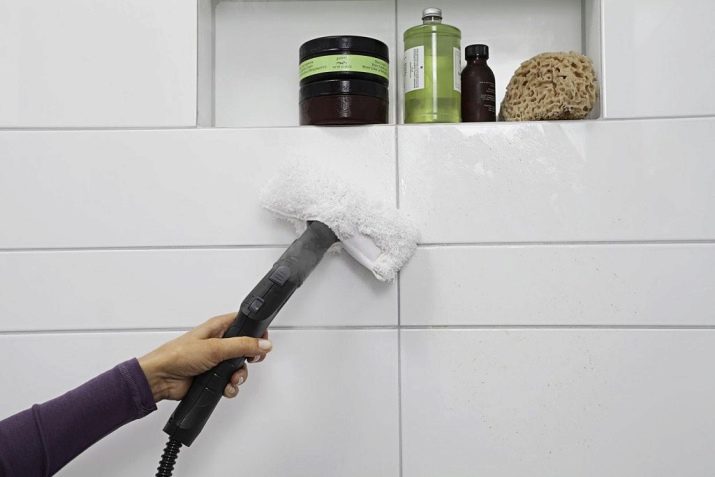
Steam cleaners are great at cleaning and disinfecting tile spaces without the use of chemicals. This household appliance is not necessary to buy, for sure you will find offers to rent it. A steam cleaner comes with a hose and a brush attachment.
Clean with a steam cleaner according to the instructions. After switching on, wait until the device reaches the required temperature. The instructions will tell you how long to wait. The steam method is effective not only for removing dust and dirt, but also mold.
Summing up, it becomes clear that it is easier to maintain constant cleanliness between the tiles than to fight an unequal battle with old dirt and try to wipe off the fungus settlements. To prevent the stains from starting again, apply a protective agent to the joints, which will prevent the penetration of dirt and mold into the grout.
We remove mold
Another enemy that is extremely difficult to overcome is black mold. Her disgusting growths on the walls and floor between the tiles able to cross out even the most expensive and sophisticated renovation in the bathroom.
There are several methods that can get rid of this blackness. Let's start with homemade recipes, because many housewives do not welcome the use of chemicals in everyday life, for fear of harm to health. In addition, home methods are much more economical than buying expensive detergents.
The most effective recipes for the destruction of mold:
- Paste of soda and chlorine powder. Whiteness or any other cleaning powder containing chlorine will do. The resulting mixture of soda and whiteness effectively brightens and disinfects the surface. But as mentioned above, mixtures containing bleach are not suitable for colored seams. Wear gloves and a protective mask when working with a corrosive substance such as chlorine. The mass is applied with a spatula to problem areas until dry. Then it is all washed off with water.
- Citric acid, soda and vinegar. Another working home method for fighting mold is a solution of water, vinegar, citric acid, and baking soda. If the moldiness is insignificant, then the lesions can be treated with vinegar without dilution, then washed off.
- Ammonium chloride. Dissolve two tablespoons of ammonia in two liters of water. Then spray the solution onto the affected area.After a quarter of an hour, walk with a damp cloth and wipe dry. The antimicrobial action of ammonia will help get rid of black plaque.
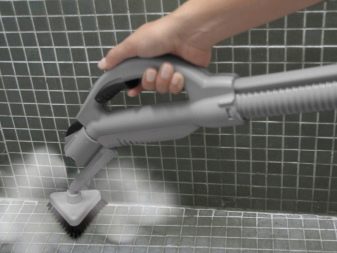
- Steam. The steam generator will help to cope not only with dirt, but also with mold. The device supplies hot steam under pressure, which softens and pushes dirt out of the tile joints, and the high temperature destroys mold and fungus.
This method is by far the most pleasant and convenient. When cleaning, you do not have to breathe in caustic chemicals and dilute dampness in the room. However, there is a risk of burns, so you need to work carefully.
Household chemicals
It is not always possible to get rid of blackness with home methods, and then you should turn to specialized tools aimed at combating mold. Home chemistry does not always give the desired results, and there is little pleasant in the smell of vinegar and bleach. Today, you can buy a lot of effective products that will get rid of mold and protect against its occurrence in the future. The most popular tools include:
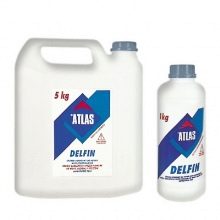
- "Atlas Dolphin" - this is a protective emulsion, it does not clean, but creates a film that prevents the deposition of dirt and bacteria. It is applied immediately after grouting or after cleaning the seams. This protection will help keep the bathtub clean.
- "Bozo" - a concentrate that removes lime and rust, disinfects and eliminates odors. It is diluted in a ratio of 1 to 4, but the fungus is directly processed with a pure concentrate.
- "Mellerud" - Great product for bathroom tiles. Quickly removes soap and lime stains while refreshing the color of grout and tiles. For scheduled cleaning, it is recommended to dilute 125 g of the product in a bucket of water. For stubborn stains, use undiluted.
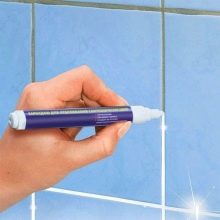
- "Snowball" - a special pencil that whitens the seams and kills the fungus. The tool is effective for shallow lesions.
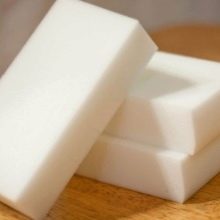
- Melamine sponge - this is not an absorbent cleaning item, as you might think, but a detergent. It is a kind of eraser that erases dirt and erases itself. It is enough to wet the sponge and try to clean off the dirt with it.
All these substances are much stronger and more concentrated than home components, and this is certainly a plus, but their high toxicity is a minus, so it is better to work in a respirator, providing room ventilation.
In advanced cases, more serious measures are needed, since the fungus managed to settle deep in the grout. The best thing, of course, would be to remove the old tile, clean and disinfect the surface and put in a new one. If major repairs are not included in the plans, then you will have to deeply clean the seams.
Under no circumstances should mold be left unattended. Fungal spores are extremely dangerous for health, which, as you know, is the most expensive.
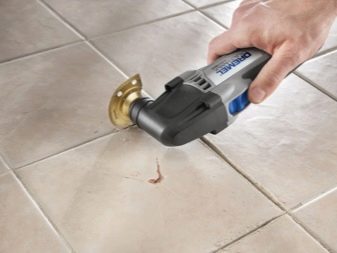
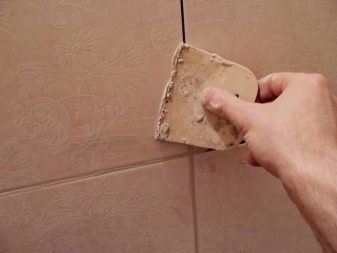
Grouting is tedious and hard work, but it's worth it. The work can be done with a spatula, but it is better to use a drill with a half-disk nozzle, this will somewhat simplify the task. Before work, the tile joints must be wetted with water and vinegar to make the grout more pliable. After that, the joints must be washed, dried and treated with antifungal agents, and then wiped again.
Helpful Hints
Be careful when walking on a wet floor - the floor covering from the cleaning solution becomes too slippery. This applies to all methods of cleaning in the bathroom.
Remember that all products must be tested before washing the entire surface with them.Do not dilute too much solution - it quickly exhales and loses its strength. The composition is effective only here and now.
Sealant can be applied to the seams after cleaning, then they will keep clean longer. Do not use metal brushes - they will scratch the tiles and ruin the seams. It is strictly forbidden to use vinegar on the surface of natural granite, travertine and marble. The acid will corrode the stone, this will lead to serious problems. When working with such materials, choose products with a neutral pH.
How to clean the seams between the tiles, see the following video.


