The subtleties of making a tripod for a bowler hat
If you love the outdoors and are in need of handy campfire cooking equipment, then you will definitely need a rack or stand for a camping pot.
Campfire tripods are available in stores, but sometimes they just don't have the exact specs you need. The cheapest ones tend to be short, while the longer ones are too heavy and very expensive. However, such a device can be easily made with your own hands and taken with you on a hike.
Peculiarities
The good news is that you can make such a useful design yourself and customize it to your specifications for the perfect tripod. This homemade campfire tripod will cost only 1200-2000 rubles, even if you buy completely new materials for it.
You can make a tripod of any height you need. And it's great if you want to use it for a pot on a big fire, or if you want to keep it compact so you can easily carry it inside your car. As well as it is a lighter version compared to the forged item, making the design more enjoyable to travel.
Such a homemade tripod for a bowler hat can turn out even better than those ready-made ones that are sold in the store, of course, if you do everything right and well.
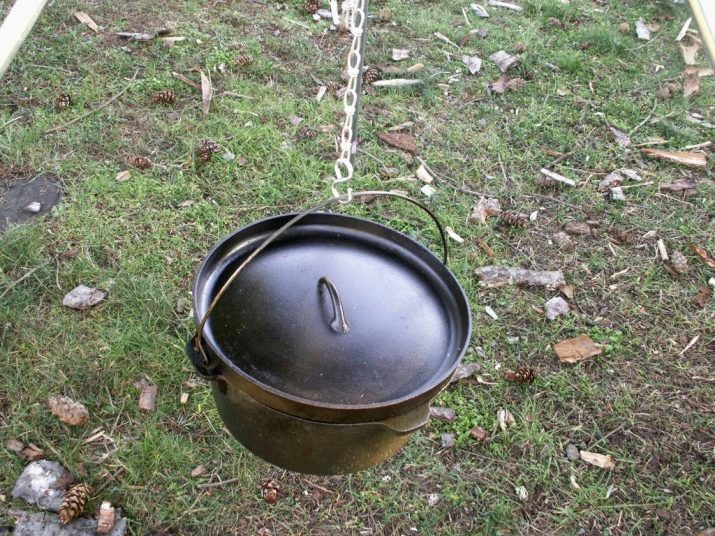
You can hang your Dutch oven or pots weighing between 15 and 40 kg on it. You can enjoy the convenience even when you have to work and dine outside.
Necessary tools and materials
Let's take a look at how to make your own campfire tripod, and how to set it up to suit your needs with step-by-step instructions.
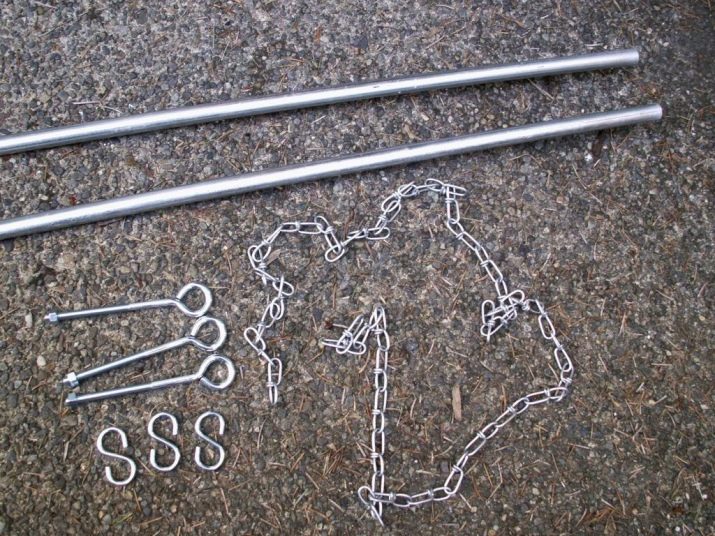
Materials:
- cable-wire - 4 or more sections;
- 3 heavy duty eyebolts;
- 2 S-hooks;
- chain (with wire links is a great option).
Tools:
- a hammer;
- pipe cutter or hacksaw;
- pliers;
- wire cutters.
Step-by-step instruction
Make legs (holders, structure support).
First cut the cable-wire to the desired length. At the same time, you can make them of any length, the one that you need.
The pipe cutter has small rollers and a cutting disc on the clamp. Tighten the clamp on the wire cable where you want to cut it, then tighten and turn. Repeat this movement until the cable-wire is completely cut.
A hacksaw can also be used for work.
If you do not have the opportunity to cut the cable wire, you can always ask for help at the hardware store, here they can cut it for you immediately after buying the cable wire.
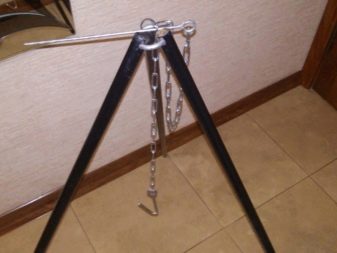
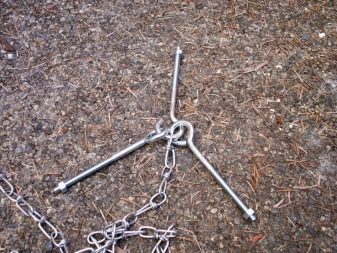
Open one eye of one eyebolt with pliers. This is the hardest part if you bought the strongest eye bolts.
Assemble the eyebolts and chain: now slide the other two eyelets and one end of the chain onto the bolt with the eyebolt exposed. Use a hammer to securely close and connect everything together.
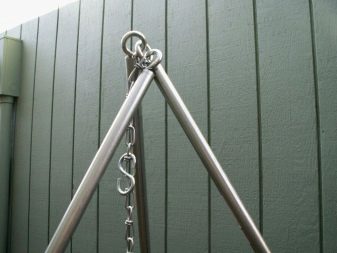
Connect the legs: insert the rods of the eyebolts into the ends of the legs and lift them up so that the legs are equidistant, as if they were over a fire. Slide one of the S-hooks onto the chain near the top of the structure, using pliers, close it tightly.
Cut the chain to length: cut the chain to the desired length, using a utensil to measure the maximum possible length of the chain, on which the kettle will subsequently be attached.
Put another S-hook on the end of the chain, and close with pliers.
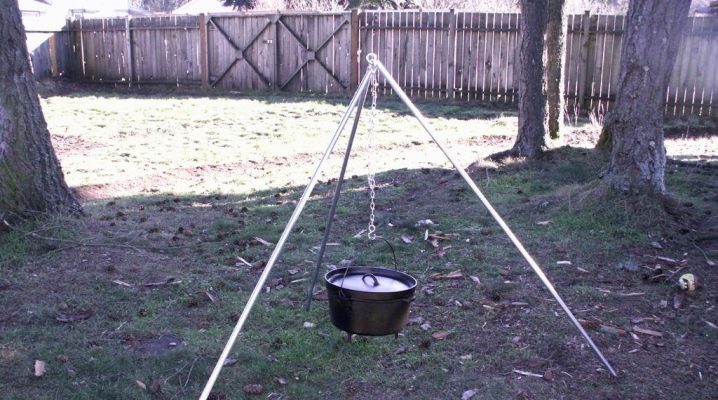
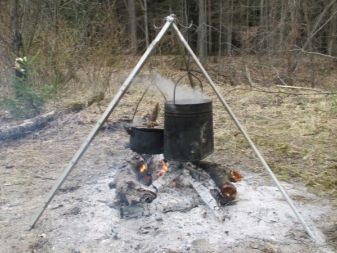
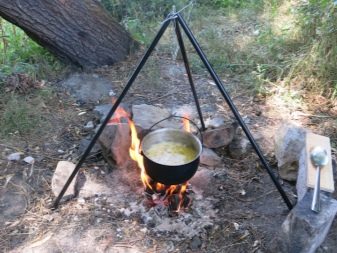
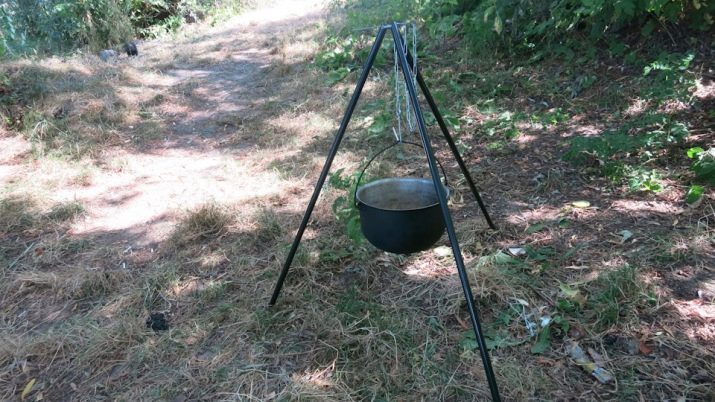
Hang a pot or whatever you'll be using as cooking utensils over the fire and make sure the tripod can support the weight. Check if the adjusting hook will raise the pan to the level you need.
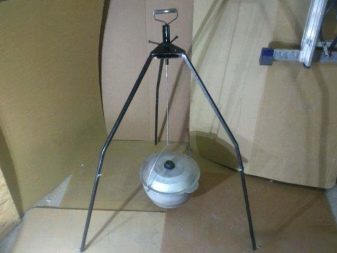
Fold the structure: The beauty of this design is that it can be easily folded for easy storage and transport.
Set up and enjoy. You can add many different useful features to this basic design. Add an extra hook for hanging dishes, paint it with stove paint, make a mechanism to permanently connect the tripod to the head, however you like.
The bottom ends of the tripod should remain fairly cool so that you can lift one leg and move the structure easily, for example. If you want to raise or lower the chain while it is hot, you may need gloves.
camping tripod
In order to assemble a tripod from armature, you will need to perform all of the above steps, only instead of a cable-wire, you need to use armature. Saw it into three equal parts, for example, one meter each.
On one side of each piece, the reinforcement must be processed and sanded - the legs are ready.The legs are connected in the same way as described in the step-by-step instructions above.
By the way, in addition to tripods, which are necessary for cooking on a fire, you can start making a whole grill yourself. That is, instead of a bowler hat, a special grill will become a suspension to the chain, on which you can bake meat with vegetables - and what could be tastier at a picnic and outdoor recreation.
The main thing is to make structures durable from refractory metals. The tripod should be easy to fold and unfold, be the optimal size for storage and transportation.
The finished structure can be treated with a special compound that will resist the appearance of corrosion. For such a tripod it is better to immediately make a cover, which can be sewn from a tarpaulin, for example, and made with a zipper for convenience.
How to make a tripod for a bowler hat with your own hands, see the following video.