Features of making a life jacket with your own hands
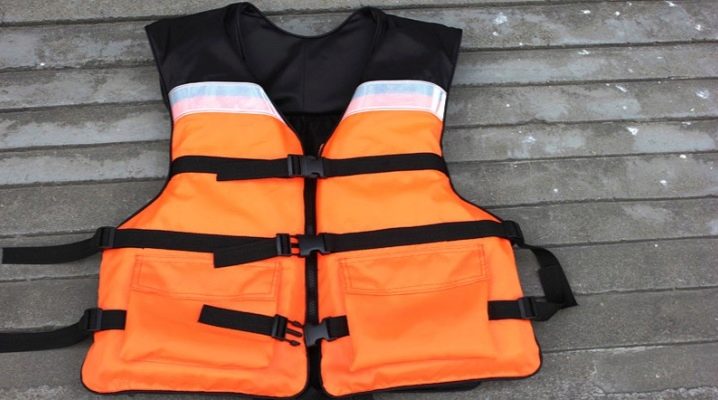
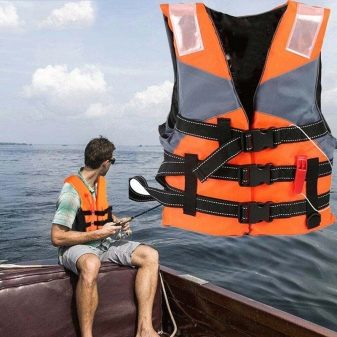
A life jacket should be at the top of your fishing list. But it often happens that he is remembered last or not remembered at all. There are also reasons to postpone the solution of the issue until the next time: while there is no extra money to buy a life jacket, residents living in the rural outback are far away to go to the city for it, and, of course, in such cases, the Russian “maybe” is not complete.
Meanwhile, you can ensure your safety quickly, without spending money and without leaving the gate.

Tools and materials
In every house there are things that are not used, but it is a pity to throw them away (suddenly come in handy). Of these, it will be possible to make a rescue product, thereby adding additional chances to the successful completion of a fishing trip. To complete the work you will need:
- old trousers, jeans;
- polystyrene for packaging household appliances;
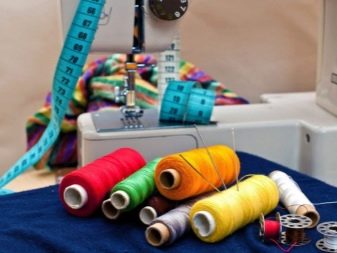
- sewing machine (you can do without it, limiting yourself to hand sewing);
- scissors, thread, sewing needles, pins for chipping, tape measure or ruler for measuring;
- chalk or remnant;
- strong tape for fastening on the belt and on the sides (from a parachute sling or strong synthetics);
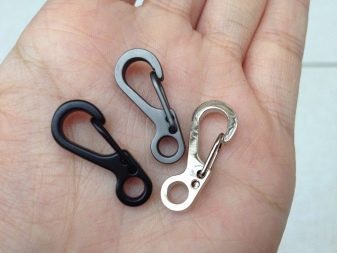
- carabiners or other reliable types of fasteners.
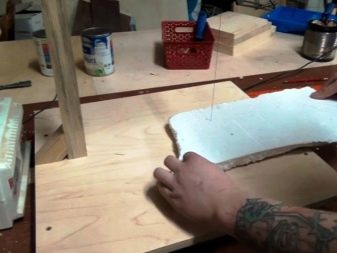
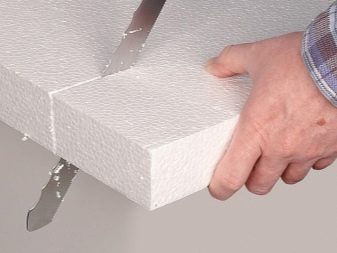
In this case, the foam will be used as a filler for the vest.
Manufacturing technique
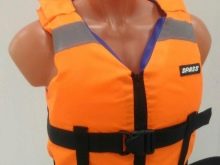
From jeans, from trousers, from pants, you can quickly make life jackets with your own hands at home.
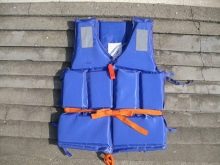
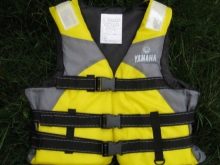
From jeans
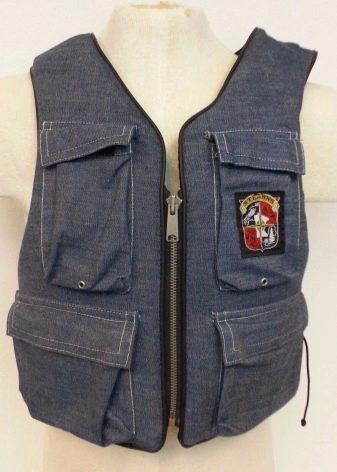
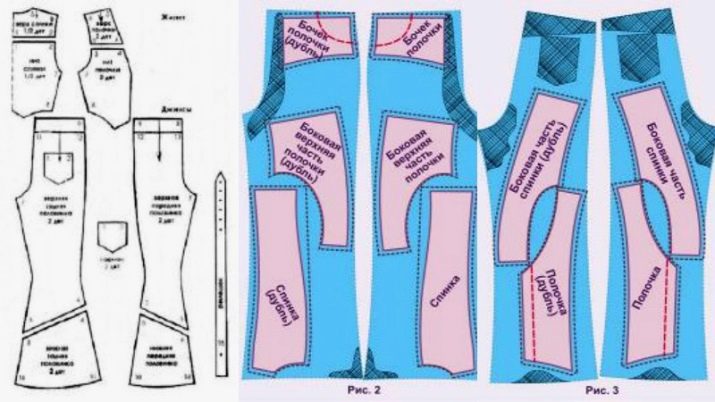
In order to simplify the work of sewing a vest from old jeans, you can find a ready-made pattern in publications. If there is no time to develop a pattern from a magazine, an old T-shirt or T-shirt of a suitable size can become an alternative to paper patterns. To make a life jacket with your own hands, it is not necessary to have professional sewing skills.
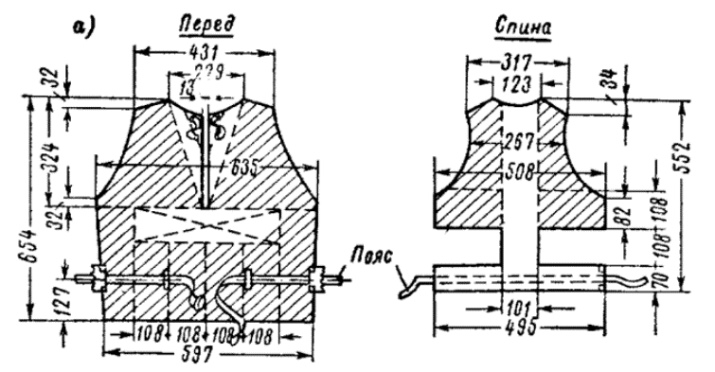
Before ripping jeans, it is necessary to think over the cutting of the fabric, in some cases it is sufficient to rip the thing only along the inner seams.
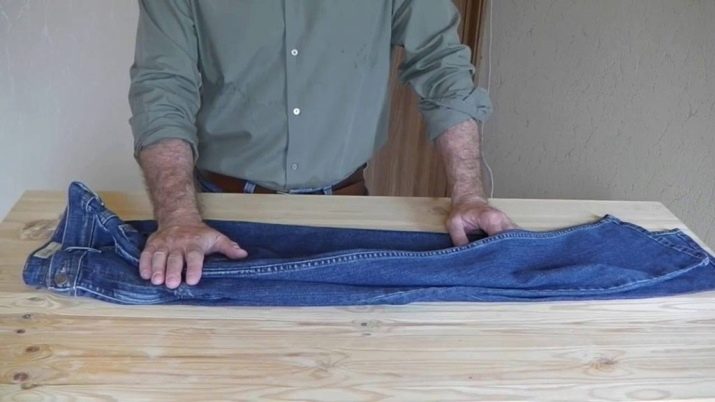
Further actions are performed step by step.
- To sew a vest, you will need 2 pairs of jeans, an old windbreaker (jacket).
- Rip jeans and a windbreaker at the seams, open pockets, iron with an iron.
- Lay out the pattern on the fabric, circle the contours of one front shelf, cut it out.
- Cut out the second shelf, using the first as a template, cut it out.
- Cut out the back of the two legs, sew together, overcast the cuts.
- Try on the outlined pattern. Make sure that the armholes and neckline do not restrict movement.
- To give the product a finished look, overstitch the neckline, edges of the front part, armholes and the bottom of the vest with strips of light material, sew a lock in front.
- Cut out the required number of pockets from the windbreaker, into which insert pieces of polystyrene in the shape of a rectangle. The piece of foam must be at least 8 cm wide.
- Sew pockets with foam inside onto the vest. There should be most of them in the chest area - this will allow you to be face up during a long stay in the water.
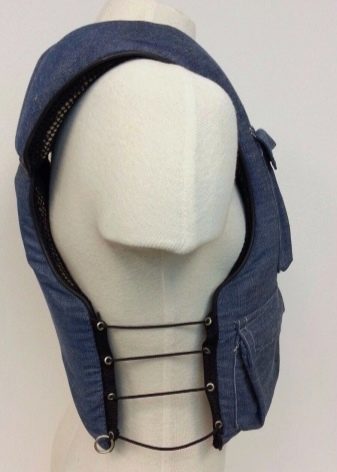
- Sew strong tapes with carabiners or other fastening elements onto the vest (be sure to pull the vest off with a tape from below so that it does not jump off in the water). And also do not forget to sew on reflective strips.
From trousers
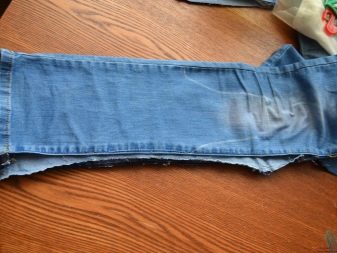
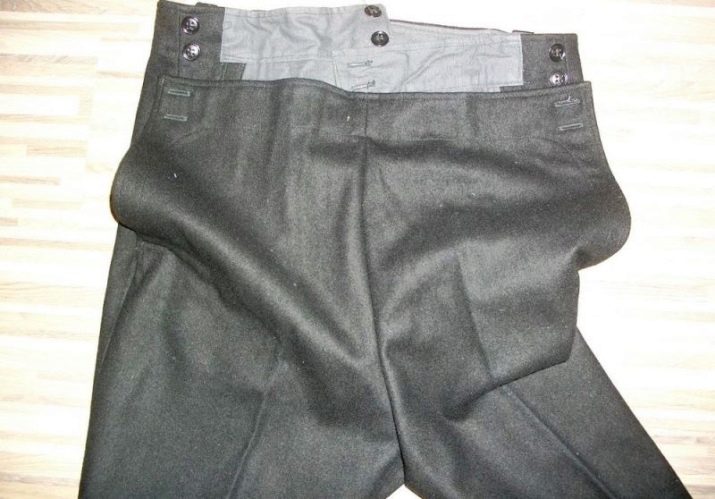
In order to sew a life jacket with your own hands in a short period of time, you will need 2 pairs of trousers. They do not need to be ripped at the seams, it is enough to carefully open the pockets. The front and back of the vest will be double.
Step-by-step instruction.
- Sew up the pants. Take by the legs, attach in front with a belt down on the figure to determine the length of the future vest (the width, for aesthetic reasons, should be located on the reverse side). Cut the legs to the desired length.
- The second trousers with legs cut to a certain length will be used as the back of the product (back). Do not stitch the bottom holes in the trousers yet.
- Turn the pants inside out, stitch the legs on both sides with a narrowing upwards so that the shoulders of the vest do not hang down.
- Connect the front and back of the vest at the shoulders with a double seam.
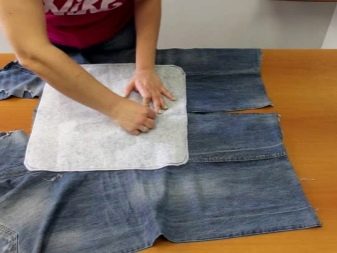
- On both parts of the vest, mark the pockets for the foam. Cut pieces of styrofoam to the size of the pockets.
- From the bottom of the unsewn part of the trousers, insert pieces of foam starting from the shoulder.
- Insert pieces of foam from below, flash the pocket, and continue to do so until the very bottom.
- After filling all the pockets with foam plastic, sew up the lower parts of the vest with a double seam.
- Since the vest is capped, a strong fastening tape with fastening elements is sewn not only on the belt and below, but also on the sides.
- So that the straps of the vest do not fall off the shoulders, a strip of material should be sewn on the back closer to the neck.
- Sew on reflective strips.
A homemade life jacket made of trousers may not be as beautiful as a store-bought one, but here, as they say, there’s no time for fat - I would live.
From pants
They say that many sailors after shipwrecks, in order to stay on the water as long as possible, resorted to this particular method. In a critical situation, being in the water without a life jacket, they made a temporary life-saving device out of ordinary pants, which helped to save strength until help arrived.
They filled a home-made vest from trousers with ordinary air. It was pumped with the help of blows on the water.
- Right in the water, you need to get rid of the trousers, tie the ends of the legs with a strong knot (can be double).
- Fasten the fly, put the collar on the neck, make sure that the fly is located at the bottom - this will help to keep the air better.
- With the bottom of the trousers open, make 3 cutting blows on the water - sharp blows carry the air under the water, and it inflates the pants. After the pants are filled with air and inflated, quickly pull them up at the waist so that as little air as possible comes out.
- With the weakening effect of the vest, repeat the action.
In the second variant of events, blows on the water first follow, and then the vest is put on the neck.
- The knot is tied in the same way, without putting it on the neck, they are taken by the waistband of the pants with both hands.
- With a sharp wave, they pull the trousers out of the water and, quickly turning in the other direction, hit them on the water.
- A strong blow forces the air inside, and the pants inflate. You need to hurry to collect the bottom so that as little air as possible comes out.
To learn how to make a temporary life-saving tool out of ordinary pants, see the following video.
What filler to take for a vest?
The quality of a lifejacket is directly related to the quality of the filler.Before a long-distance fishing trip, the vest must be tested on nearby water bodies. Consider how you can fill a homemade life jacket at home:
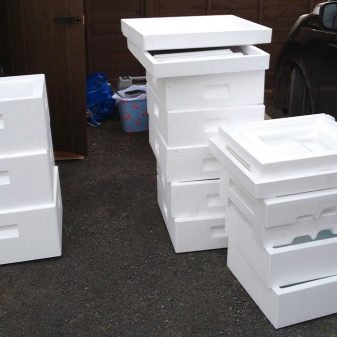
- rigid foam (expanded polystyrene - is a closed-cell polymeric material that is often used for packaging household appliances);
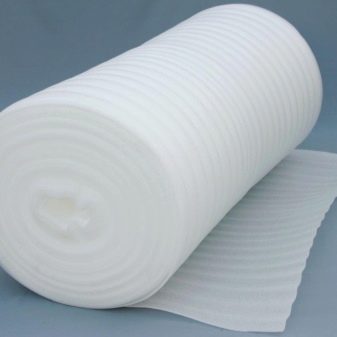
- isolon (foamed polyethylene, the structure of which consists of closed cells, is used as a heater, for example, as a lining for a laminate);
- toys children's inflatable, rubber balls, plastic balls.
Recommendations
Making a life jacket with your own hands is still half the battle, you need to know what kind of filler to fill it with. Many people prefer to fish alone and choose to fish in places where it is difficult for lifeguards to reach quickly, so in such cases a lot depends on the life-saving equipment.
Experienced fishermen prefer polystyrene to other fillers, since inflatable and rubber fillers lose air and become useless when mechanically damaged. Styrofoam mechanical damage is not terrible. It is desirable to choose a material that is solid, without damage, and then cut out pieces from it. For this, a construction or ordinary, well-sharpened knife is used.
How to make a life jacket with your own hands, see the following video.


