How to make a thermos with your own hands?
A thermos is an indispensable thing in a number of situations. For example, in those when you need to keep the liquid not only hot, but also cold. Few people think about it, but even cereals can be transported in a thermos. For those who lead a healthy lifestyle and watch their diet, taking various decoctions of natural herbs, it becomes indispensable. Only a small number of people know that you can make a thermos with your own hands at home. Read more about this in this article.
What it is
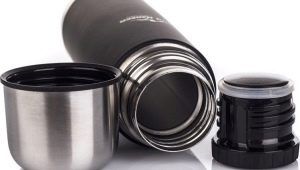
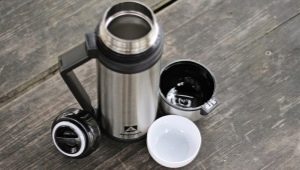
The question may seem strange, because each of us has seen a thermos. However, in order to start the process of making a thermos, you need to know how it works. The thermos is based on principle of Dewar vessels. A smaller container is inserted into a larger container, after which a vacuum is formed between them. As is known, heat is transferred by molecules when they collide in space or in a medium. If there are no molecules, then there is no heat transfer.
Obviously, the absence of molecules is a vacuum. It is he who is the reason for the low thermal conductivity. Heat is also transferred using infrared radiation. The inner surface of the thermos reflects heat precisely because it "does not receive" infrared rays.
Of course, it is not necessary to talk about the formation of a vacuum in a home-made thermos, but it is quite realistic to create conditions under which the thermal conductivity of the vessel will be low.
Necessary materials
In this article, we will consider two ways to make a thermos at home. The materials that will be needed to make a thermos in the first way, everyone can easily find at home.
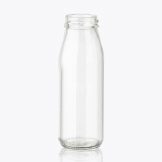
- Bottle. The easiest way to make a thermos from a glass bottle. You can, of course, use a plastic container, but it is not recommended. The main criterion in choosing a bottle is its volume. It should be noted that it is quite difficult to find a glass bottle with a tight-fitting lid, which is very important for a future thermos.
- Several paper towels or unwanted newspapers.
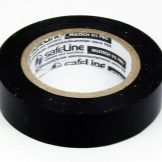
- To reduce thermal conductivity - black electrical tape (you can replace it with tape).
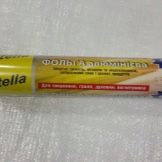
- regular food baking foil.
- Ordinary scissors.

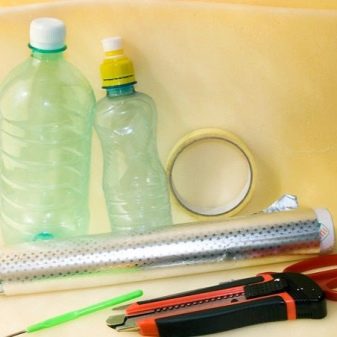
For the second - more complex - method, the following materials will be needed.
- Two plastic bottles with volumes of 0.5 and 1 l.
- Plain food foil.
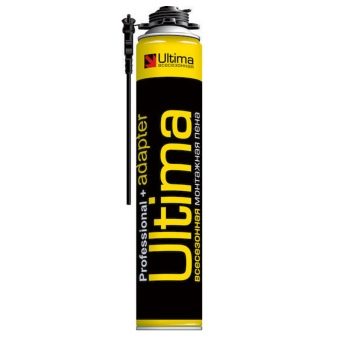
- Polyurethane foam.
- Scotch.
- Knife.
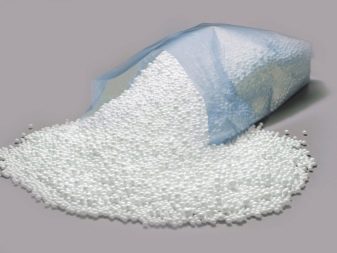
It is worth noting separately a number of well-known heaters that can be used in the process of making a thermos: Styrofoam crumbs, toilet paper, sawdust and even wool in any form. Most of these materials do not tolerate contact with water. Therefore, when using them in the manufacture of a thermos, it is necessary to carefully pour the liquid into the vessel.
Do not pour liquid into a plastic bottle, the temperature of which is more than 80 degrees Celsius. At high temperatures, the plastic begins not only to melt, but also to release harmful substances into the liquid.
How to do?
Below will be given step-by-step instructions on how to make a thermos for tea and more at home.
Method 1
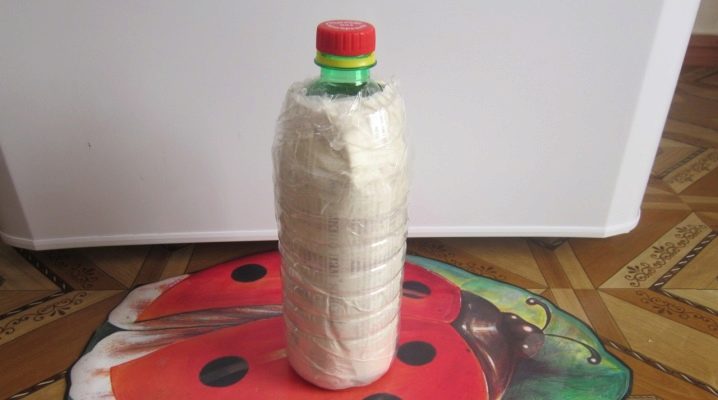
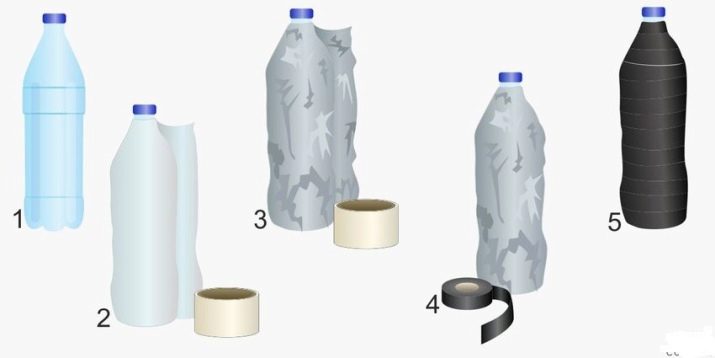
- You need to take one sheet of newspaper and wrap the bottle completely with it. You can also wrap the bottom. It is necessary to make three such layers, and more if you want to make a thermos a more efficient device. Sheets of newspaper can be replaced with paper towels.
- Secure it all with a layer of tape or black tape.
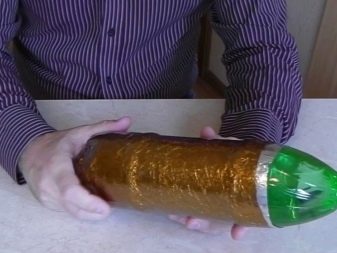
- The bottle is wrapped with a layer of foil.
- Re-secure this layer with tape / tape.
- Wrap the vessel again with a layer of electrical tape. It is best to start doing this in a spiral, securing the tape almost at the very neck, and then go down to the bottom.
- Homemade thermos can be considered ready. The only thing left to do is to test its effectiveness. To do this, pour boiling water into the container and close it with a lid.
After half an hour, you need to check the temperature of the liquid, focusing on your feelings or measuring it with a thermometer. If the liquid remains hot, then the thermos can be used.
Method 2
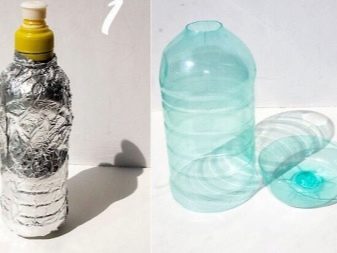
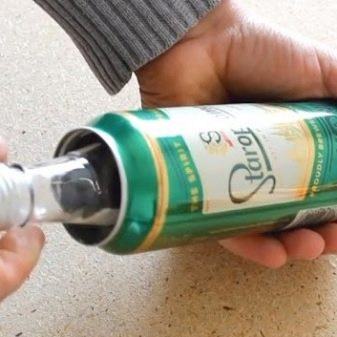
- First you need to take a small bottle and wrap it with foil. The shiny side of the foil should be inside the bottle. It is necessary to apply from 5 to 10 layers of foil. The bottom of the bottle should also be wrapped in foil. The same goes for the lid.
- Take a large bottle and cut off the top.
- A small bottle is inserted into a large one.
- Now both containers need to be fixed with tape to each other. It is especially worth paying attention to places where polyurethane foam can later pour out.
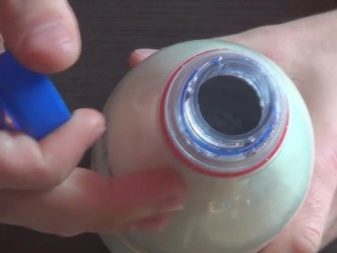
- A small hole is made at the bottom of a large bottle. This must be done carefully, without damaging the small bottle.
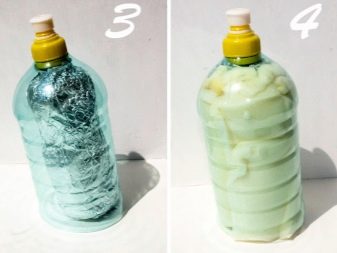
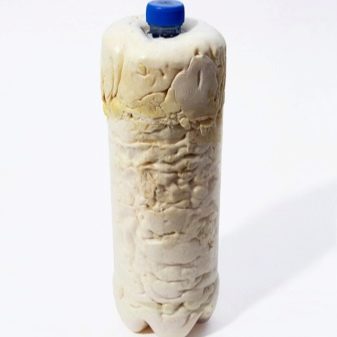
- "Pour" polyurethane foam into the free space between the bottles.The work requires special care - make sure that the foam does not spill out.
- Remove excess foam with a rag and leave the thermos to dry.
- Homemade thermos can be considered ready.
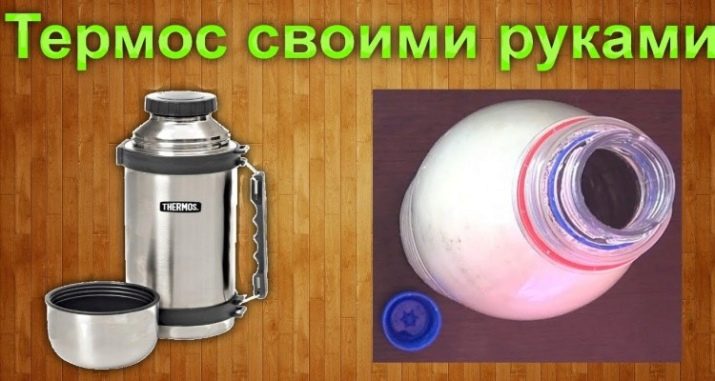
In the second method, instead of a small plastic bottle, you can use a glass container - either a bottle or a jar. She will keep warm better than the first.
Important! You can not use too much mounting foam if the bottle is made of glass, as the mounting foam has the ability to expand when it hardens. As a result, the inner glass bulb can simply burst.
Stopper for thermos
As mentioned above, it is necessary to take only the bottle that has a tight-fitting lid. However, if it is lost or because of it the liquid cools quickly, then the thermal insulation plug can be made independently.
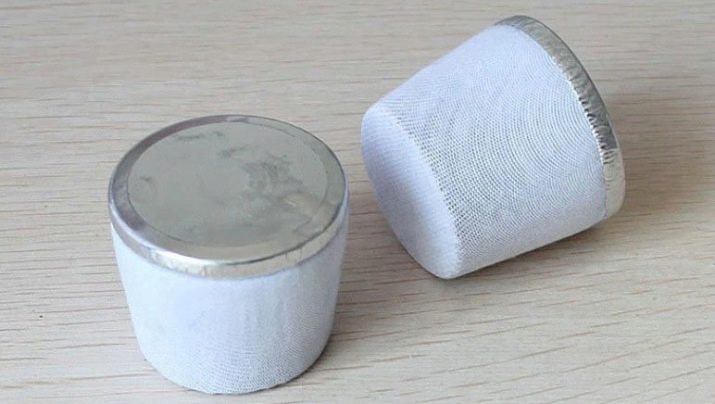
The easiest way is to make it out of foam. To do this, use a penknife to cut out an analogue of a cork from the foam, suitable for the size of the neck opening. After that, the cork is wrapped in foil. In the middle of the cork, you need to make a hole with a needle. Such a cork will be pushed out of the bottle by hot air when pressed (for plastic containers).
In conclusion, I would like to note that it only seems that it is impossible to create a high-quality thermos with your own hands. Even if it does not turn out to be quite as efficient as we would like, there are always a number of thermal insulation materials that can be used to increase the efficiency of the device.
How to make a thermos with your own hands at home, see the following video.