Thermos repair at home

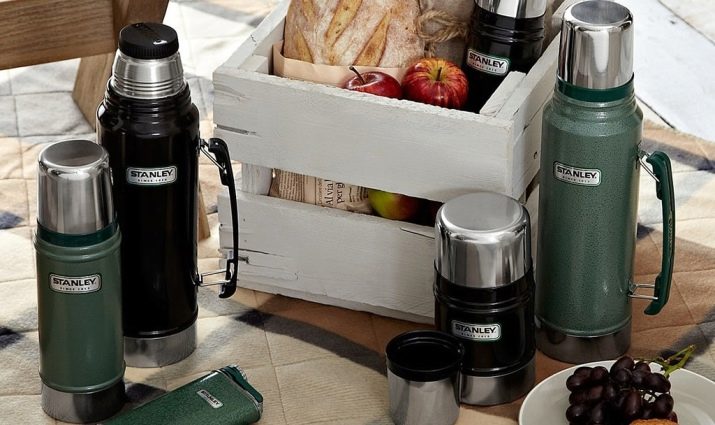
A thermos is an indispensable device in any journey that allows you to keep any liquid, whether it be tea, coffee or compote, hot and tasty. Despite the simplicity of its design and simplicity, it fails quite easily. Let's try to figure out what malfunctions exist, why they occur, and how to repair this device with your own hands at home.
Possible malfunctions
Given the simplicity of the design of the device in question, there may not be so many possible malfunctions:
- the thermos does not keep the temperature, that is, it cools down quickly;
- it gets very hot outside;
- broken button on the lid.
Some other problems can be caused solely by physical damage - chips, cracks, dents, that is, exclusively by physical factors.
Causes of problems
Now let's try to understand in more detail the causes of the problems described above.
If a stainless steel thermos ceases to hold heat, then usually this happens already as the device is used for some time. The causes of poor thermal insulation can be:
- cork damage;
- low-quality or deformed silver coating;
- there is no vacuum layer between the walls of the body and the cylinder.
If we talk about the first problem, it often happens that the cork was already defective from the very beginning. But it could also happen that the owner of the thermos twisted it too tightly, and after a while the connection simply cracked, and therefore the device stopped keeping heat. It is easy to check this - just tilt the metal closed thermos. If there is such a defect, hot water will seep out.
If there is a glass flask in the thermos, then inside there is a damaged or poor-quality silver coating on it. Usually we are talking about a factory marriage.
The problem may also be in the absence of a vacuum between the body and the walls of the cylinder. Almost any of the thermoses that exist today, even any Chinese one, has a double bottom. A copper tube passes through it inside, the end of which is flattened. It is through this tube at the manufacturer that air is pumped out using a special vacuum pump.
And it also happens that the thermos is heated. This is bad, because then the phenomenon of thermal conductivity appears.. The hot liquid inside transfers heat to the body, and he gives it to space.
Manufacturers often use inert gas as insulation. Especially often it is used in Chinese models, instead of creating a vacuum layer. This is easy to fix - just take it to the workshop, where the master must use a special pump to restore the vacuum or add gas. If the problem is in the crack of the bulb, it should be replaced.
To prevent problems, a thermos, despite its simplicity, requires careful handling and careful operation.
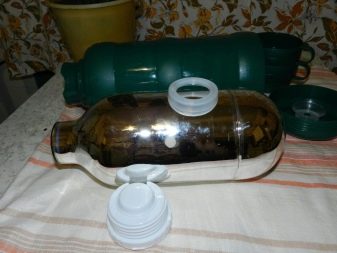
How to disassemble a thermos?
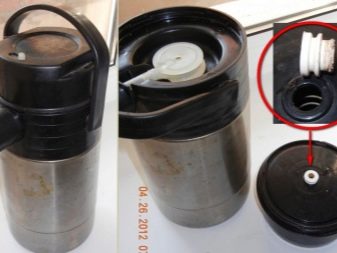
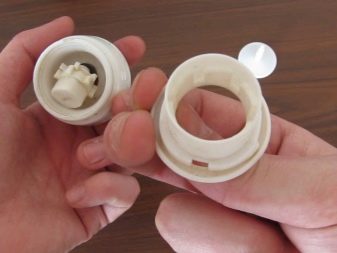
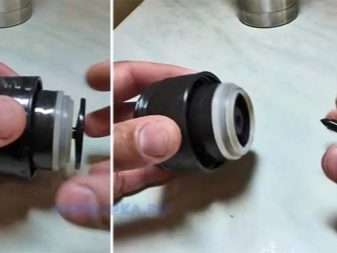
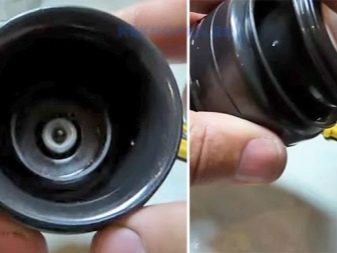
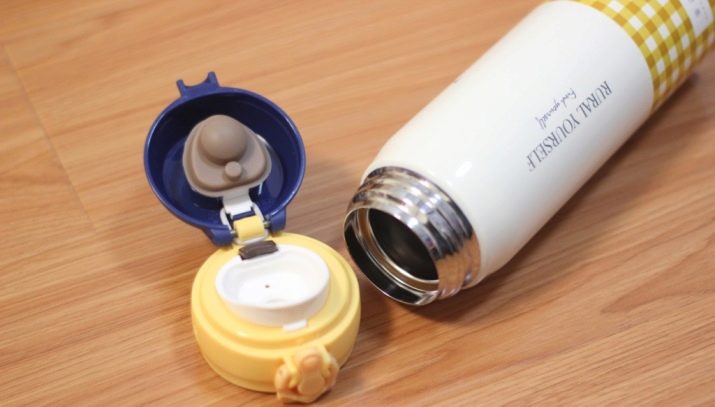
But if you decide to make repairs yourself at home, you should first disassemble the described device. Most often on the market there are models with a cover in which the button is located. There are several disassembly instructions for such devices. The first one will be the simplest:
- carefully unscrew the clamping ring counterclockwise so as not to break this plastic element;
- remove the valve from the thermos;
- we take out the valve mechanism for further disassembly;
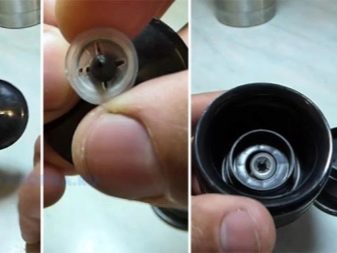
- now it is divided into 3 parts - we find a spring, a button and other parts of an auxiliary type;
- we disassemble the button itself directly by pushing out the valve stem so as not to damage the retaining ring;
- We wash all the parts and check their integrity.
Now the button should be assembled in reverse order.
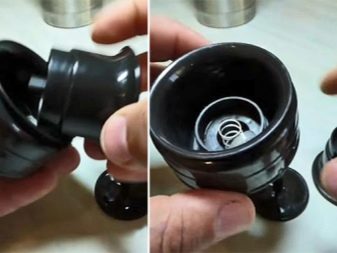
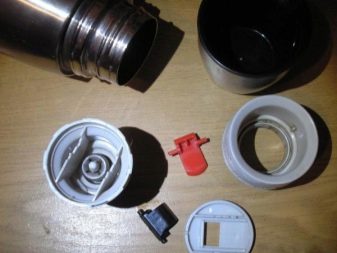
The second instruction will differ in that the cover is complicated by the presence of a second button:
- the lid is pryed off with a thin metal blade or any other similar object;
- the device has hidden latches that should be carefully bent so as not to break them;
- after that, a view opens up of all the details that are inside.
The assembly of such a cover will be carried out in the reverse order.
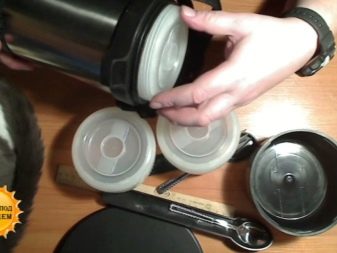
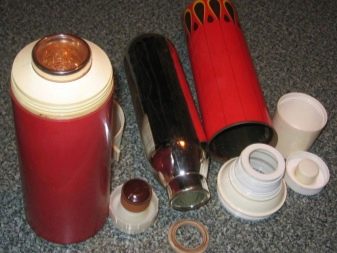
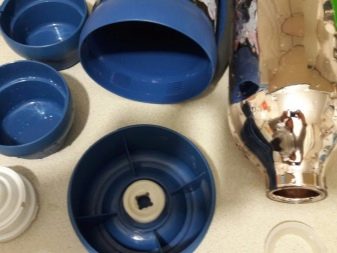
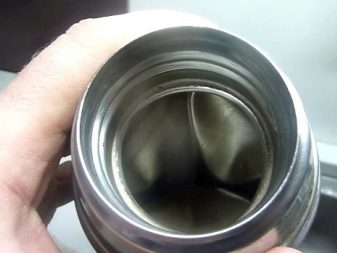
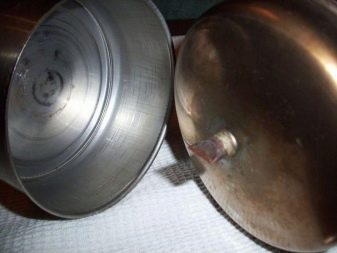
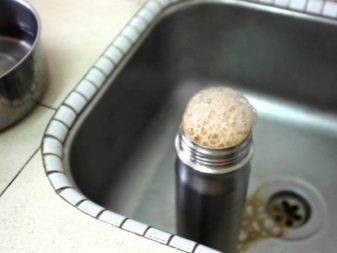
Let's move on to disassembling the thermos itself. First, make sure that the thermos flask is intact, for this you should get it.
To carefully disassemble an iron thermos, you should take a sharp knife, insert it into a special seam and very carefully, by tapping with a hammer, separate the inside from the body. This completes the disassembly process.
How to repair?
If we talk about repairing a thermos, then above we wrote what to do in the case of a broken lid or damaged coating.Consider what to do if there is less vacuum in it, but you don’t want to carry it to the service. You can create a vacuum layer yourself.
If you took out a glass flask and made sure that its integrity was not violated, then it should be insulated with isolon, and then wrapped with tape or strong twine. Now we put it back into the case, having previously replaced the special insulating rubber. It should be said that such a thermos will not keep warm for a long time, as before, but it will last for several hours.
If inside the thermos the flask is made of metal, and there is no damage on it, then the problem may be precisely in the rubber bands that act as a sealant. They are easy to replace by taking from another device, buying from a hardware store, or making it yourself from a piece of rubber.

If cracks were nevertheless found in the metal flask, then it is possible to fill the space between the flask and the body with granular foam or polyurethane foam. You can also fill the space with Christmas tinsel. But in this case, all these methods will only be a temporary solution. With such damage, it would be right to purchase a new thermos, since the repaired one will not last long.
If repairs are needed in case of damage to the casing from the outside, you can contact the car workshop, where they can fix it using liquefied gas. True, the cost of such repairs will be too high, which makes this procedure simply impractical.
Another option, if the appearance is not particularly important, then you can, having pulled out the flask, gently tap on the body from the inside with a hammer.It is not necessary to make a perfect appearance, you just need to make sure that the walls of the flask do not touch the body from the inside.
Repair will not be possible if the glass bulb has cracks and chips. Deformations of this type pose a threat to human safety. Therefore, it is better to simply throw away a thermos with such damage.
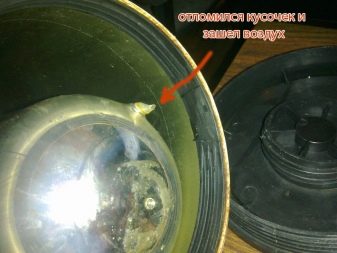
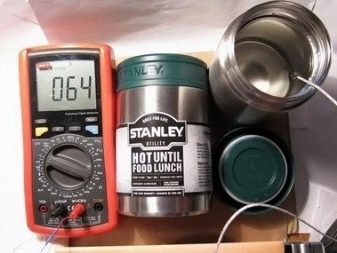
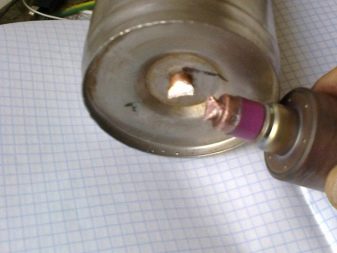
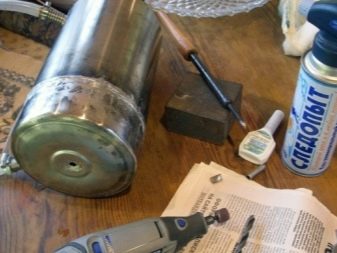
If you are faced with a lack of vacuum in the thermos, then to fix this problem you will need to do the following: inside the thermos we make a hole where we insert the tube and solder it. It will be needed to pump out air. Now you need to start pumping air into the container to see if the container is leaking it somewhere. We put the thermos in a bucket of water and gradually begin to apply pressure to it. A pressure of 2 kilograms will be enough so that the container itself does not swell.
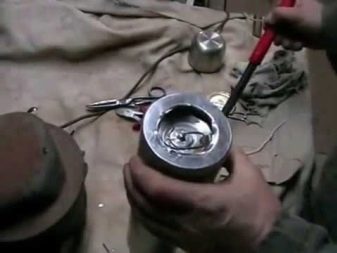
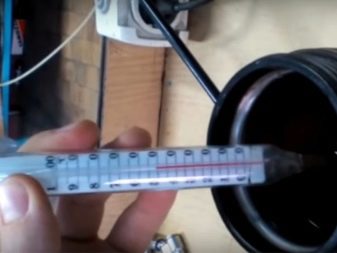
When a defect is found, you should take a soldering iron and close up the place where the container passes. Now you need to pump out the air. To do this, we make a clamp, and start the electric pump.
When the pressure is at the level of 1 kilogram, you should pass the tube. Now we solder its tip to block the access of air. In addition to vacuum, there must also be a mirror coating so that it reflects infrared rays from the walls. This will keep the heat in the thermos even longer. This will complete the repair.
Operating rules
Now we should say a little about how to properly use a thermos. Everything seems to be simple, but for some reason many people manage to misuse even such a simple device.
Before purchasing, you should inspect the product as carefully as possible for physical external damage. You need to see how tightly the lid fits, and whether the thermos makes any extraneous sounds. It can also be sniffed to check for bad odors. If they are, then it is very possible that it is made of not the highest quality materials.
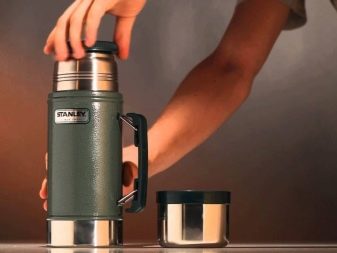
If the materials from which the thermos is made look suspicious, then it is better to refuse to purchase such a product. If you are often on the road, it is better to purchase a large volume thermos. This will not only allow you to take more warm drinks with you. Such models retain heat much better than small-sized counterparts.

If you have purchased a model similar to a siphon, then you should know that it has a significant drawback. It lies in the fact that heat is retained worse here due to certain features of the cork, due to which it is not completely sealed.
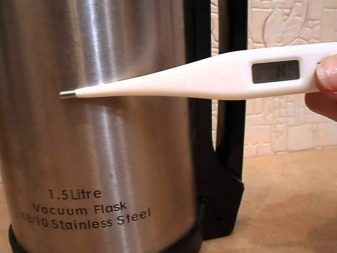
It is preferable to buy thermoses made of stainless steel. They retain heat better than plastic solutions. The flask will also be important. Well, if the flask is made of thermoglass. This will allow the liquid to cool more slowly due to the presence of the silver coating.
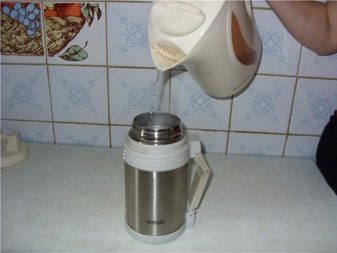
It should also be noted that metal thermoses, in which there is a glass flask, should not be immediately checked by pouring boiling water. It is better to first pour a little hot water to warm the walls. The fact is that glass really does not like serious temperature changes.

In addition, the thermos should be handled with the utmost care. You should not throw it on the surface, no matter how soft it may be. A glass flask can break even as a result of a light throw onto such a surface.
And also from time to time it is necessary to clean the thermos valve and the lid from dirt and plaque, using various gentle means. In this regard, it will be better to wash the thermos with lemon juice, baking soda or soapy water.
And also, you should not pour boiling water into a thermos under the very neck. It does not need to be put in the microwave to try to warm it up. If the boiling water inside has cooled down, you should not heat it on an open fire and at any other sources of high temperatures. Also, do not overtighten the plug when using this product.

In addition, after use and cleaning it from liquid residues, it is better to keep it disassembled until the next use.
Besides, to avoid any deformation, you should wash a product such as a thermos by hand, and not in a dishwasher.
In general, it is possible to repair a thermos at home, but the set of measures is limited to just a few actions due to the presence of certain design features of the product in question.
For information on how to repair a thermos, see the following video.