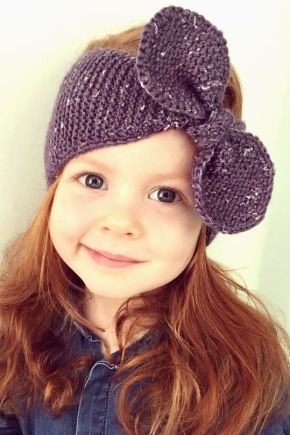
Knitted headband for girls
Every parent wants to protect and embellish their child. One of the accessories that fulfills both of these conditions at the same time is a headband. It can protect your child in inclement weather and serve as a good decoration.
Models
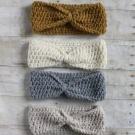
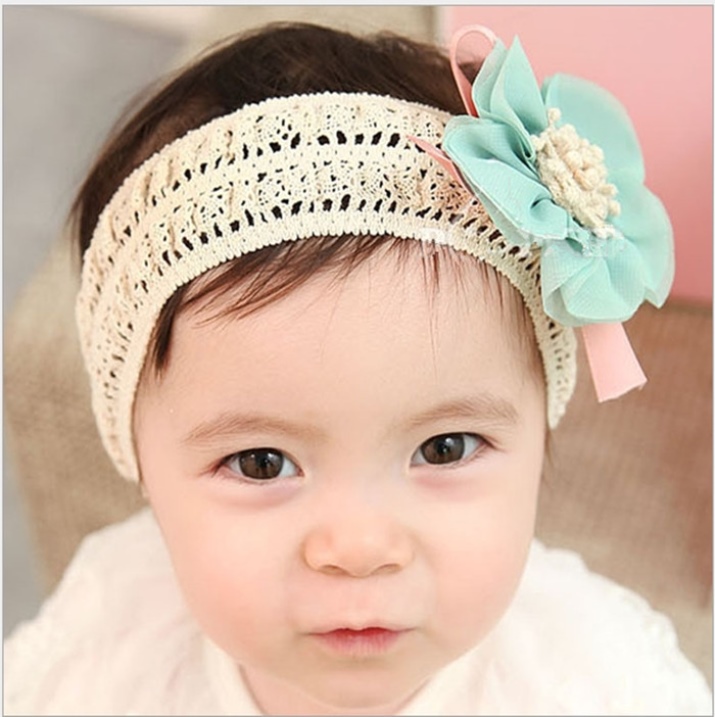
Bandages may vary in their width. Some models are very narrow. But there are also those that can cover the head of the child completely, leaving only a place for the release of hair.
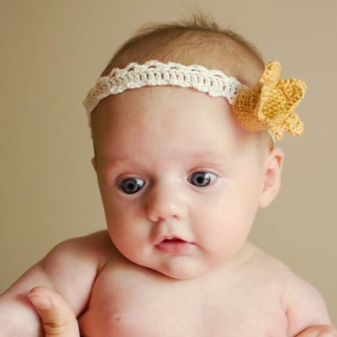
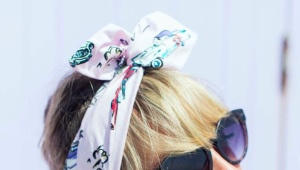
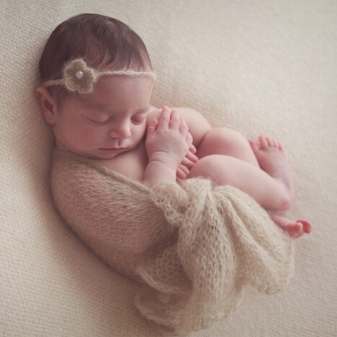
Narrow ones can be worn in order to complement the image of the baby. If you are going for a walk on a warm summer day or planning to arrange a photo shoot, then this is the most suitable option.

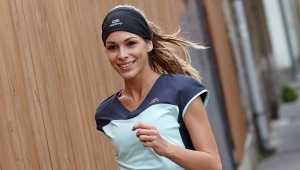
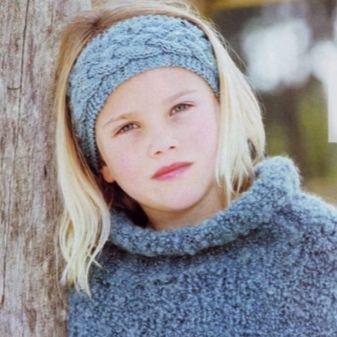
Those that are three centimeters or wider will be relevant in cool weather in spring or autumn, or fit on a windy summer day.
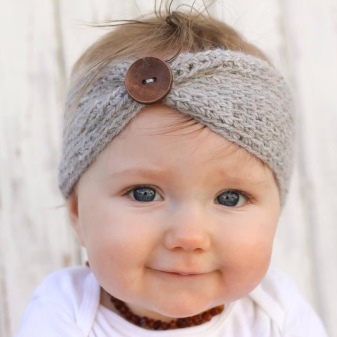
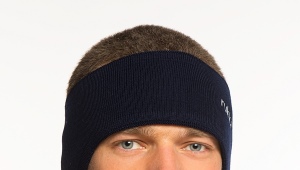
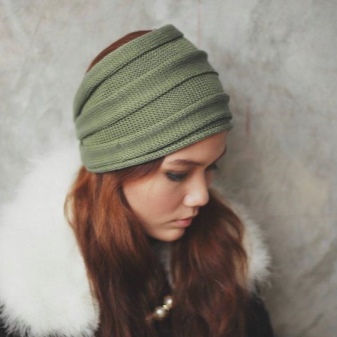
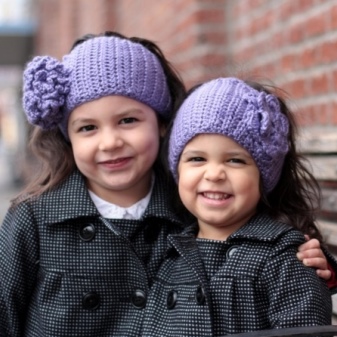
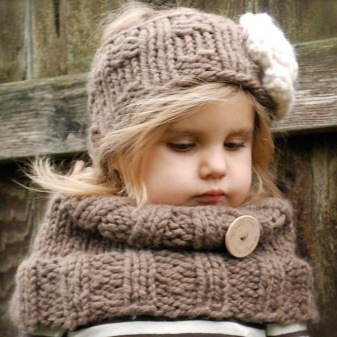
Headbands wider than six centimeters are the perfect addition to the wardrobe in colder weather for older children. Or they can be worn under a hat.
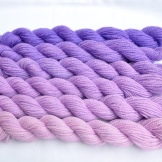
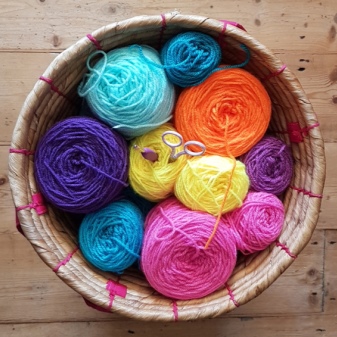
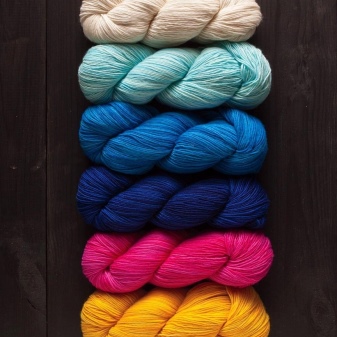
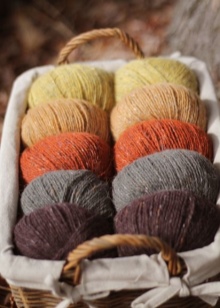
Color spectrum
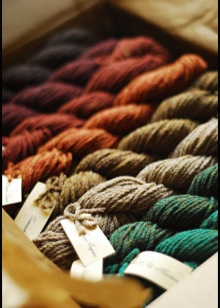
Nowadays, the color palette of things is unusually diverse, many shades are perfectly combined with each other and create stylish and luxurious combinations.
Thanks to this, you can have several headbands available that will perfectly fit the entire wardrobe of the child. After all, children also want to look stylish.
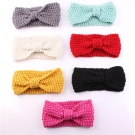
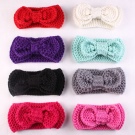
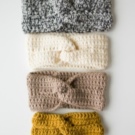
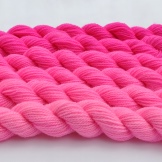
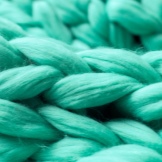
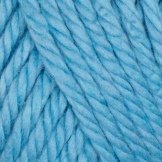
For spring, when everything is just blooming, delicate colors will be an excellent choice. These include pink, mint, lilac, blue.
Closer to summer, when the sun pleases all living things around, it is better to choose a brighter palette. Juicy and colorful colors would be ideal. Red, green, blue, yellow - exactly what will be needed at this time of the year.
For autumn, I recommend opting for brown shades. Beige, golden, ocher will be a great addition to a child's look.

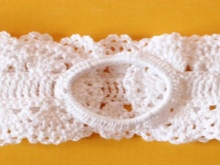
DIY
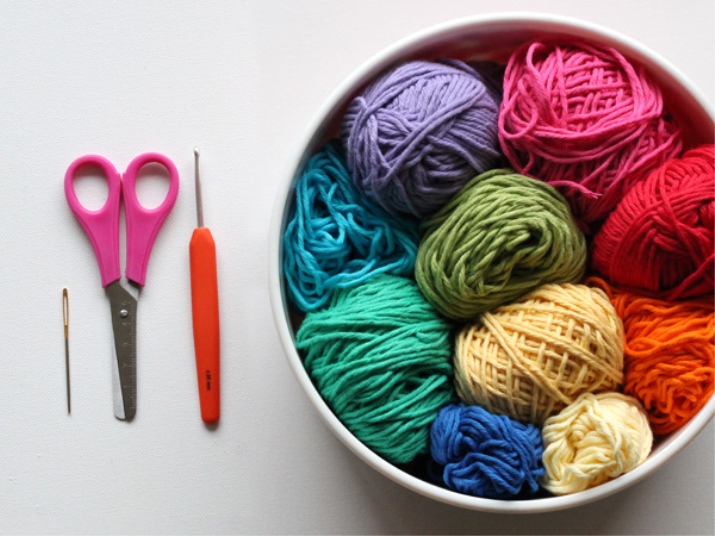
Associating such an attribute is quite simple. All you need is a skein of yarn. Preference should be given to cotton raw materials. You also need a 3 mm hook - small, an elastic band for hair (preferably to match the yarn) and a sewing needle.
To begin with, it is worth dialing air loops. They need seven. If you want to get the final product wider, then you can dial nine. The dialed loops will be the basis for the future product. We will attach them to the prepared elastic band.
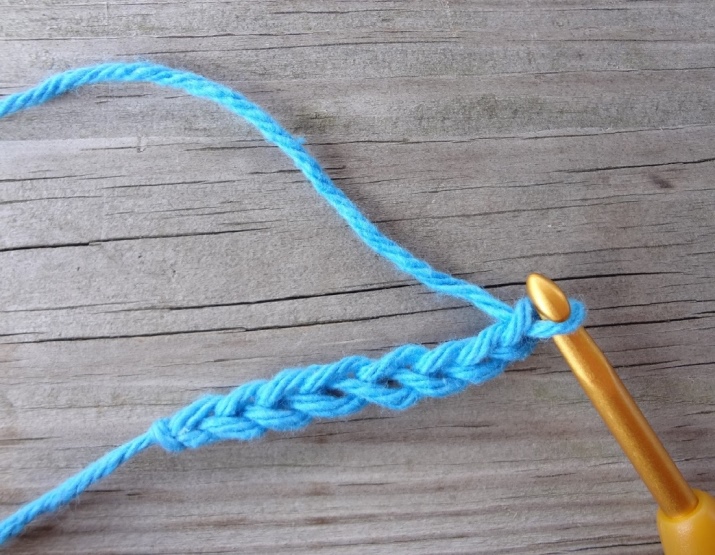
Next, make one air loop and enter the hook already in the second stitch of the line. Having brought it under the elastic band, it is worth grabbing the working thread and finishing it. To make the elastic “shrouded” in loops, you need to repeat the action six (or increase the number by two if the selected width is nine) times, resulting in seven (or nine if the selected width is nine) stitches.
For “building up”, it is worth dialing three lifting loops and knitting them with overlapping columns into the corresponding stitch from the previous row. Then dial three lifting loops again and knit a column, throwing it into space with the previous one. Repeat by knitting a row.
Continue to dial in the lifting loops, having obtained the optimal length. When finished, secure the end of the bandage.

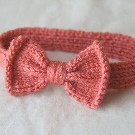
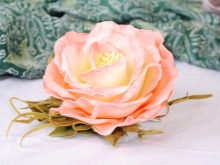
Decor
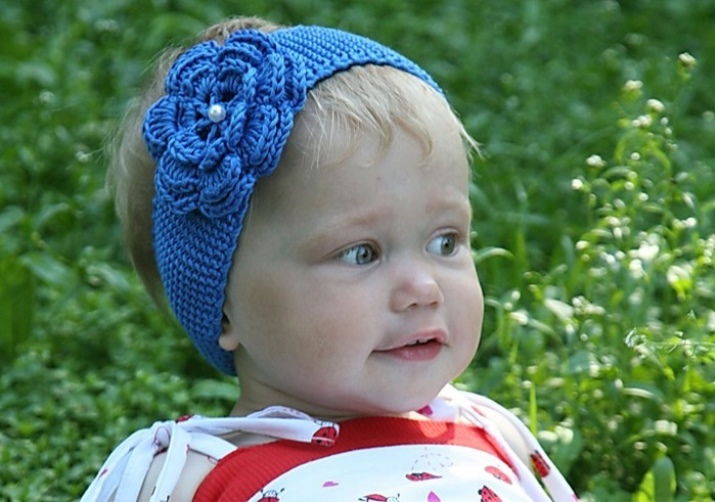
If you wish, you can add some kind of decoration, such as a fabric flower, which will not interfere with the child.It won't be difficult to make it. All you need is a piece of fabric no more than 10 centimeters long to match the bandage or combined with it, a thread and a needle.
To make the desired accessory, wrap the fabric around, increasing the diameter towards the center, starting from any edge. Sew, securing with a thread in the middle.
Your product is ready!

For older kids, you can choose other decorations for the bandage.
One option could be flower from foamiran. Having just appeared, this material was widely used quite quickly. Due to its texture, it is often referred to as plastic or faux suede. The diverse use of elements from it is very extensive today. Details for bandages are made in the form of flowers, butterflies and hearts, or by combining them together.
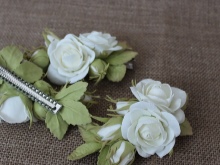
The result is bandages that look very impressive and fashionable.
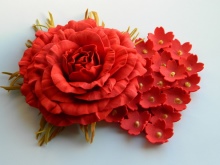
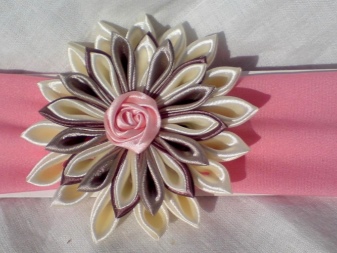
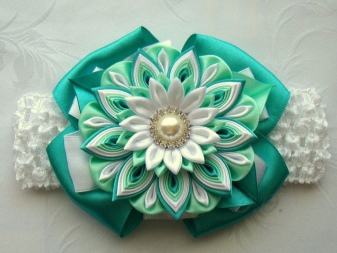
Jewelry made in Japanese treasury technique. This name is given to jewelry made from satin ribbons, less often wood, metals or silk are used to create them. There are a lot of ideas for creating them, which are readily used by those who are engaged in creativity. Basically, these are flowers of different colors and sizes. Tapes for their manufacture vary in width, color and texture. Combining them with each other, needlewomen get a variety of details for bandages.
Create an image of your child with him, then both of you will be happy with this process and the result.
A detailed guide to creating a bandage is in the next video.