How to make a tent with your own hands?

Outdoor enthusiasts have no idea how you can get out into nature or even go hiking without a quality tent. However, many models of this structure today cost large sums that are not available to every family. In order not to strike a blow on the budget, but at the same time not to deprive yourself of your favorite type of activity, it would be nice to learn how to make this necessary item yourself.
Construction types
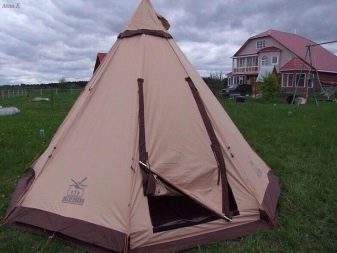
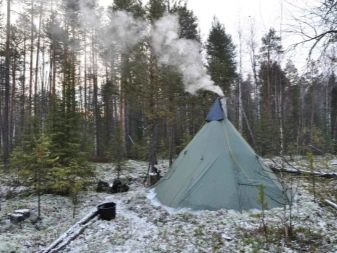
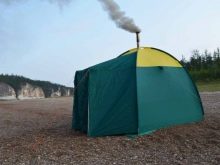
A tourist camping tent may look different. The chum model looks very unusual. A large structure is made of waterproof fabric, and the frame is usually made of steel. The size of the tent even allows you to build a fire inside, as there is a special hole in the upper part through which smoke escapes. The "plague" has one entrance, and installation is impossible without a pole.
This model is quite expensive and difficult to operate, so it is not suitable for frequent and short-term use.
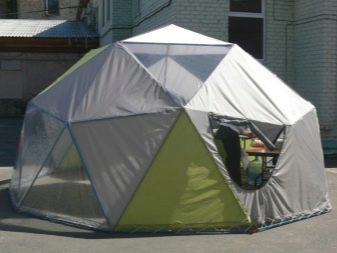
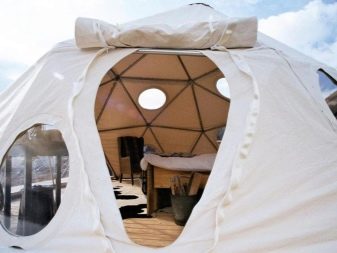
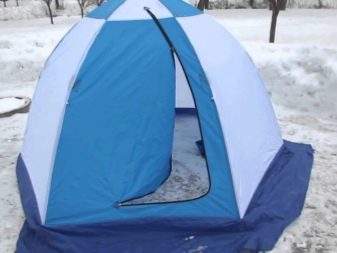
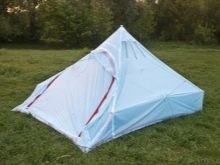
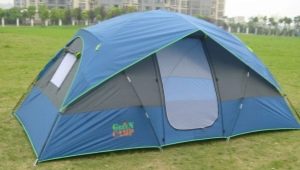
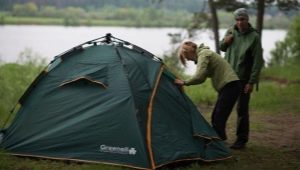
dome tent resembles a needle in appearance, which favorably distinguishes it from the background of conventional designs. Its base is rectangular, and the frame is created from two arcs. The coating can be either single-layer or two-layer.
Such tents are convenient and comfortable to use, but they are quite heavy and sometimes create difficulties with ventilation.
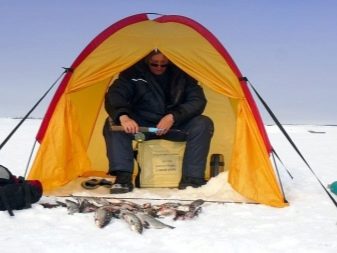
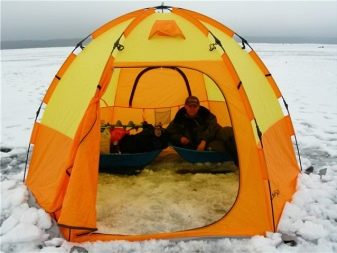
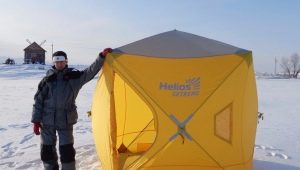
Tent for winter fishing can also be produced in various variations. Many of them, however, are also used for summer holidays. The umbrella model is considered one of the simplest due to the elementary assembly and installation of the structure. For the frame, as a rule, strong, but lightweight materials are used, and everything is covered either exclusively with synthetic fabric, or its combination with canvas fabric.
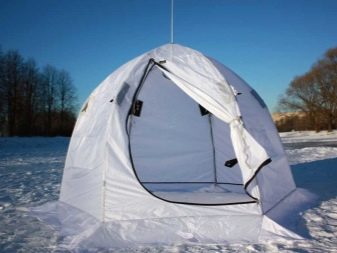
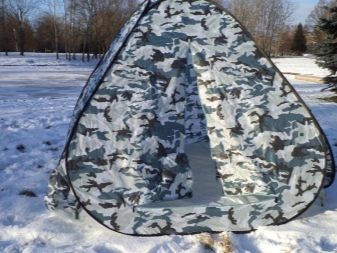
Popular model "automatic" and installed under the influence of a spring. This design is easy to carry and set up, but folding it back up can be tricky, especially for inexperienced fishermen. In addition, the stability of the tent is very weak, and gusts of strong winds can simply overturn it. The frame collapsible variation is assembled from several arcs that form the base, and an awning covering it.
It is again considered very easy to operate, but it does not differ in particular stability.
Materials used
When a tent is made by hand, there are special conditions that the finished structure must meet. It must be stable so as not to lose its shape not only during long-term use, but also during showers, gusts of wind and other weather manifestations. Besides, it is important that it is not so difficult to transport and install, and the size is suitable for the number of people who plan to use it. All of the above factors determine which materials are used.
The main requirement is that it is important that they are dense, waterproof and not very heavy.

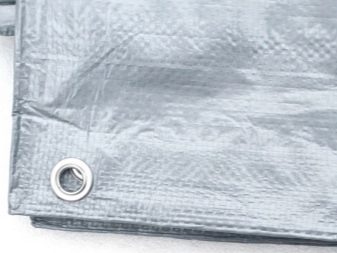
For example, for coating, experts recommend using canvas, parachute fabric, percale - plain or rubberized, stretch fabricdesigned for the manufacture of waterproof clothing, banner or just for a tent.
If we talk about density, measured in grams per square meter, then the best indicator for the tent fabric is 260, followed by raincoat fabric with an indicator of 200 and rubberized percale, the density of which reaches 250 grams per square meter. When the goal is to make an awning, then a polyethylene film is suitable, the density of which ranges from 50 to 100 grams per square meter.
The frame is formed from a light material, but at the same time durable. Moreover, it is not at all necessary to purchase a new product - aluminum tubes from a folding bed, PVC pipes, ski poles are suitable. Polypropylene blanks are also suitable. It is better not to use plastic structures, as they do not differ in stability.
Required Tools
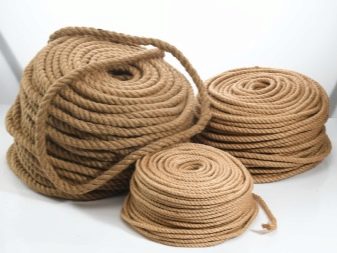
Additional tools are determined depending on what shape the tent is to be made. As a rule, we are talking about high-quality and durable ropes, ribbons required for processing seams, threads with needles and special bedding.
Manufacturing instructions
To sew a scarf with your own hands, it is enough to have certain knowledge and skills. At the preparatory stage, when a pattern is still being searched for on the Internet, or the drawing is made independently, it is also necessary to prepare the material used properly. In the case when the fabric is already impregnated with water-repellent solutions, nothing else will have to be done, but the same tarpaulin cape will have to be additionally impregnated with a special agent.
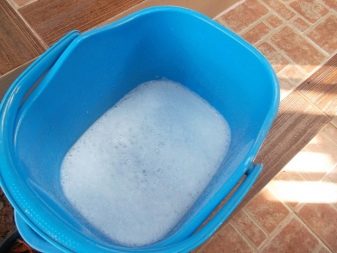
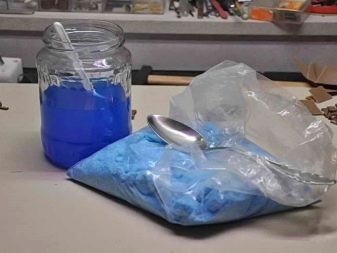
There are several proven recipes suitable for this purpose. For example, first the fabric is soaked in a 40-50% soap solution, and then transferred to a 20% copper sulfate solution for several minutes. The processed cloth is dried qualitatively before further use. You can also stir in 4 liters of heated water a pound of soap, 450 grams of rosin and 25 grams of laundry soda. The fabric is soaked for about a couple of hours, after which it is also dried with high quality. Finally, alum is also suitable for this purpose, which is combined with water so that 4 parts of alum are 10 parts of water.
2 parts of fish glue and a part of linen soap are also added there. The material processed in this solution will also have to be rinsed after wringing in water with the addition of 4% vinegar.
During work, it is important to comply with safety rules and be sure to wear gloves. If you don’t want to bother with additional processing, then you can simply cover the tent with a film attached to clothespins.
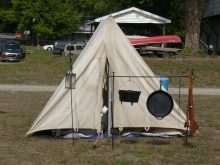
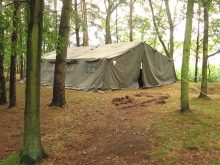
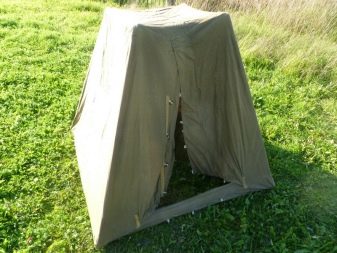
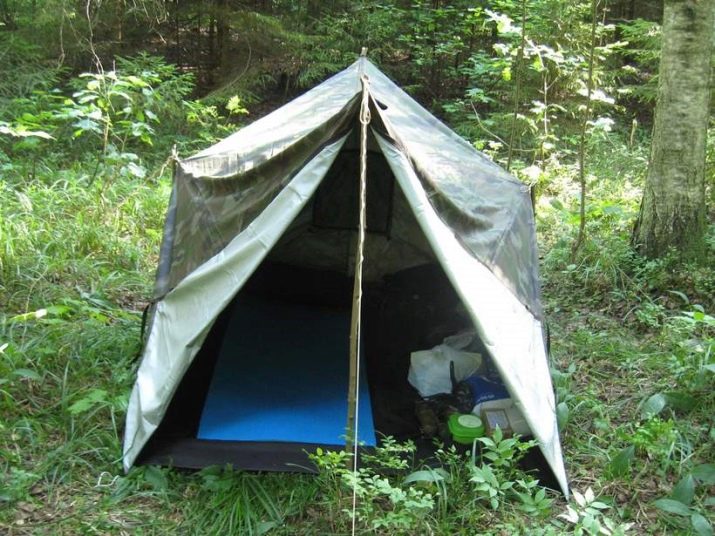
Next, you have to sew a tent according to the existing scheme. The simplest model implies the simplest frame, which is a riser from an ordinary ski pole. However, it is still better to build a structure in the shape of the letter "L", which will be distinguished by better stability. In principle, if the tent will be used in a wooded area that allows it to be fixed between two trees, then a riser will not be required at all.
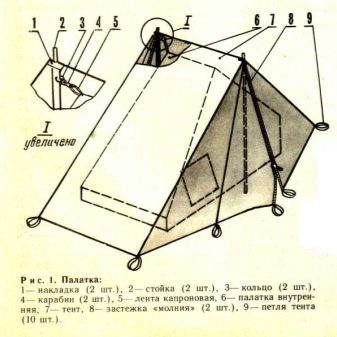
The tailoring itself, as a rule, consists of sewing in stretch marks with the help of nylon ropes, installing loops for pegs, as well as fixing the zipper. The base is cut from rubberized material and simply connected to the cape.It is important not to forget about the holes designed for ventilation. The fastest way is to create small cuts and place a regular branch in them, after sheathing the edges with threads. Optionally, a window is additionally created in one of the walls.
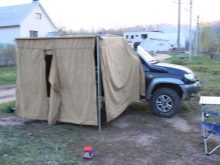
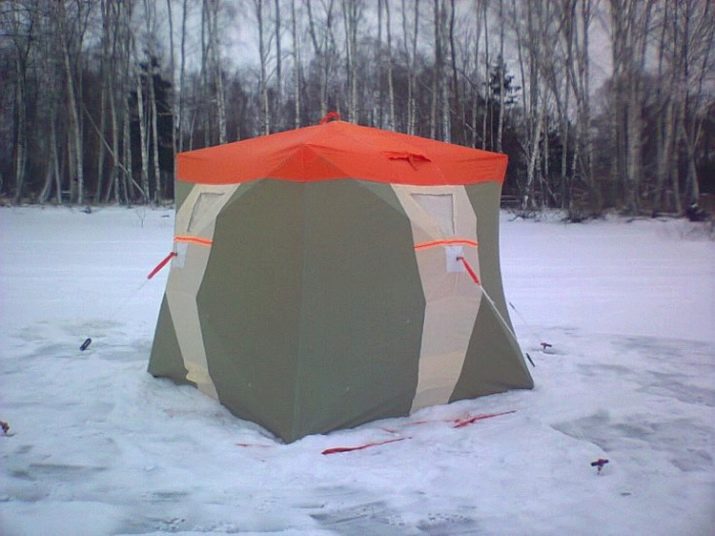
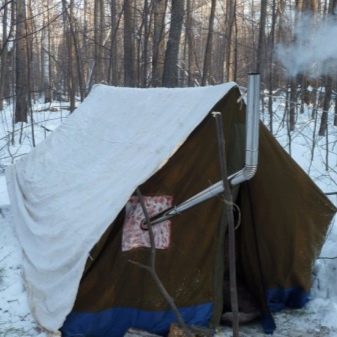
Creation winter tent, which can be used for fishing seems to be a bit more of a challenge since it is important that the building can protect the owner from precipitation and hypothermia. The frame in this case will be more complex, so you have to stock up on old skis with sticks, tubes, and a folding bed. The material for the awning itself should be as dense and reliable as possible. Since the skis are taken for the base, their use will allow the structure to be transported to the required place.
Ski poles are used as vertical bases and tubes transform into a horizontal top bar. To fix the frame, special tees are suitable, the diameter of which must be correctly selected. The lower part of the ski poles is inserted into the skis, secured with a metal plate and a “t-shaped” tongue. Curved tubes from a clamshell are suitable for connecting the structure to the angler's box. The procedure is carried out due to the presence of a copper spring. The cape is usually secured using normal ropes and staples attached to the skis.
Additionally, it is recommended to consider a weighting agent, since in bad weather a light structure can be tritely knocked down by a blizzard.
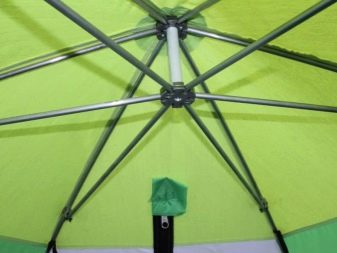
Choice made in favor of the "umbrella" model, makes the job much easier. The frame in this situation is assembled from duralumin tubes or rods. Such material will give the necessary rigidity that can withstand an unusual shape.The cape is cut either from tarpaulin or synthetic fabric.
A frame tent on arcs is rarely chosen by fishermen, but it is still just as easy to do. The structure itself is assembled from reliable arcs made of either duralumin or fiberglass. The cape is made of ordinary materials. The "automatic" tent requires a frame structure assembled from metal rods: strong, but at the same time flexible.
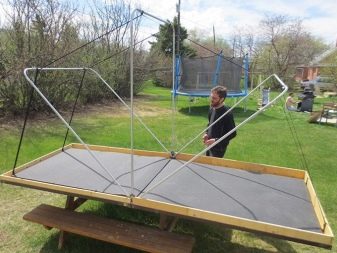
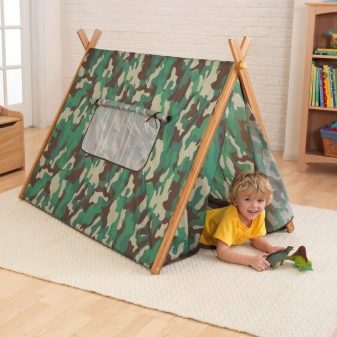
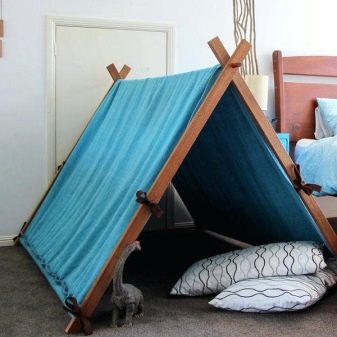
Sometimes a tent is sewn not only for the purpose of hiking or winter fishing, but also for children's play. The frame of this design is assembled from wood. In addition to 4 rather long bars, you will need a piece of fabric, a crossbar and elastic bands. Fastening takes place using a conventional drill. The bars are crossed in pairs at the intersection point, and a hole for the crossbar is drilled there. Having fixed the frame, it is necessary to deal with the fabric material.
For a tent, it will be enough just to sew a small piece of elastic, folded in half, on each corner. At the end, the canvas is stretched on a wooden frame.
In general, the sewing of any tent follows the same instructions. The first step is the choice of model, after which the dimensions are determined. Verified tourists recommend planning the building so that it can accommodate from 2 to 4 people, and for each there is a space of 50 by 200 centimeters.
It is necessary to immediately think over places both for lodging for the night and for storing things. The optimal height of the tent is considered to be 150 centimeters.
The drawing is created immediately in the current scale, depending on which it is calculated how much fabric and other materials are needed. The selected fabric is cut according to the drawing. When stitching the elements, you should use a double seam, which is then covered with rubber glue.The braid is pre-washed and dried to avoid shrinkage during operation. Next, loops are created in the chosen way, on which stretch marks will then be attached.
The entrance to the tent is most often formed from a pair of canvases, which are closed with loops and fasteners. Additionally, it is worth forming a threshold that will protect the interior from the penetration of liquid or dirt.
How to make a tent with your own hands, see the following video.


Thanks to