How to properly assemble a tent?
Active recreation in nature is a great leisure option in your free time. After all, it’s nice to go with family or friends for a couple of days to nature, cook something tasty, play various games, sing songs around the campfire and tell interesting stories. But without the necessary attributes, you should not go on a trip. One of these elements can be called a tent.
Today they have become much simpler in design and weight than they were 10-15 years ago. Thanks to this, even a tourist who has not done this before, in summer or winter, will be able to collect it.
Location selection
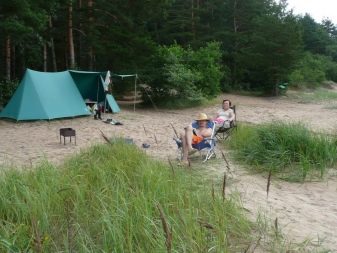
When resting in the forest, one should very carefully approach the issue of choosing a place where we are going to pitch a tent. It must meet a number of specific criteria. First, you need to pay attention to how the place of interest to us is protected from the wind with the help of trees or shrubs. It will not be superfluous that it be removed from water sources, where mosquitoes and other insects are usually found.

The area should also be inspected for various threats:
- trees that can break during strong winds;
- narrow ravines and gorges, as well as dry beds of streams;
- places where there may be rockfalls and where there is a risk of being struck by lightning;
- places for tents on the road.
Also, a place for a tent should be as even as possible. If there are various branches, stones, cones and other debris, it should be cleared. If it was decided to set up a tent on a site with some slope or bumps, you can use various improvised materials to deal with them. A number of irregularities can be laid right inside the tent itself with the help of empty bags, clothes, and so on.

The tent does not need to be set up in pits or in the path of water drains, because its bottom can be wetted. With such a risk, it will not be superfluous to dig it with a small ditch for drainage. A slight even elevation will be an excellent protection against flooding and without any ditches.
A tourist tent should also be mounted at a certain distance from the fire, taking into account the direction of the wind.
When choosing a place, you should also remember about hiking trails, as passers-by can cling to them and cause a lot of trouble. It should also be ensured that the place where the tourist is going to pitch a tent was away from the ants. It will not be superfluous to orient the tent with an exit to an open place without bushes and trees, so that it would be comfortable to leave it in case of some emergency.
Preparatory work
Before you set up a tent, you need some preparatory work. First you need to get all the components of the tent, lay them out on the ground and check that all the elements are in place. It usually consists of:
- external and internal parts;
- a set of arcs or racks;
- footprint;
- peg.

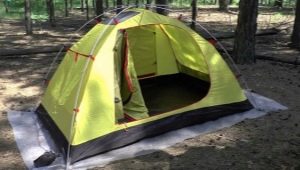
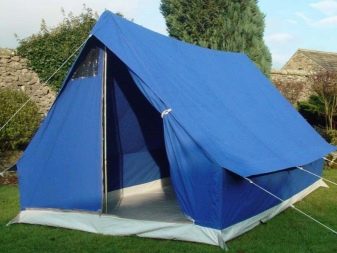
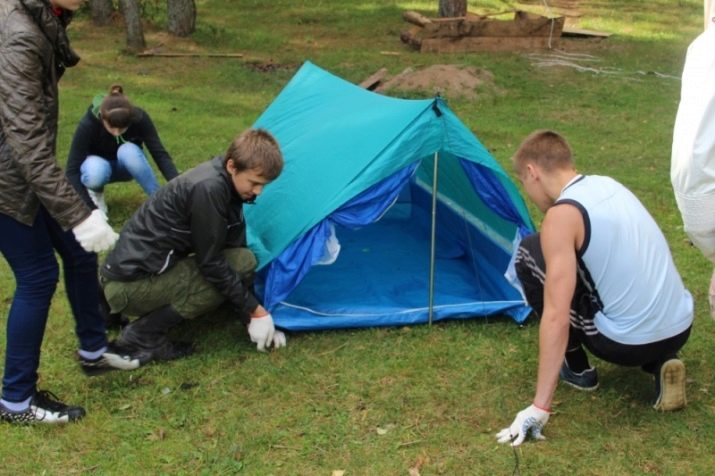
The set of elements may vary depending on the type of product, as well as the number of seats: a double can have some elements, and a triple can have several others.If the kit contains a diagram that describes the assembly procedure, then it should be carefully studied. If there is no such scheme, then you should find the inside, which is usually painted yellow and is characterized by the presence of an entrance and a mosquito net.
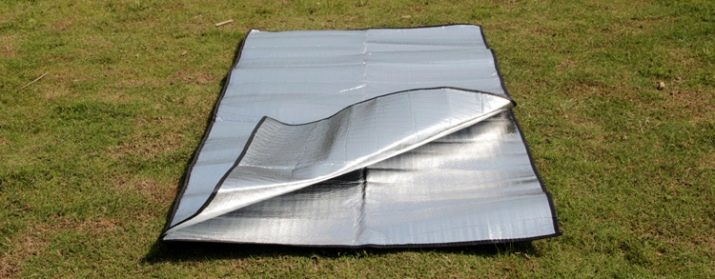
Now to lay footprint - a bedding for a tent. It is necessary to protect the bottom from any sharp objects and is an additional insulation from water. This element can be easily used as a separate floor when installed without internal elements. Most often, such an element is absent, but in a number of models it is. The footprint should be laid out exactly in the place where the tent will be located. Now we put all the elements there, after which we can begin the assembly.
But first it is worth determining where the product has an entrance and positioning it in the desired direction. Further, depending on the type, the actions may differ, but let's try to consider a more or less universal option.
Installation
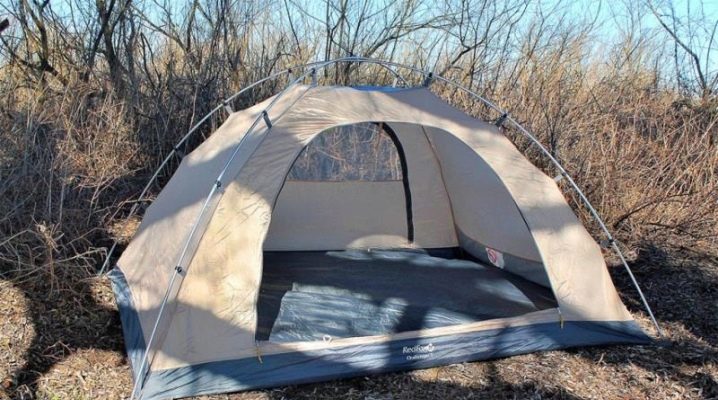
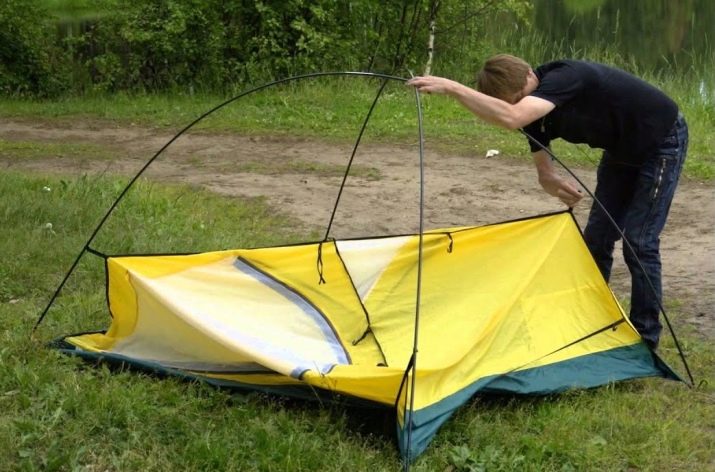
Now let's figure out how to properly assemble a tent. In the classic case, the interior is installed first. The arcs should be installed in the eyelets located at the corners of the bottom. Moreover, the arcs should be placed crosswise. They should be fixed with special plastic clips or other devices, if they are included. But usually these are clips that are sewn to the bottom of the tent.
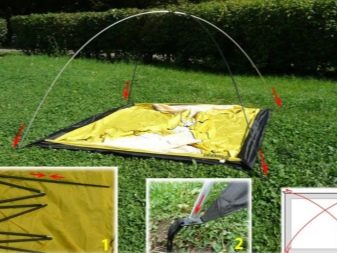
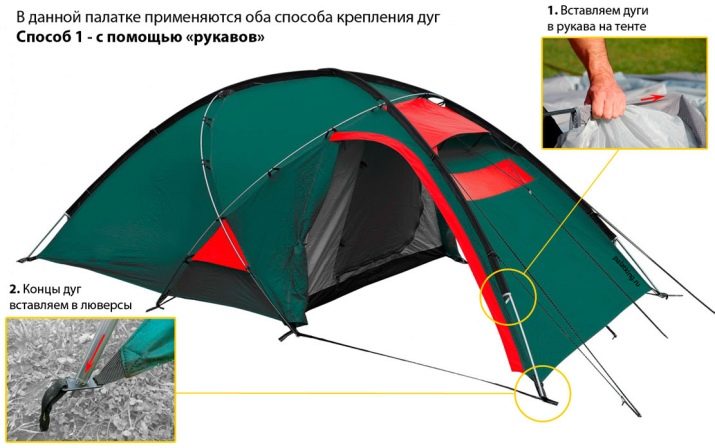
Where the arcs intersect, they must be tied up with a special device. In a number of designs, the collection is carried out in such a way that the arcs are first threaded into special sleeves of the tent, which are located on the outside, after which the arcs are installed in the pins. And the tent of this type rises.Now the arcs are also fixed in a special place where they intersect.
After the frame has been installed, the arcs are placed in a curved state along the corresponding parts. And each should bend in its own plane. If they are not bent in a plane due to the fact that they are deformed, then they can be corrected.
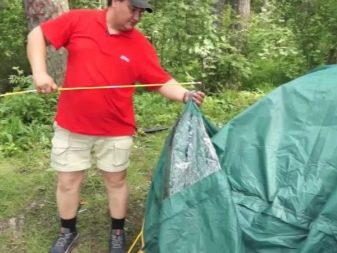
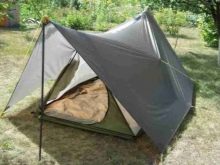
At the next stage, we stretch the bottom, after which we fix the tent with pegs. If she has a so-called exoskeleton, that is, the arcs are fixed to the outside of the tent, then it just needs to be stretched on pegs. If you want to assemble a regular tent with a frame, then it is better to fix its awning first. To do this, you need to understand where the entrance is and the location of the wireframe arcs. In them you can usually find devices that allow you to fix the awning to the arcs. They are usually of two types:
- Velcro fasteners;
- dressings.
After that, the iron tambour arc is threaded into a special sleeve. Awning corners are fixed on the inner tent with fastex buckles or hooks. Although in a number of models the corners are not attached, but simply stretched on special hooks and attached to the ground.
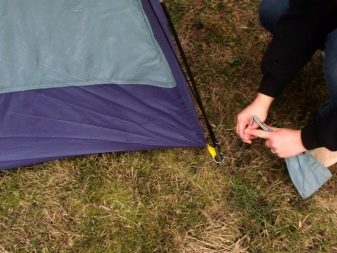
Only after the awning was attached to the tent, the necessary zippers were fastened, and the arcs were straightened, should the pegs be dealt with. First, we stretch the places where the arcs are attached - in the corners of the living compartment. After that, the vestibule is fixed and the intermediate points of the awning bottom are pulled. It is best to drive the pegs into the ground with a slope from the product.

A number of people during assembly are lost during the step of tightening the guys to create maximum resistance to wind. People pull everything they see, because they do not know the essence.Although if there is no big wind, and the tent belongs to the middle or expensive price segment, then there is simply no point in pulling the braces so that it becomes wind-resistant, and you will waste your time. But if the product is cheap or its design is not very successful, then it makes sense to pull the braces.

Now, at the final stage of installation, you only need to dig around the perimeter of the tent. It doesn't have to be some very deep ditch. A depth of 10-15 centimeters will be enough so that when it rains, the tent is not flooded and its bottom does not get wet.

Helpful Tips
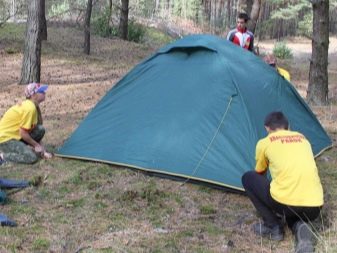
As you can see, there is nothing complicated in setting up a tent, and even one person can handle it. But it will not be superfluous to give a number of useful recommendations. By following these rules, you can greatly facilitate the installation and operation of such a device.

The most important advice is to pull the tent well. If there are wrinkles on the side slopes, then just in such places the tent will simply begin to leak. It will not be superfluous to avoid touching the slopes of the tent with your shoulders or head. The fact is that a well-stretched tent gets wet, but water does not penetrate inside. But if someone leans against a slope or a wall, then in this place the water will penetrate drop by drop.
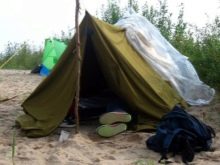
It will be very convenient to use polyethylene capes or tarpaulin awnings, which are fastened with their own extensions at the corners or with ordinary clothespins on the tent itself. For many, fixing braces on polyethylene causes difficulties due to slipping of rope knots from it. To avoid this, we tie the corner of a piece of polyethylene into a knot, after which we attach a brace.If there is not enough polyethylene, you can close only that part of it where the headboards of the people inside are directly located.

Another useful tip - if there is not enough space in the tent, you should reduce the height of the skate above the floor. To do this, we make the supports shorter or lower than usual, we tie the ridge braces to the tree. The product will settle, and the lower parts of the side walls will lie on the ground and will serve as a continuation of the day of the tent, due to which there will immediately be more space inside.
If you put it and do not pre-stretch the floor, you should definitely fasten the entrance to at least two loops: one will connect the panels at the entrance, and the other will connect them to the floor. If these actions are not done, then the tent can be pulled either in height or in width.
Another important point is that to secure the braces, you do not need to make any particularly ingenious or intricate knots, because then you will have to suffer with their untying.
As mentioned earlier, you need to hammer the pegs with an inclination away from the tent, and not vice versa. Otherwise, the braces will just jump off. When stretching the ridge guys through the supports, you should carefully look so that the ridge of the tent, the peg with the guy and the posts are located on the same straight line. Otherwise, the stability of the tent will be in serious question.
Gathering a tent in winter
It should also be said about a number of tips when collecting a tent in winter. If we set up a tent at this time of the year, we should find out the direction of the wind and, according to it, direct the open ventilation valves, that is, in the opposite direction from the direction of the air currents.
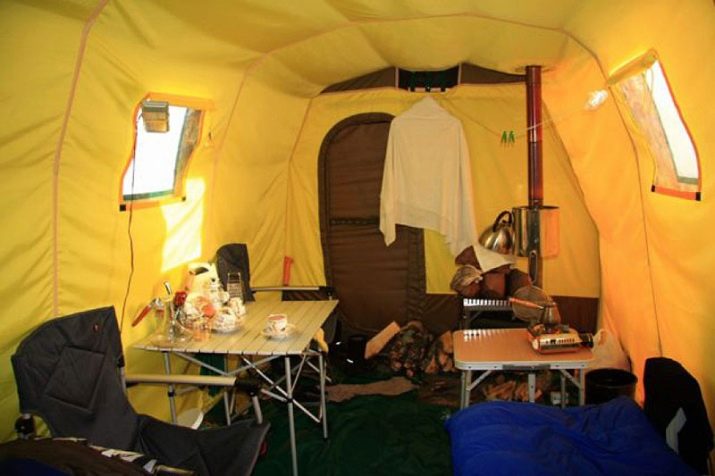
You should not try to keep the tent airtight despite low temperatures and strong winds. It would be better to leave open one of the ventilation valves or a special window. If the tent is completely sealed, then this will contribute to the formation of condensation, which will make it damp and cold inside. Proper ventilation will also be important in the context of heating inside the tent with stoves, candles and so on. After all, these materials burn oxygen and create carbon monoxide, which can cause problems for people who are inside.
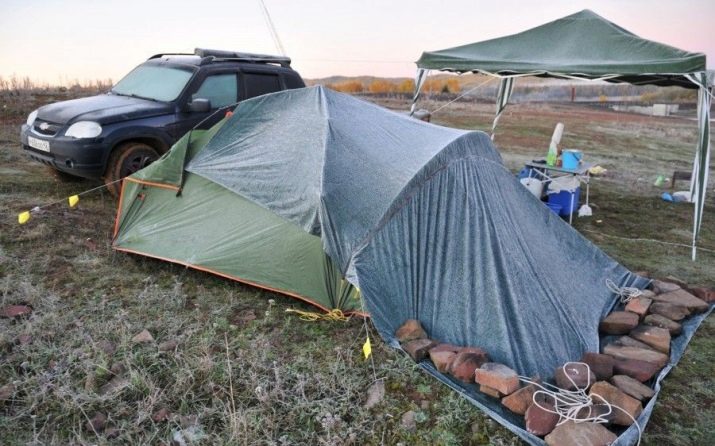
Another important tip for building a tent in the winter is secure and correct fastening. The tents that you can buy now are usually made of tent materials, so they do not let the wind through. For this reason, after installation, the effect of sail may occur, and the wind can simply blow the tent away if it is not fixed correctly. Therefore, it is better to use the standard set of mounts in the kit, as well as, just in case, consider auxiliary solutions that will help secure the position of the tent in especially strong winds.
Another tip that I want to note is fixing the bottom of the tent. This measure should not be neglected. Snow can be used as a fixative. They can fall asleep a skirt, and then tamp. If there is no snow, then you can use improvised materials - stones, brushwood, and so on.

For information on how to properly set up a tent, see the following video.