All about repairing air mattresses
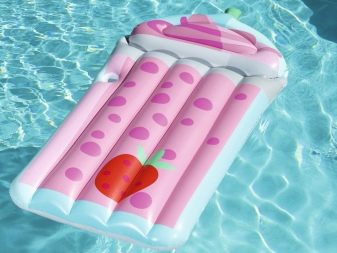
An air mattress is a versatile product that can be used in nature instead of a bedding or chair, for a mobile bed at home and in the country, or as a floating platform for sunbathing on the water. With active use, these products often have punctures. Mattresses are blown away and become unusable. This is not a reason to throw them away, but an opportunity to repair all cuts at home. If the gaps are large, it is advisable to turn to professionals.

Possible damage and how to identify them
Product malfunctions are caused by several types of damage:
- cuts or punctures;
- rupture of internal partitions, the mattress is swollen;
- seams burst.
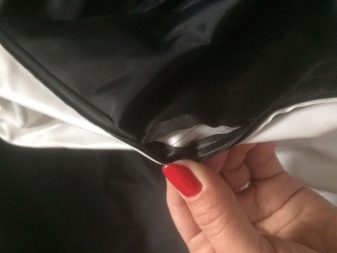
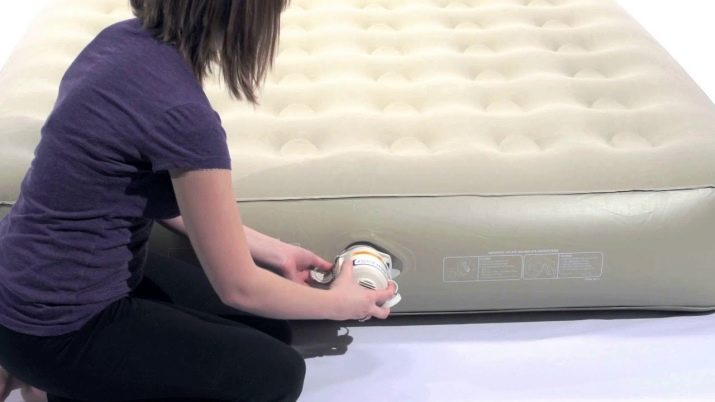
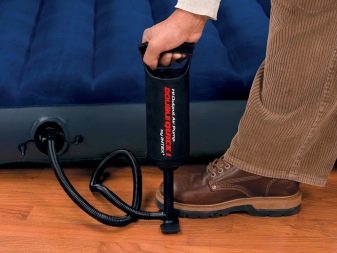
In 90% of cases, the weak point of air mattresses are the seams and partitions, which experience pressure when inflated. Particular attention should be paid to the integrity of the inflation valve if the product deflates within 4-6 hours, and there are no holes. The material is subjected to increased stress when the pump is used.
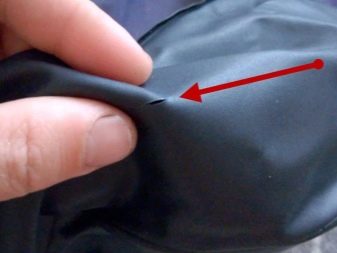
Punctures on the surface most often occur on the side of contact with stones, earth, sand. With strong inflation of the air chamber, the external pressure on the stiffener increases. It is detached from the inner surface.So, the partition bursts in a critical place, and the mattress swells up with a “hernia” and creaks. There are several ways to identify all damage to air mattresses.
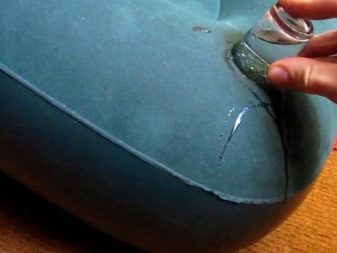
- Immersion in water. We inflate the product, lower it into the water and look. Where bubbles appear, there is a hole. It is difficult to do this at home. A container larger than the product under test is required. This method is good if the mattress is pierced near a body of water.
- Sound testing. Having inflated the product, we listen whether a whistle is heard or not. If we hear it, we raise our hand to understand where the air comes from, in one place or in several at once.
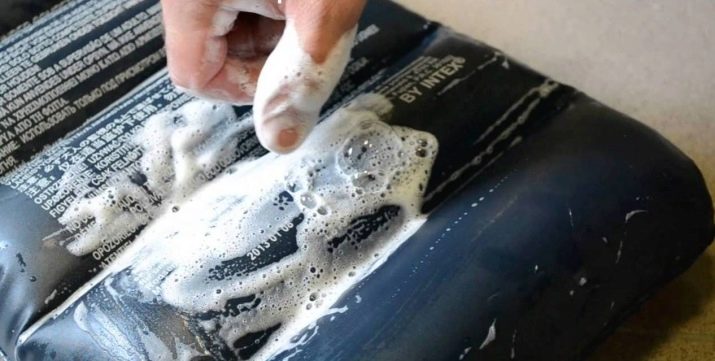
- Detergents. Pour the soap solution inside and press. If the integrity of the shell is violated, it appears with a whistle and bubbles.
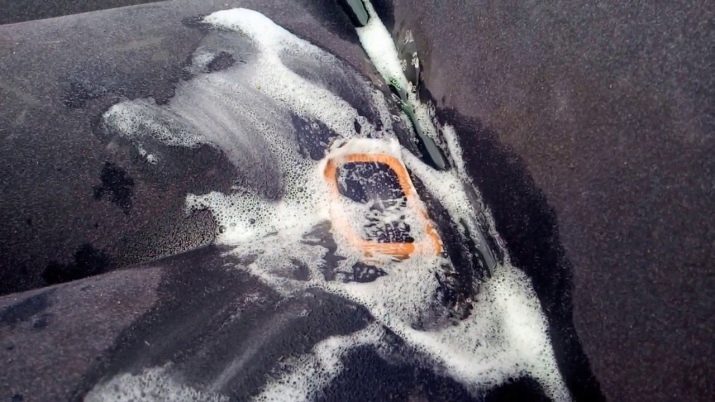
- We are looking for a defect with shaving foam. Lubricate suspicious areas with foam and press down. Where it bubbles, there is a puncture. The same method is suitable for valve testing. We pour foam into it and, if it appears around the hole, then there is damage.
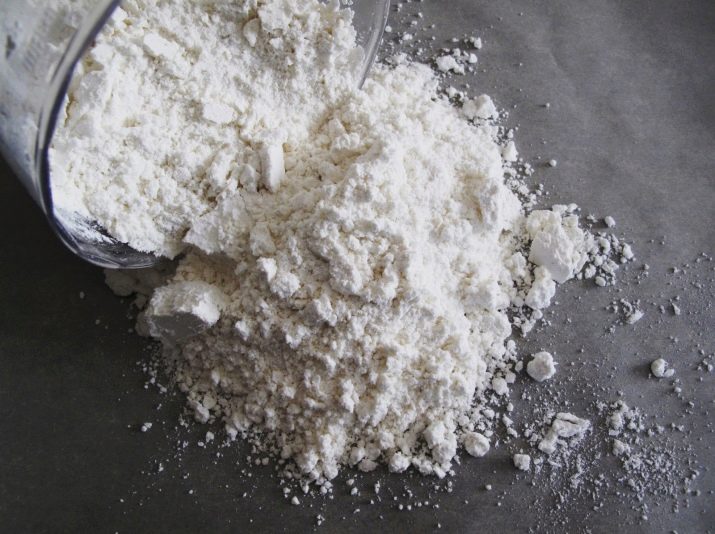
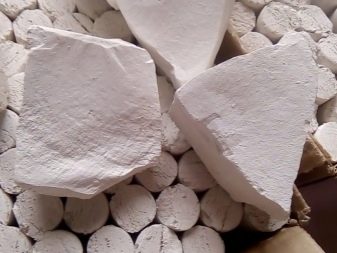
- Testing with starch or powder. The surface must be sprinkled with powder and pressed. A cloud of powder will indicate the location of the damage.
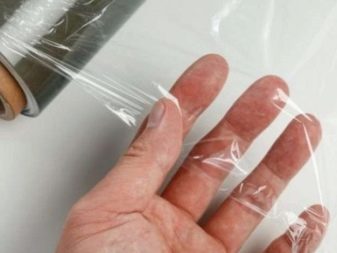
- Food film and water. We apply water from a spray bottle to the surface of the inflated mattress. We apply a film on a wet surface and stretch it over the area to be tested. Press firmly, removing air from under it. In places of punctures or cuts, an air bubble will inflate. Removing the film is accompanied by extraneous sounds, similar to gurgling with a squeak. Defects are marked with chalk.
Using these options, it must be remembered that there may be more than one puncture. The entire mattress should be carefully tested.
What materials and tools are needed?
The repair kit for home restoration consists of several items.
- Glue for vinyl, rubber, PVC products. Superglue will damage vinyl surfaces and should not be used.
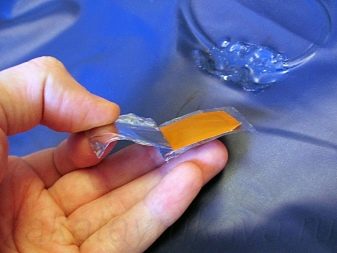
- Patches that exceed the size of the hole by 1-2 centimeters. They are usually carved from toys made from the same material as the mattress.
- Marker or chalk for marking holes.
- Fine-grained abrasive material for cleaning a puncture.
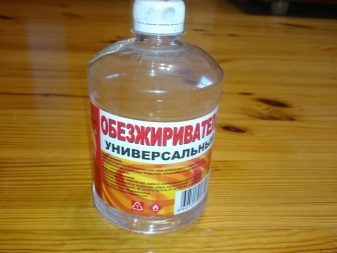
- Degreasers - any solvents such as acetone or white spirit.
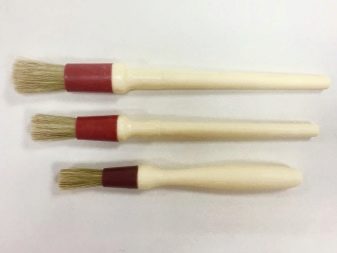
- A brush for using glue.
- A small weight for the press on a patch.

For a quality repair, you need the right adhesive.
- For rubber, the adhesive composition dries for a day, but has a good effect.
- "Supermoment" quickly hardens and crumbles, so it is not recommended to use it for inflatable products.
- PVC glue is good for swimming platforms, is not afraid of water and is sold in different colors. It looks aesthetically pleasing.
- Glue "Moment" is universal transparent and fastens all materials well in a day.
- Shoe glue "Polyurethane" and "Desmokol" glues both rubber and leather.
The patches are cut to the size of the cuts, allowing 1 centimeter for a margin. Too large pieces have extra zones, which reduces the quality of the repair. Glue the parts on a completely dry product. If there are multiple punctures located nearby, a common patch can be cut out.
Intex repair kit, Repair kit 59632, helps to repair an air mattress at home.
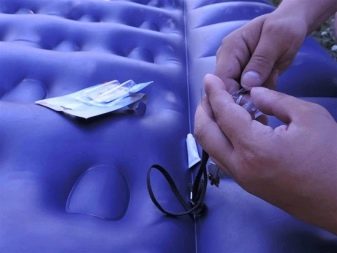
You can restore the product in any conditions: in nature, at home, and on the road. If the problem is in the seam, it is temporarily treated with superglue, and thoroughly patched in a comfortable environment. It is desirable that this set be from the manufacturers of these mattresses.It contains everything necessary for repair, and the color scheme and composition of the material completely coincides with the object. The set includes several items:
- adhesive composition;
- rubber patch;
- transparent color vinyl film;
- emery "zero";
- chalk or marker for marking punctures;
- scissors;
- brush for applying adhesive;
- detailed instructions.
Repair stages
Repairing an air mattress at home is easy. It is possible to do it yourself, without resorting to the services of craftsmen. To do this, you need a small flap of the material from which the mattress is made, and a clear adherence to a certain procedure. To prepare the product for restoration, the air from it must be bled and completely dried both outside and inside. In case of contamination, it is worth cleaning everything, and degreasing all plastic parts.
Places of cuts must first be processed with zero emery material. It is impossible to dry a rubber mattress on radiators and other heated surfaces. It wrinkles, becomes unusable.
Repair according to the plan below.
- We find a place where the mattress lowers. We take a felt-tip pen, chalk or soap and mark all the points that allow air to pass through.
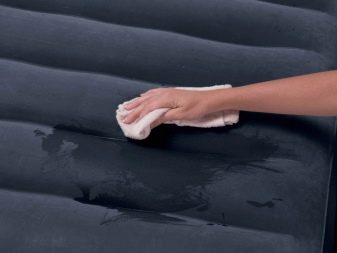
- We clean these areas from dust, animal hair and villi. Then we wipe with an abrasive and degrease so that the patch does not come off.
- Velor, fleecy coating is treated with an alcohol solution or solvent. We dry and remove the coating with a blunt knife, you can use the edge of a spoon. Then degrease again.
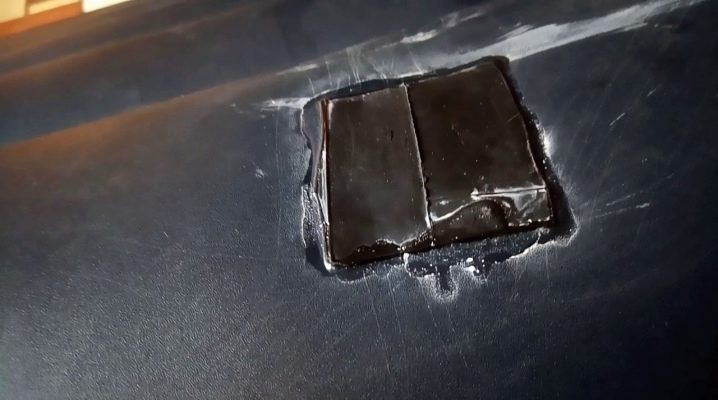
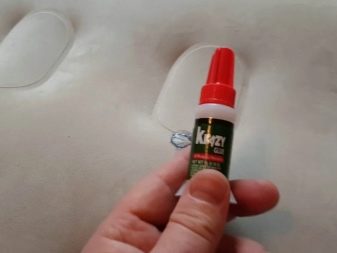
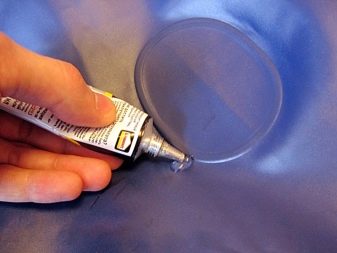
- Cut out a round patch. If there is a repair kit, we take the finished one from the attached kit.
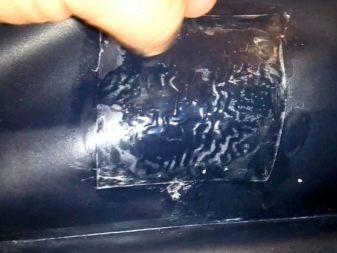
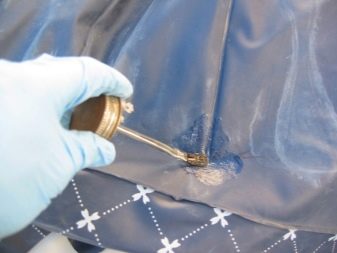
- With a brush, apply a thin layer of glue to the puncture and patch. We withstand 10-15 minutes, and then apply the adhesive composition again.We wait until the composition becomes sticky. We apply a patch and squeeze with our hands.
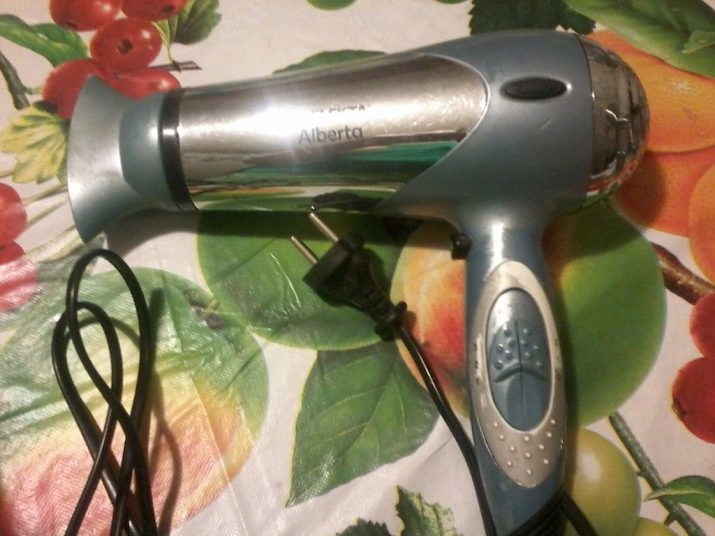
- If the room is cold, warm up the place of gluing with a hairdryer, warm air. We roll the glued fragment with a roller, and then press down with a load.
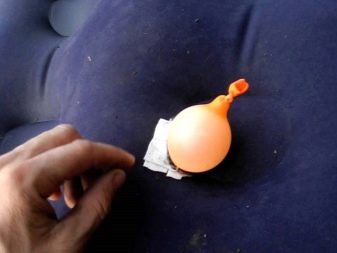
- We leave in this position for the night, and preferably for a day. This place is not to be missed.
After the specified time, we conduct a verification test.
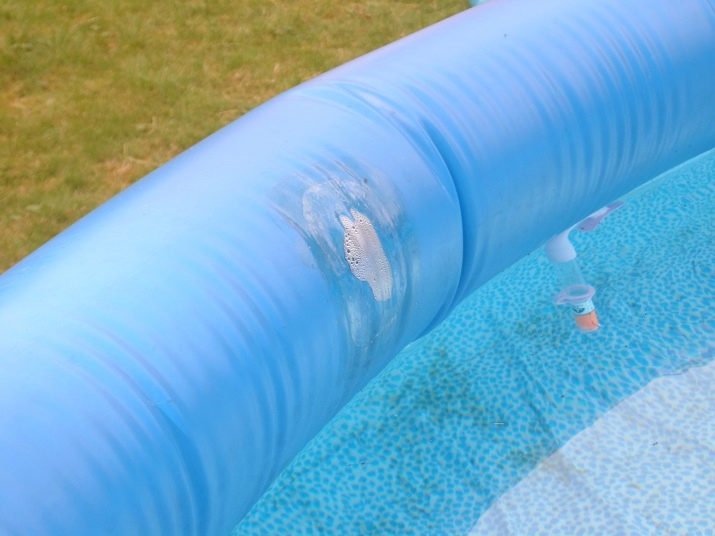
After repair and complete drying, the edges of the patches are sandpapered, and again coated with glue on top. The disadvantage of this method is not quite an attractive type of mattress.. Under the influence of negative factors, the patch can fly off. A product glued from the inside looks more reliable and beautiful. Using a regular ruler, carefully turn the damaged part out through the opening of the inflation valve. It is degreased and sealed. Turns inside only when the adhesive is completely dry.
Small areas of the seams are smeared with glue and left alone for 10-15 minutes. Then a patch is applied there. Press it for a while, smoothing the edges. To speed up the process, do not use an iron, matches and lighters.
You can direct a stream of warm air from a hair dryer onto the mattress. If after an hour the product still descends, the procedure is repeated. For a quality repair, the product is left alone for 13 hours until completely dry.
The sealant used in tire repair is not exactly suitable for mattresses. It takes more time to process holes and dry patches. The expected result is not always obtained. Experts recommend replacing it with adhesive-sealant for silicone. The gap in the mattress internal partitions of the house cannot be eliminated. You will need the help of an experienced craftsman who has all the necessary components for repair at hand.
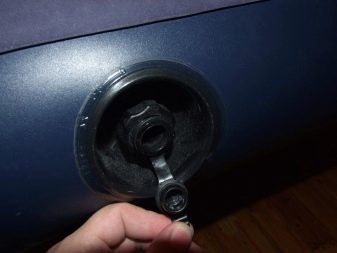
When repairing the valve, we unscrew it, take out the rubber gasket, clean it from dust and dirt. We clean the end face and the gasket with zero emery. Treat with a thin layer of silicone grease. We return the part to its place, inflate the mattress and check the operation of the valve. If it does not hold air, you will have to carry the product to the workshop.

Damage prevention
In order for the inflatable product to please the owners for a long time, you must follow simple rules:
- do not inflate the mattress to the maximum;
- store it folded in a protective case, if not in constant use, lower it smoothly, without strong twisting;
- dry before storage;
- you can clean and wash with a mild soapy solution, without using abrasive powders and chemical compounds;
- do not allow domestic animals to jump on it and sharpen its claws;
- there are mattresses for swimming, and there are only for sleeping, so you should pay attention to this before using a particular product.
Holes and weak seams in a mattress are not a disaster at all. Many of them can be glued at home. Before buying, ask what is included in the kit, whether there is a repair kit in it. If this is not provided by the manufacturer, purchase it so as not to delay the repair of the necessary thing. It is better to immediately contact the workshop with wide cuts, parted seams, problems with internal partitions and a faulty valve.
See below for how to repair a mattress.