How to make and install a transom on a boat with your own hands?
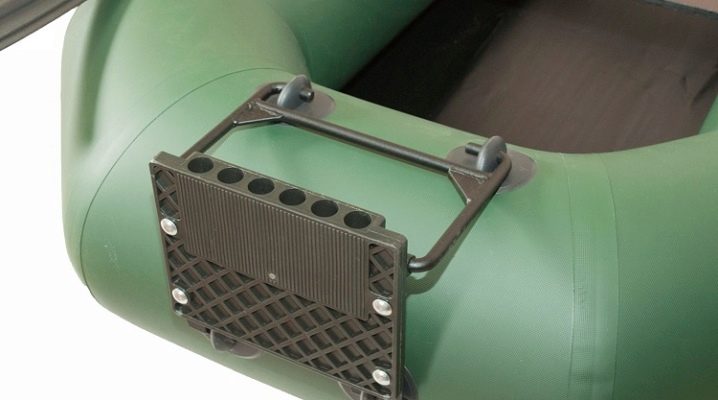
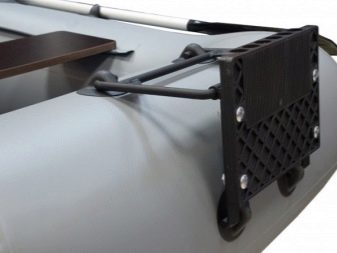
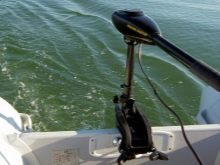
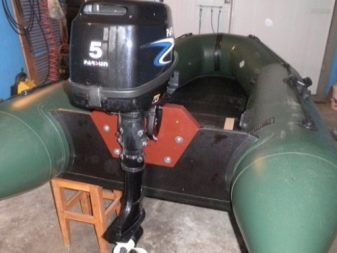
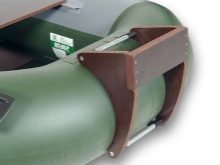
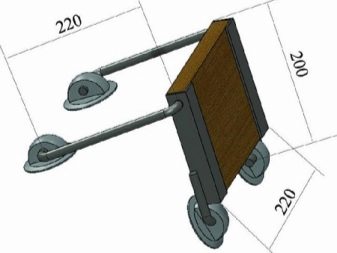
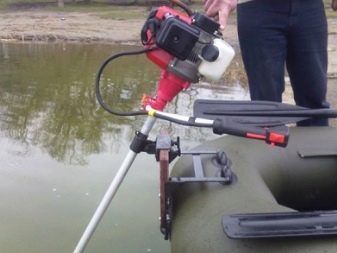
A transom for a PVC boat is a device designed to secure an outboard motor in the stern of a watercraft. It is a curved frame, the bend of which repeats the rounded shape of the rear cylinder of the boat. Its main element is a rectangular platform made of durable material, to which an outboard motor is attached.

The transom is produced in the factory version and can be made in the form and color variation corresponding to one or another modification of the boat. It can also be made at home using improvised materials.

Requirements for homemade transoms
The process of self-manufacturing a transom for a boat must meet two basic requirements: the safety and functionality of the product. Compliance with security measures is a criterion of paramount importance. Its implementation is expressed in giving the transom the appropriate characteristics. Its design, as well as the materials from which it is made, must be durable, devoid of any structural flaws: cracks, chips, dents, deformation, and others.The presence of such shortcomings can lead to the destruction of the structure during operation, the breakdown of the motor, which can damage the boat and create conditions for an emergency during navigation.
The shape and design characteristics of a homemade transom must meet the stated needs. The frame on which the platform is held must be able to support the weight of the motor.
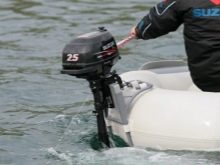
The technical characteristics of the motor (number of horsepower, weight, and others) are selected individually, according to the characteristics of the boat (displacement, carrying capacity, design, material strength).
When installing the transom on the stern of the boat, its own weight must also be taken into account. Together with it, the weight of the motor may be excessive for a particular boat model, which can lead to trim to the stern. Under such circumstances, the scooping up of water by the boat becomes inevitable and increases progressively as the waves pass.
Additional requirements for self-made transoms include sufficient moisture resistance. A transom is an element of boat equipment that comes into contact with water. Constant exposure to a humid environment can lead to oxidation of the surface of the metal parts of its structure. The wooden parts of a homemade transom without a proper water-repellent coating will swell by absorbing moisture. This will lead to a loss of reliability of the motor mounting and an early exit of the transom from service.
Necessary tools and materials
To make a transom with your own hands, you will need a minimum set of tools and a list of suitable materials.
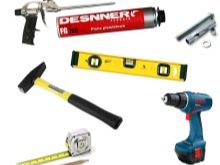
Tools:
- devices for sawing metal: angle grinder (angle grinder) or hand saw for metal;
- electric drill or screwdriver;
- devices for sawing wood: a hacksaw or an electric jigsaw;
- welding inverter (depending on the design of the model);
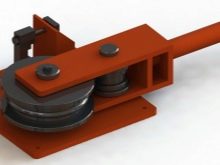
- pipe bender (depending on the model or the presence / absence of a welding inverter);
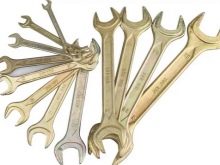
- spanners.
Expendable materials:
- self-tapping screws;
- edged discs for grinders or saw blades for metal;
- drills and bits;
- saw blades for an electric jigsaw;
- electrodes (when using a welding machine);
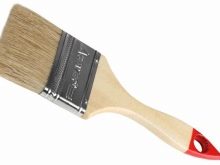
- yacht varnish;
- paint brush;
- hammer paint;
- specialized glue for boats.

Materials:
- iron pipe up to 20 mm in diameter (preferably round);
- plywood. 30-40 mm thick (it can be used in 2 layers of 1.5 or 2 mm).
- nuts;
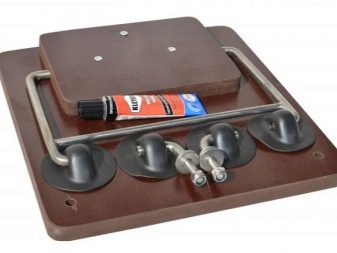
- factory mounting adapters (glued to the hull of the boat), it is advisable to purchase them in the store, since it is difficult to manufacture on your own.


Manufacturing
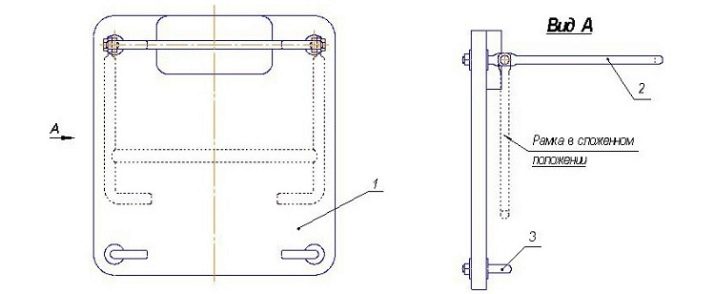
The production of a homemade transom begins with a comparison of the dimensions and weights of the motor and the landing pad of the future mount. You also need to correctly calculate the optimal configuration of the landing site, depending on the design of the engine mounts. After verification and adjustment, drawings of the product are prepared. They must indicate the shape and dimensions of the landing site, its design characteristics, determined by the type of motor mounts. The drawing diagram should reflect the shape and dimensions of the metal frame of the transom, the points of its attachment to the landing area and the hull of the boat.
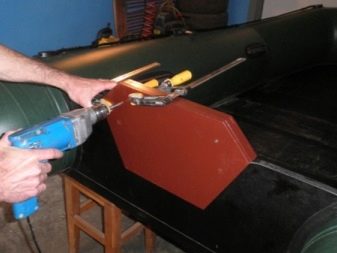
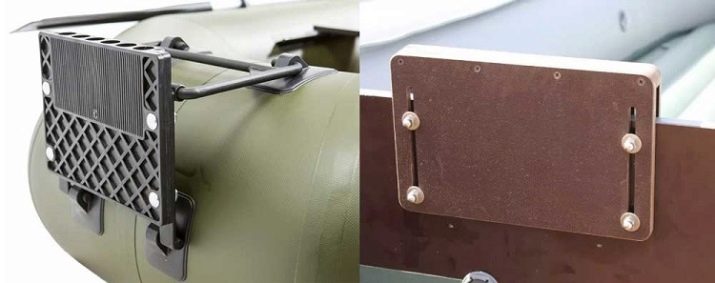
All holes are marked that will need to be drilled in the landing pad and the metal frame.If the transom is adjustable, this is also indicated on the drawing as a display of the adjustment mechanism. Since the homemade transom will be hinged, it is necessary to measure and compare the design of the product and the landing area on the tailgate of the boat. You can set marks on the stern in advance, along which fastening pads will subsequently be glued.
The method of attaching frame parts to the landing site may be different. Threaded connection is optimal. To do this, holes of the required diameter are drilled in the plywood blank at the appropriate level. At the edges of the frame elements that are closer to the site, threads are cut. The size of the threaded section must allow fastening with a minimum of two nuts and two washers on each edge of the frame element. At the final stage, you need to glue the adapters.
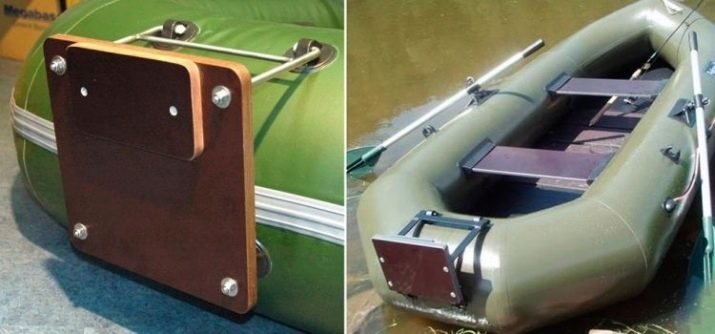
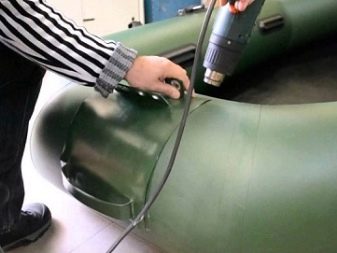
It is best to perform this manipulation as follows: put the adapters on the frame ledges (bring them to the position in which they will be used in the future). Attach them to the surface of the boat material and circle around the contour. Then apply glue to the marked areas and reattach the entire structure. Let dry. After that install. Upon completion of the assembly, it is necessary to varnish the landing site and paint the metal joints.
Strict observance of the parameters shown in the drawings will allow you to obtain a product that meets all the requirements of functionality, practicality, safety and design standards.
Work starts from the manufacture of individual structural elements. The first detail should be the landing pad, since it is she who is in direct contact with the motor mounts, its shape and functionality are unchanged. To assemble it, you will need plywood prepared in advance. A square or rectangular part is cut out of it (depending on the location of the engine mounts). If the thickness of the existing plywood is not sufficient for the final product, 2 identical pieces can be combined to increase the overall thickness.
To do this, it is necessary to prepare the internal surfaces of the parts to be joined. The preparation includes roughening with coarse sandpaper to create a roughness, as well as priming by impregnating with glue or a primer solution. After that, glue is applied to the inner surfaces of the parts (you can use carpentry or some other moisture-resistant adhesive). Parts of the landing pad are combined so as to exclude the protrusions of one beyond the other. The resulting thickened area is clamped with clamps and left for a period of at least 24 hours.
After the final gluing of the two halves, it is necessary to strengthen the connection with side ties. To do this, holes are drilled at the corners of the site, the entrance areas of which are equipped with sweat.
It must be drilled for a hole on each side. The diameter of the holes and sweat should correspond to the diameter of the bolt by 6 mm, the diameter of its cap and nut, respectively. A bolt diameter of 6 mm is sufficient, there is no need to use larger bolts, as they are only a reinforcing addition - they are not subjected to a high load.Before tightening the bolted connections, it is necessary to pour glue or epoxy resin into them, which will prevent their involuntary untwisting due to motor vibration. The hole locations should be as close as possible to the edges of the landing area.
After that, you can begin to fit and mount the seats for the engine mounts. Since the models of the motors and, accordingly, their mountings differ, the adjustment is carried out individually. Some motor mounts provide a through-attachment of its frame to the transom landing, which is rare, as it is not a practical solution to simplify the process of installing or removing the engine from the boat. Most of the engine models have mounts that provide for a locking method of fastening. In this case, the engine mounting legs are thrown onto the landing site and tightened by means of a threaded connection.
The principle of operation of such a fastening mechanism is similar to the principle of the clamp.
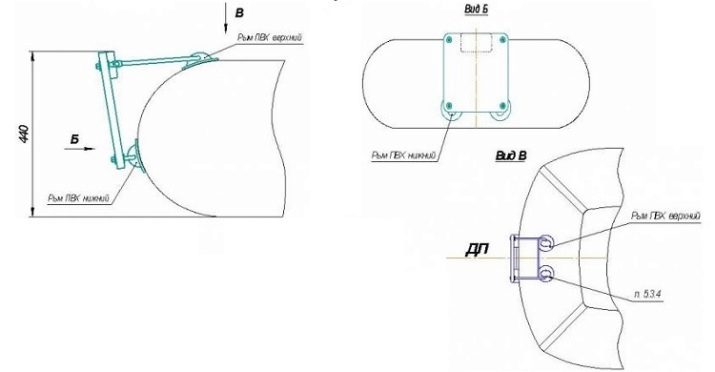
When the engine mounts have been adjusted, it can be dismantled before the end of all work. At the next stage, the transom frame is made. It consists of 2 parts - upper and lower. The top connects the top area of the landing area to the top of the rear tank of the boat. The lower part, respectively, fastens the lower parts of the platform and the cylinder together.
The part of the frame that is on top should be attached to the landing pad at a height that allows the engine mounts to fall into place without any difficulty. In this case, the position of the upper frame component must remain horizontal.This fact is taken into account at the planning stage and is reflected in the dimensional parameters indicated in the drawings. The second part of the frame should have a diagonal arrangement: from the attachment points to the landing area at an angle to descend to the bottom of the aft wall. The application of facing materials is best done in 2 stages: the first before assembly (on all components separately) and the second after complete assembly.
Installation Features
Carrying out all measurements, fitting, assembly and installation of the transom is carried out only on a fully inflated boat. The pressure inside it must correspond to the daily working pressure. This will allow you to maintain the correct proportions of the parts and produce high-quality gluing of the adapters. If they are glued to a lowered boat, after inflating, there is a chance that they will come off.
Helpful Hints
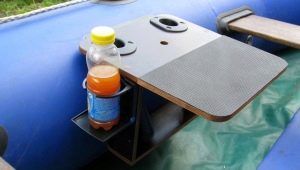
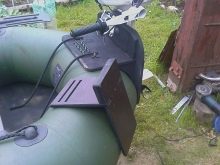
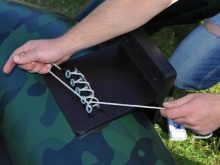
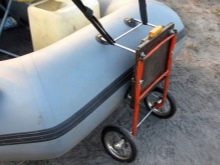
The shape and type of construction must be chosen directly according to the characteristics of the engine. Assembling the transom before purchasing the motor can lead to their complete mismatch. The transom structure can be equipped with additional functional devices. They can be tubular holders for rods, hooks for a hook (including nets with fish), shelves, a table and other elements necessary for the operation of an inflatable boat.
How to make a hinged transom on a boat with your own hands, see the next video.