How to make a kayak with your own hands?
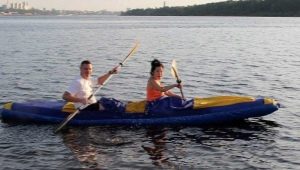
Recently, kayaking has become very, very popular in big cities. This is not surprising, because this type of leisure allows you to have a great rest, get distracted and just spend time in an original way in a city where there is some kind of reservoir. But for many, it is inconvenient to constantly rent kayaks, and there is no way to purchase your own water transport. There is only one way out in this case - to make a kayak with your own hands. In this article, we will try to figure out how this can be done.
Requirements for homemade models
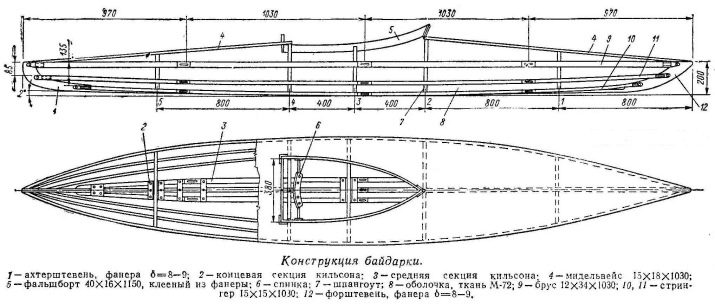
To build a kayak with your own hands, you should first have its drawings on hand. On them, in great detail, with an indication of the dimensions, various elements of the future vehicle should be displayed:
- fenders;
- keelson sections;
- stems;
- stems;
- frames;
- bulwarks;
- stringer;
- midelweiss;
- shell.
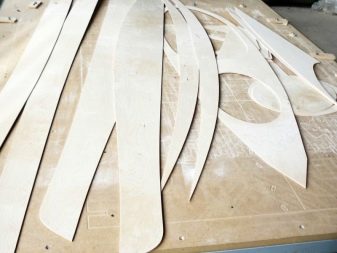
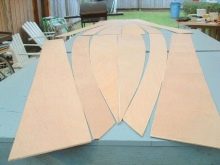
In addition, we need certain tools and materials. But again, everything will depend on what model you need to make. You will also need patterns that are necessary to create a shell that wraps the frame.
Tools and materials
As already mentioned, the list of materials and tools will depend on the model of the assembled kayak.One of the most popular models is the so-called double "Siren". Its sternpost, bulwark and stems are made of plywood. Elements such as beams, halts and stringers will be made from pine wood. Kilson and midelweiss are usually made of larch. To form the shell, you need to have either PVC fabric or M-72. And for the manufacture of wooden parts, you will need to have the following materials:
- dry wood of a larch and a pine of small-layer type;
- 5-, 7- and 9-mm thick plywood type BS-1;
- sheet duralumin with a thickness of 1 to 4 mm;
- metal rod 8 mm in diameter;
- several pieces of stainless steel with a thickness of 2 and slightly less than 1 millimeter;
- consumables: polystyrene, polyethylene.
You will also need to have certain fasteners:
- 3-4 mm rivets made of aluminum, up to 3 centimeters long;
- bolts with anti-corrosion coating.
To create a shell, you need about 5 square meters. meters of fabric that does not allow moisture to pass through. A similar fabric should be used to form the soundboard. At hand, you should have a hose made of rubber 3-4 cm in diameter, 200 centimeters long, as well as a rubber cord half a centimeter in size and about 120 centimeters long. In addition, slipways will be needed. They are necessary to create a boat frame.
Perhaps, slats and timber, adhesive tape, clamps, wood saw, fiberglass and fiberglass, stretch film will come in handy. These elements will be needed if the frame is made of PVC pipes. The fact is that plastic pipes are a very popular material these days for making a frame. They have good rigidity and perfectly resist the effects of water and various natural factors.
Manufacturing
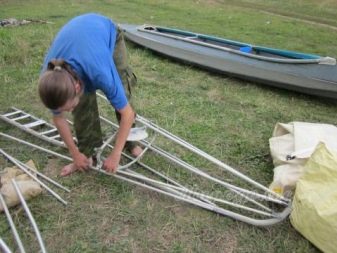
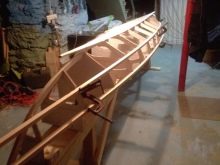
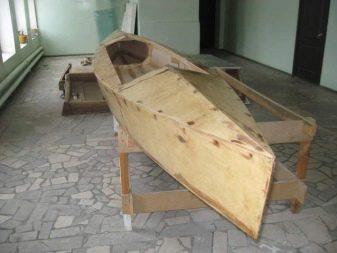
Now let's proceed directly to the assembly of the boat structure. First you need to make a frame, and only then assemble a full-fledged frame kayak from it and the shell. This process begins with the fact that the fenders must be assembled in length with stringers. Sections, which consist of 4 elements, are fixed to each other with tongue-type locks. Now it is necessary to attach locks to 8 stringer rails at one end, and tongues at the opposite end. On the bars of the halt, you should install tongues made of duralumin, as well as stainless steel locks. After that, you can start assembling the kilson. This element usually consists of 3 vertical rails, which are interconnected by transverse-type slats.
Keelson sections are connected to one another using the same locks and stainless steel tongues. Their installation is usually carried out on sections that are located in the middle. And on the extreme set one of the above. By the way, in the same way, the mid-section sections are connected.
The assembly of the kilson must be carried out on a flat surface. First, you should draw with a pencil the center line and the location of the sectional frames in the center. After that, transverse 5 mm planks 25 mm wide and 200 cm long for the kilson are cut out of plywood. They will need to be glued to the keelson rails using epoxy type resin and secured with screws.
At the stems, the side keelson rails need to be lifted and placed on the wedge pad so that the middle rail is located below it. It should be cut along the trim and fitted to the rest of the parts during the installation of the stem.Then the side keelson parts should be cut from the inside at a distance of 11 cm from the lining. It is necessary to do this so that the stem enters the slots as tightly as possible.
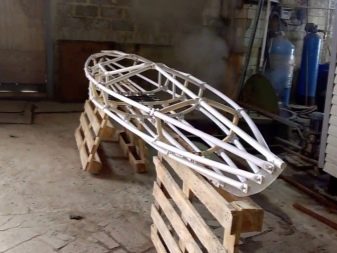
The stems are made of plywood with a thickness of up to 10 millimeters. Clips are placed there, which ensures their fixation on the kilson rails. Frame frames are formed from duralumin pipes with a 15 mm diameter, or from the same profile in the shape of the letter P. For the middle one, a profile with 2 mm thickness is needed, and for the rest - 1.5 mm.
The profile itself is usually made from a strip of duralumin. In order to carry out its bending along the frame contours, templates should be made of steel, which are cut out according to the markings. A separate template is made for each. Then a rotating roller is already made and the profile is bent.
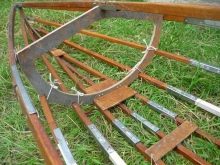
Frame sections can be connected to each other using special duralumin inserts, as well as plywood fillers. We attach a bracket on top of frames 2 and 4 with epoxy resin, which will allow us to attach the ends of the midelweiss to them. Slightly smaller brackets are mounted on all frames so that stringers can be secured. We install additional brackets on the upper part of frames 1 and 5. They will be required for a complete installation of midelweiss. And the frames themselves can be fixed to the kilson using turntables.
To install the fenders, you first need to attach oval-type slats to them. In order for them to be installed correctly, you should connect the 2 middle parts of the bars, and then measure 4 centimeters on both sides of the joint. On the latch section, the oval plank should be rotated 180 degrees.
And in order to fix on the third frame, a hole should be made in the tongue on the beam for a bolt made of stainless steel
If the halt bars are first fixed on 3 central frames, then you can immediately mark the places for installing the straps on frames 1 and 5. To do this, we dock the ends of the fenders and press them to the end frames, after which we mark the points where the bars touch the screw.
Now you need to attach a lock and a hook to the midelweiss blank, as well as attach the tongue at the stems and mount the fork in place. After that, the ends of the halt bars, stringers, as well as midelweiss with stems are connected with rivets. The bars of the halt are connected to them with an overlay. When the frame is assembled, holes should be drilled for installing rivets.
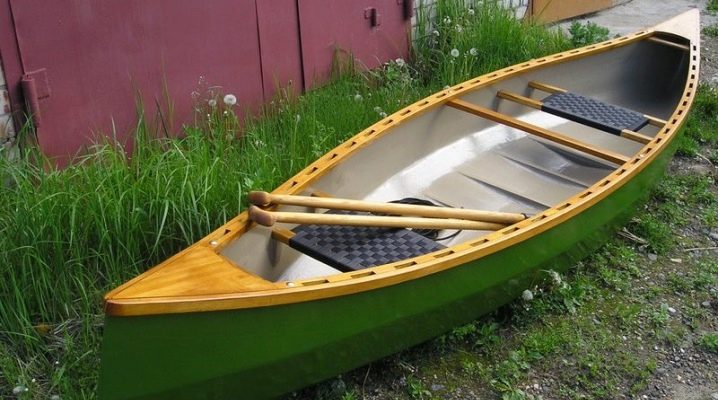
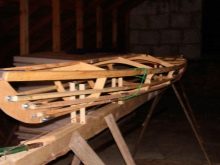
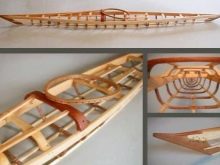
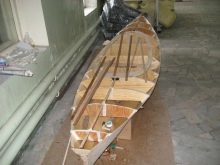
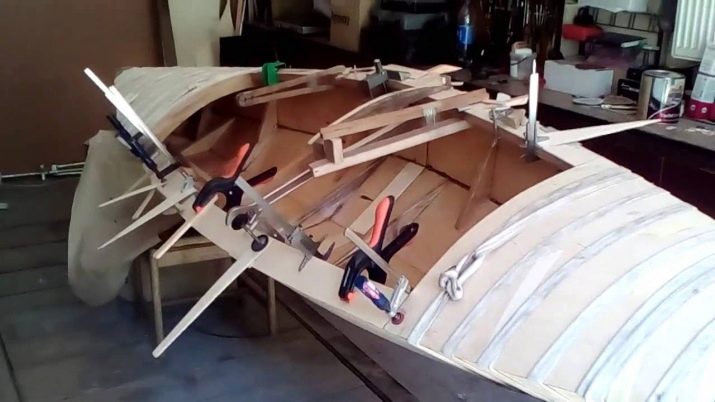
The side parts of the bulwark are glued together with water-resistant glue. The strips for their assembly should be made of plywood and make a groove in the lower edge of each where the deck wire will be pulled. The side parts of the bulwark in the nose should be connected with a loop. To strengthen the frames, slots are made on the bulwarks, where the ends of the brackets on frames 3-4 are inserted. It remains only to attach the rivets and put the back. This is how a collapsible model of the boat frame is made.
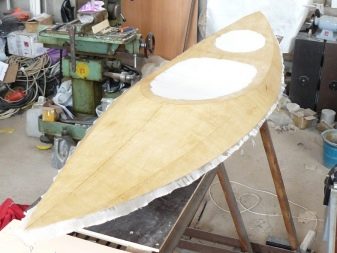
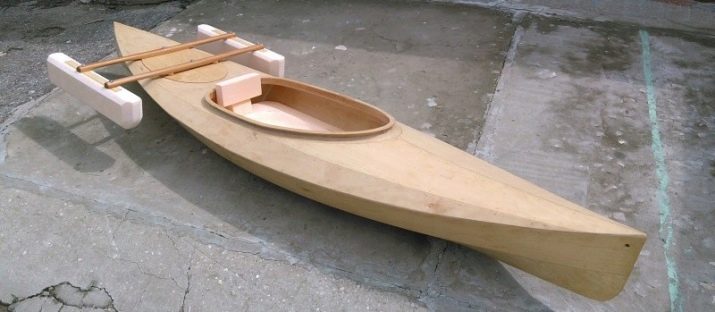
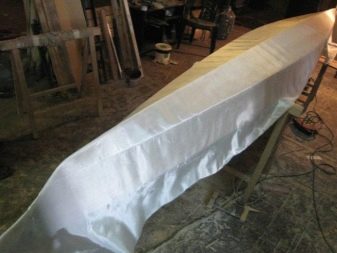
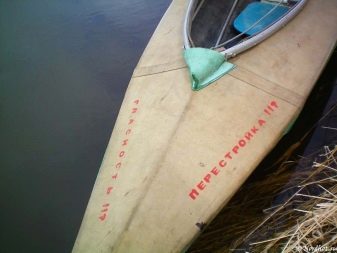
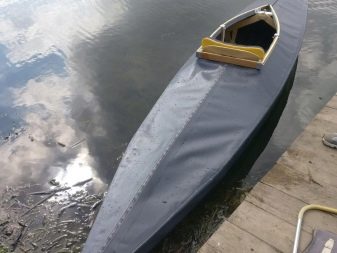
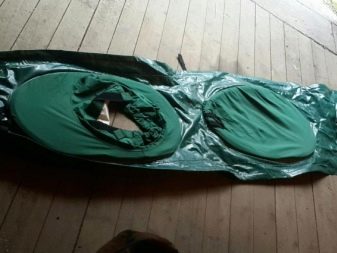
Now you need to create a kayak shell. It will require a single piece of fabric with a length of at least 420 centimeters and a width of no more than 91 centimeters. You can take the banner. It is applied to the frame bottom, after which the edges of the canvas are pulled together with thick threads. Then the fabric at the stern and bow is cut through, and the shell is adjusted along the stems.
At the ends, the sheath is reinforced by gluing from the inside and outside with an inner hose, which is previously cut into 2 parts longitudinally.The inner and outer hoses are closed on the stems, after which the sides of the shell are cut from above under the deck.
Now you need to cut it out and attach it to the shell that is on the frame. It will require 4 parts of the material - 2 end and 2 middle. Along the perimeter of the latter, a rubber cord should be installed, which will be needed so that the deck fits the bulwark. It is sewn on from the bottom of the shell. Then a sealed strip is glued, after which the edges of the deck are inserted into the grooves on the bulwark and tightened.
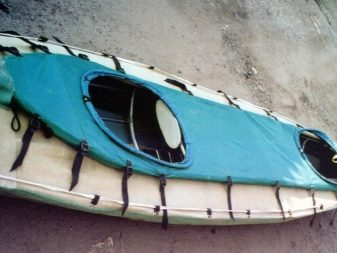
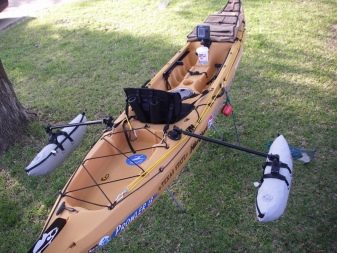
It remains to attach the back. To do this, you can use rods and oval strips. Then this must be done with an emphasis for the legs, which is made of plywood. Now the seat remains, which can be inflatable or plastic. Well, you can make a paddle.
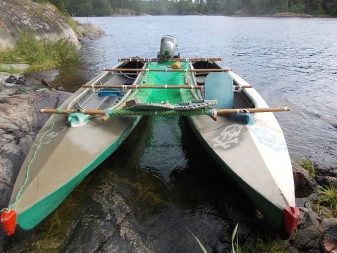
Such a boat can also be with a motor, then you can put steering, keel and sail on it. In general, it can be more tuned than, say, inflatable. For this reason, a more complex design was considered.

How to make accessories?
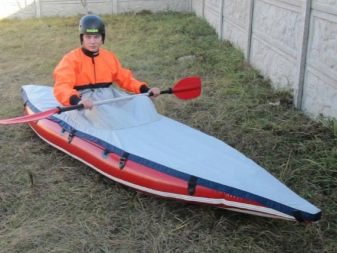
Now let's look at how to make some kayak accessories. For example, if you need to make an apron - an indispensable element in some difficult trips, then it can be created according to the size of the cockpit. On the outer perimeter of the apron, we sew in a cord with 2 elastic centers - pieces of a rubber tube that allow the fabric to fit very tightly to the bulwark. A light hoop should be sewn along the edge of the inner opening of the apron, which can be made of plastic or duralumin. The “skirt” of the rower or the lower edge of the “Eskimo” jacket, equipped with an elastic band, is pulled over it.
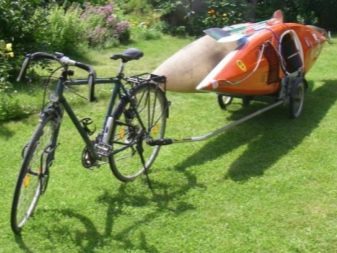
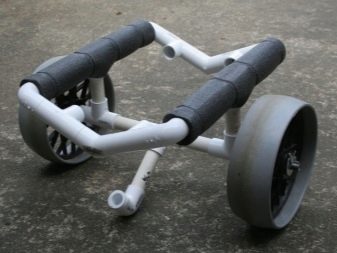
Another important accessory that can definitely come in handy is a kayak cart. You can make it from an old folding bed.Then its length will be 135 centimeters, width - 40, and track - 45 centimeters. The most difficult will be the selection of wheels. To do this, you can take the wheels from the children's bike.
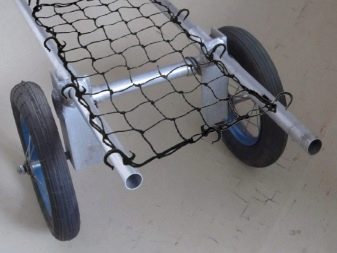
You should take them in medium size, because too small will reduce the passability of the cart. If the wheels are found, then it remains only to connect the axle shafts of the wheels with a pipe, which will become the axis of the cart. If there are no wheels, then they will need to be made.
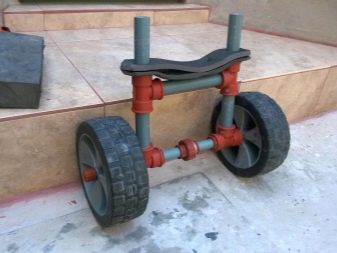
A frame made of clamshell tubes is placed on the bogie axle. At the back, the pipes are bent upwards and form a platform that perfectly holds the cart. Its dimensions may vary depending on various factors.
So, 2 longitudinal and 3 transverse tubes of the cot in certain places according to the selected width, and the legs of the bed must be cut along the rivets. Cross-type tubes can be joined on wood-type cores with screws. The axis of the bogie must be fastened to the longitudinal pipes with plates in the form of a triangle. This allows you to disassemble the cart, if necessary, and put it inside the kayak itself.
How to make a plywood kayak with your own hands, see the next video.