How are rubber boats repaired?
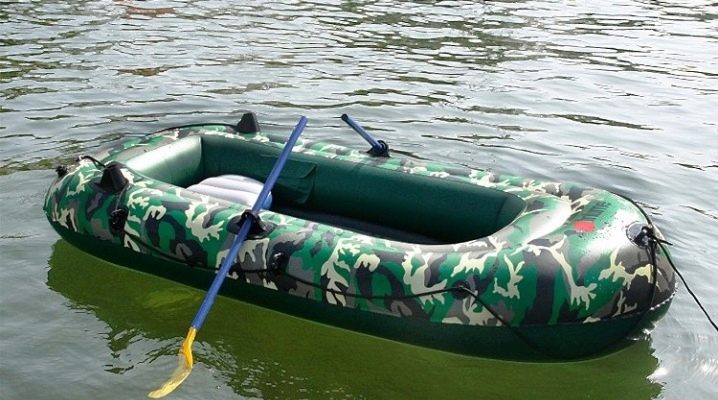
High-quality service and timely repair work can significantly extend the life of rubber boats. On the World Wide Web, you can find detailed instructions on how to repair punctures, tears, and other damage.
Most of the manipulations, with the necessary materials, repair kits and relevant skills, are performed independently at home.
How to identify a defect?
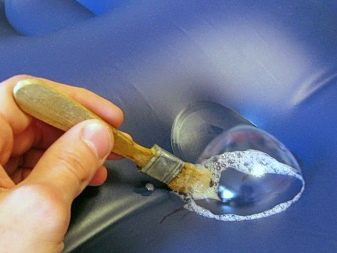
If the boat deflates, then it is initially necessary to determine the location of the damage. In such situations, it will be necessary to fully inflate the product, creating enough pressure to detect a puncture or rupture. It will be equally effective to place the boat in the water.
Damaged areas will reveal themselves by the formation of characteristic bubbles. If none are found in the usual position, then it is necessary to turn the boat over, since punctures may be on the top of the cylinders. Detected defects are circled with a moisture-resistant marker or marked in any other way.
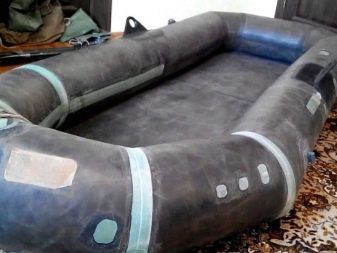
Tools and materials for repair
After all damages are found, care should be taken to have everything necessary to eliminate defects.It is worth noting that the issue of restoring the buoyancy of rubber boats, especially considering the cost of new products, is relevant for many of their owners, and therefore new ideas are constantly emerging.
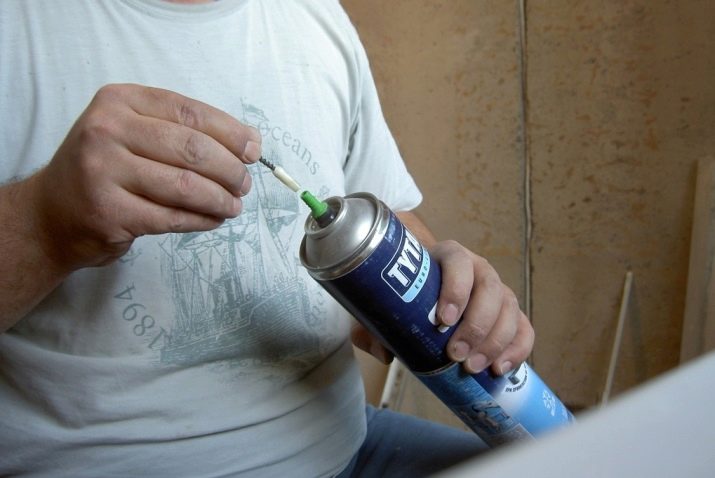
So, for example, on the net you can find instructions according to which old boats are reanimated by filling cylinders with mounting foam.
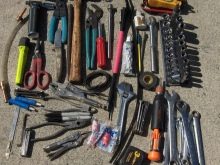
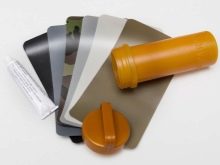
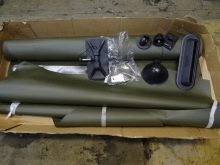
To carry out all repairs, it is required to prepare:
- patches made of the same material as the boat itself;
- adhesive tape for gluing seams;
- fine sandpaper;
- special glue and a clean brush for its application;
- any effective means for high-quality degreasing of surfaces;
- moisture resistant marker;
- ruler and scissors;
- spare parts for the valve, when it comes to its repair and replacement;
- roller for rolling glued surfaces.
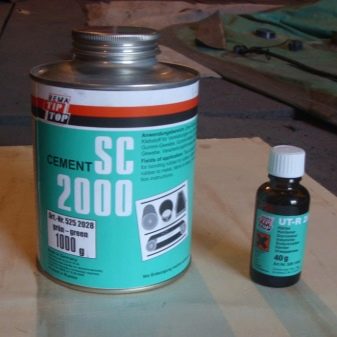
Particular attention is paid to the choice of glue, on which the quality of all work performed will depend. It is now quite difficult to unequivocally answer the question of what is the best glue. There is more than a wide range of related products on the market, including various types of sealants. When choosing an adhesive, it is recommended to consider the following points:
- too cheap options are best ignored;
- cyanoacrylate glue (superglue) is not the best choice;
- one of the key criteria is heat resistance;
- special glue will be more suitable than universal;
- strength is inversely proportional to the tackiness of the adhesive.
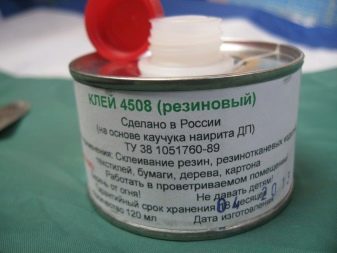
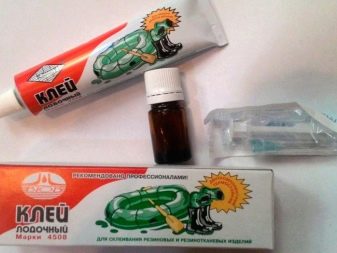
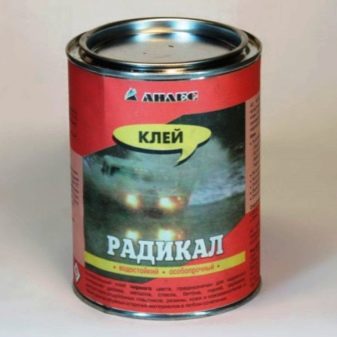
As practice shows, the best option is rubber glue, which is included in the delivery package of the boat itself.Also, experienced owners and specialists recommend using black Radical glue, which allows you to repair almost any damage and glue the seams with high quality.
Main problems and their solution
Given the specifics of the operation of the described products, when trying to restore an old boat, you may encounter a number of damages. Their list includes:
- punctures, which can be caused by various mechanical influences;
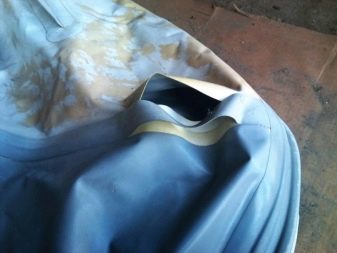
- cuts and tears, which are most often the consequences of using a boat by beginners, as well as operating a watercraft in unfamiliar water bodies;
- damage to the conventional and inflatable bottom;
- valve failure.
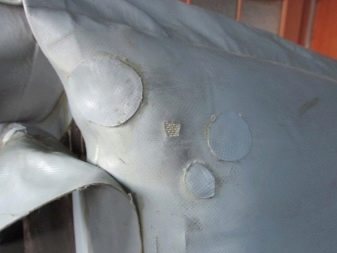
Many owners, in order to repair the boat, successfully use the so-called liquid patches. This approach to repair managed to establish itself from an exceptionally positive side. At the same time, it is worth highlighting the following clear advantages of a PVC patch, which will effectively glue any damaged surfaces:
- the fastest freezing;
- deep penetration (the patch literally merges with PVC layers);
- ensuring increased reliability of the formed connections;
- resistance to humidity and ultraviolet radiation;
- no negative impact on the material of the boat;
- preservation of properties regardless of the temperature regime.
In addition to all of the above, it must be borne in mind that the liquid patch is made of the same material as the rubber boats themselves. It is characterized by increased resistance to mechanical stress. As a result, punctures, cuts, tears and microcracks can be eliminated with maximum efficiency and with minimal time costs.
Punctures
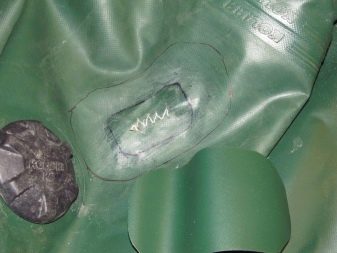
As already noted, any repair of an inflatable boat you need to start with an inspection. When identifying such minor defects as punctures that can be sealed with your own hands, you need to do the following:
- using a ruler, the size of the patch is determined;
- the cut patch is applied to the damaged area and outlined along the contour;
- both surfaces are cleaned with sandpaper;
- processed elements are thoroughly cleaned of dust and degreased;
- gluing is carried out directly.
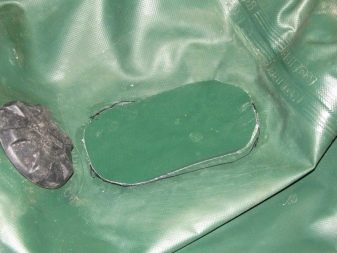
There are currently two options available bonding of rubber elements is cold and hot. The latter involves the following manipulations:
- glue is applied to the repaired place and the patch with a brush;
- after 15-20 minutes a second layer is applied;
- after 10-15 minutes, the glue is heated to a temperature of 50-60 degrees;
- surfaces are connected and strongly pressed against each other;
- air is removed by rolling the glued elements with a roller;
- the glued place is clamped with a clamp or pressed down with a heavy object for 24 hours.

Cold gluing differs from the described hot gluing only in the absence of surface heating. The rest of the steps will be identical. This option is relevant in cases where it is not possible to heat up the patch and the surface of the boat.
breaks
As in the situation with punctures, ruptures of cylinders and bottoms are repaired by applying patches that have a round or oval shape. If the damage is elongated, then the patch used must repeat its configuration. At the same time, without fail, its corners must be rounded, which minimizes the risk of tearing off during the operation of the boat. The patch covers the gap by at least 25-30 mm on each side.
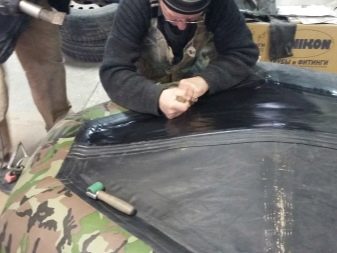
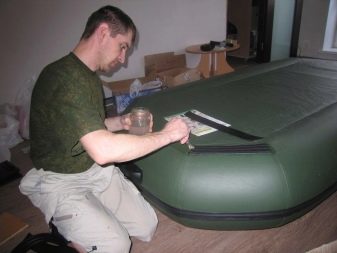
In the process of repairing gaps, it is recommended to use materials included in the spare parts kit or identical to those from which the product itself is made. When applying large patches, it is important to ensure that the longitudinal and transverse threads of the fabric base of the material of the product itself and the patch coincide. To maximize adhesion both surfaces are carefully cleaned with coarse sandpaper and degreased.
At the final stage, immediately before applying the glue, the patch and the damaged area of the boat should be completely dry. In the future, it is desirable to avoid touching the surfaces.
The glue is applied evenly on both elements with a clean brush.
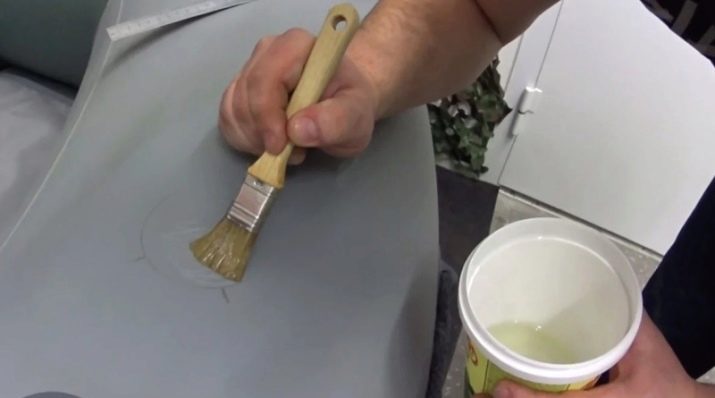
Regluing the bottom
One of the most time-consuming and rather complex types of work is the repair of the bottom of a rubber boat. Often it has to be completely re-glued. This process can be divided into several main steps:
- the cylinders are fully filled with air, the location of the tapes is noted;
- tapes outside and inside are removed;
- the location of the bottom itself is marked;
- the bottom is removed;
- all surfaces are carefully and efficiently cleaned and degreased;
- the boat turns upside down;
- the tape is glued on the inside, while the glue is applied in two layers with an interval of 15-20 minutes and only on half of the previously marked area;
- the tape is glued starting from the bow of the boat 1/2 of the width.
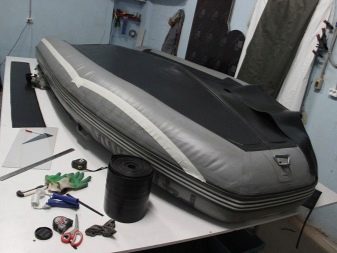
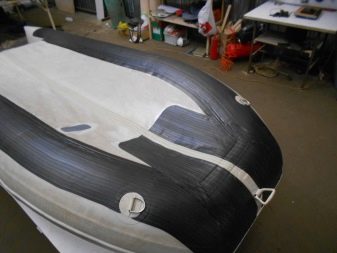
The next step is gluing the bottom. To simplify the work, you can first connect the surfaces at the stern and bow, and then move on to the sides. It is important to ensure that the remaining part of the tape is also glued to the bottom canvas. At the final stage, the outer, protective tape is glued.
Valve replacement
This detail is an obligatory and irreplaceable part of any inflatable boat. Unfortunately, the valve often leaks air, and in such situations it needs to be replaced in a timely manner. Some prefer to use the services of experienced professionals, but such work can be done on their own.
First of all, it is necessary to distinguish the following types of valves.
- Air, characterized by the maximum simple design and principle of operation.
- Petal, named for their appearance. In the process of filling the cylinders with air, the petals bend down, and when bleed - up.
- Rubber, also referred to as dampers. They have a relatively low cost and are most often used by manufacturers of budget models.
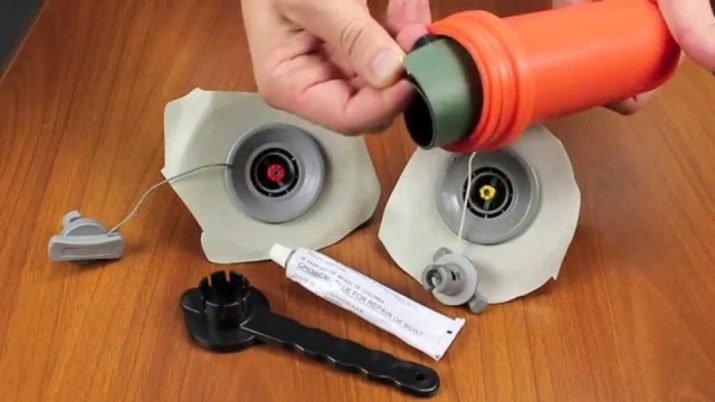
To unscrew and tighten the valve, you will need a special key. In the absence of such a tool, it can be made at any time from a plastic pipe of the appropriate diameter. To remove the old valve, you will need:
- release all the air from the cylinders;
- feel for the glass (base) of the valve with your hand and fix it;
- install the key and carefully turn it clockwise.
A new part is installed quite simply using the same tool. Tighten the valve tightly, but do not overdo it. Otherwise, it can be damaged, and the next time you replace it, there will be problems with dismantling. After installation It is recommended to check the tightness of the device.

Helpful Hints
The repair process of any inflatable products has its own characteristics. To achieve the highest quality sealing of damage allows following certain rules. Experienced boat owners and experts advise:
- pay special attention to pre-treatment of the glued elements, in particular degreasing using appropriate means;
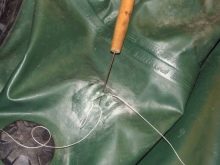
- large cracks and gaps must be pulled off with strong nylon threads before repair;
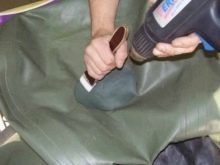
- the use of some of the available types of glue provides for additional drying, which can be provided with a conventional or building hair dryer;
- repairs should be carried out in a well-ventilated area or on the street;
- it is required to take into account such a factor as air humidity, which should not exceed 60 percent.
As practice shows, ignoring these rules can lead to extremely negative consequences. Particular attention should be paid to air temperature and cleanliness. So, working in the sun at a temperature exceeding 16 degrees is unlikely to provide a positive result.
It is also important to remember that it is impossible to touch already treated surfaces with dirty hands.
How to repair a rubber boat, see the following video.


