Repair of PVC boats
The boat has been one of the most used devices by man for several millennia. The fact is that fishing is one of the first occupations of people and has survived to this day. The same applies to the boat as a vehicle - it is still used in this capacity today. Of course, over the entire period of existence, the boats have become better, they began to be made from other materials, many of their characteristics have become much better.
But even though boats today are made from polyvinyl chloride materials or PVC, they are still subject to physical damage. We will talk about the features of their identification and elimination.
How to identify damage?
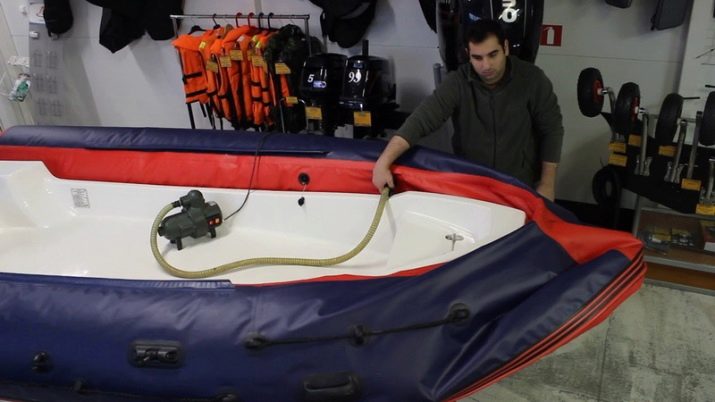
One of the advantages that inflatable boats have is the ability to operate them for a short period of time even after being damaged. This is very important, because on the water it can save the life of a fisherman. Or it often happens that the boat bleeds air - it means that it is leaky, it cannot be operated. The damage detection process will be reduced to the following algorithm.
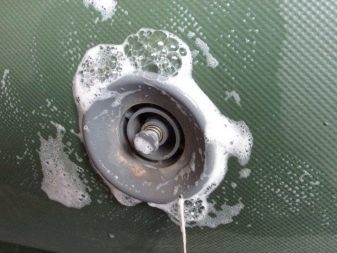
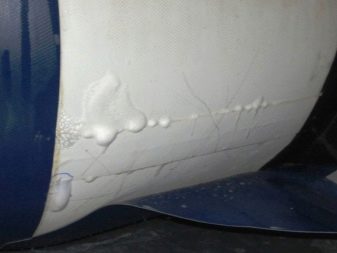
- Checking the reliability of valves and their serviceability. They must be closed, but the lid must be open.To know for sure that everything is fine with this part, you can pour water and check for bubbles. If they are absent, then this is clearly not the cause of depressurization. If they are, then there is a high probability that debris is present in the valve, which prevents it from closing tightly. You can take the pump and carefully blow the valve. If the problem arose on the side, then you can tighten it with a key.
If this does not help, then the valve is replaced. By the way, another method involves applying a soap-based solution and applying it with a sponge to the area around this element. If air is present, the valve must be changed.
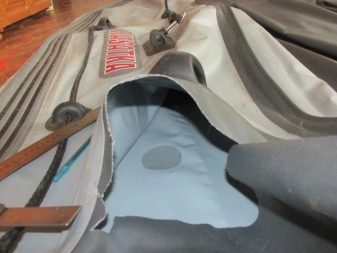
- The bottom of the boat should be inspected for damage. It is easy to check it - just pour water inside the boat and see if it is leaking.
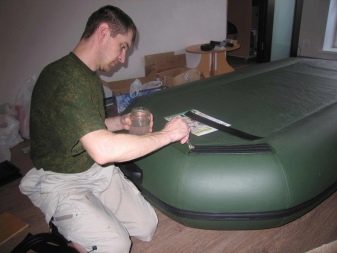
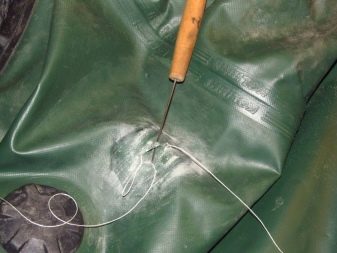
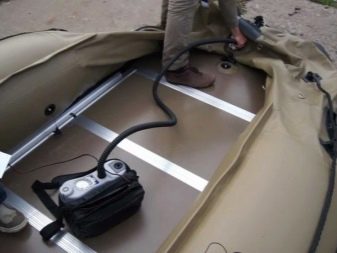
- Now you should inspect the inside of the cylinders. You can check their integrity by the already mentioned method of foamy water. In addition, you can detect a leak by ear. To do this, you need to pump up the watercraft a little more than it should be and listen to whether there is a hiss or not.
By sound, it will be possible to quickly determine the place where there is damage.
Let's note what types of damage to PVC boats are.
- Punctures. PVC is a fairly dense material. But despite this, piercing it with some kind of sharp object (a knife or a hook from a spinner) is nowhere easier. Yes, and when transporting the boat, it is easy to damage it with something.
- Cuts. It is very easy to deform PVC fabric with any tool. And again, this can not be done on purpose. Say, when dragging or storing incorrectly.
- scratches. It may not be a very significant type of deformation, but it is enough to violate the integrity of the craft.Many owners of PVC boats do not attach importance to them, which is not true. Because the material can break in this place at any time, because the integrity is already reduced.
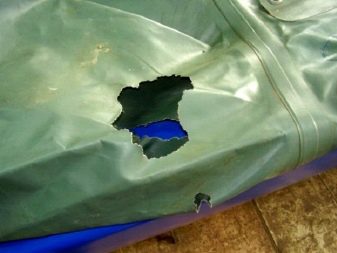
- Breaks. Any object can tear the fabric part. And this can lead to the impossibility of using the boat.
- Burns. This happens to boat owners who smoke. Such damage can occur if the fisherman loses his vigilance.
Tools and materials
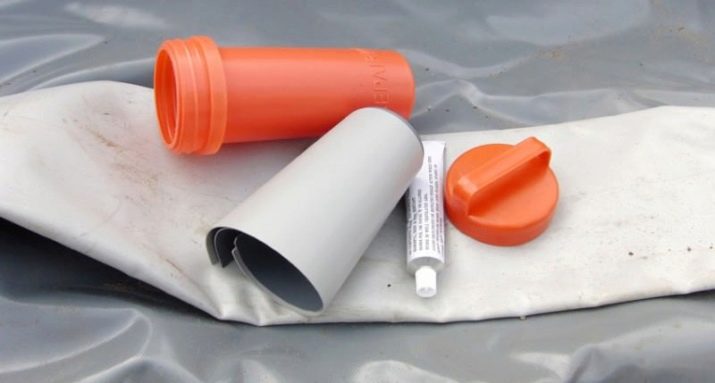
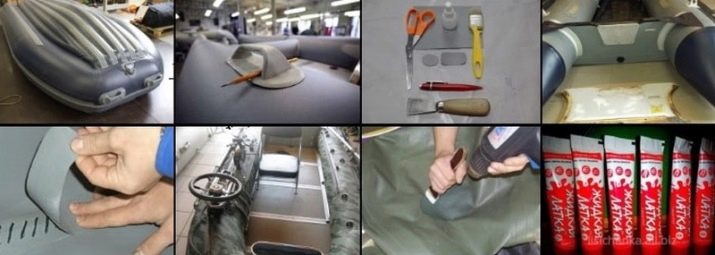
To repair a boat made of PVC, you will need a set of things that make up the repair kit:
- special adhesive composition;
- PVC patch.
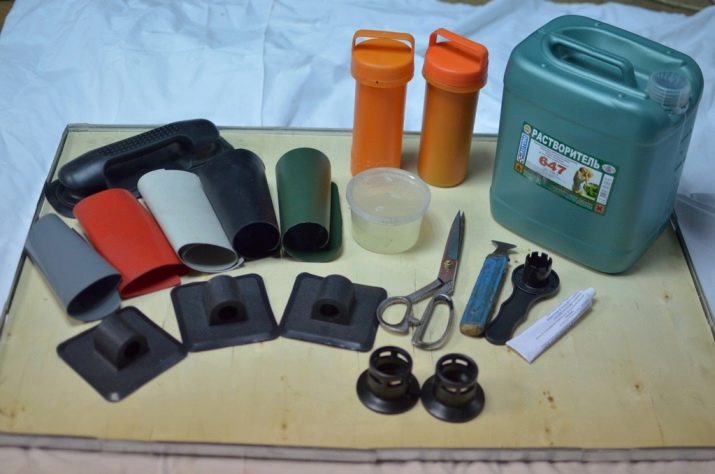
You will also need to have a number of tools:
- a solvent that allows you to degrease the right place before gluing;
- hard roller;
- rags;
- knife;
- brushes;
- thermal heater;
- scissors;
- pencil.
All this is required to repair PVC boats at home or somewhere else. Now let's say a little more about the features and characteristics of some of the elements mentioned. For example, many do not always know what and how the patch is made from. And it is usually made of PVC, which is supplied in a repair kit. When cutting it, you need to know that for better reliability, the patch should be made 5 centimeters larger than the damaged area.
This will allow you to repair the damage site with your own hands more efficiently.
If such a patch cannot be made from the materials that remained in the repair kit, then you can use a thin piece of rubber. But it is better to have just such material at home, because it is easy to buy it in a specialized store. Another important point is the choice of glue. Usually, in the repair kit, it is the glue that deteriorates first due to its short shelf life. When buying it, you need to pay attention to the following points.
- Compound. It should not contain various kinds of resins, because they increase stickiness, but reduce the possibility of gluing.
- Thermal stability data. Ultraviolet radiation heats the material very much, and if it cannot resist high temperatures, such a liquid patch will not last long.
- The mention of "universality" or "specialty". It is better to use glue that has the designation "special", because the characteristics will be better.
- Marked "polyurethane". It is better to choose adhesive compositions with a similar mark. Then the patch will stick better, and the service life will increase significantly.
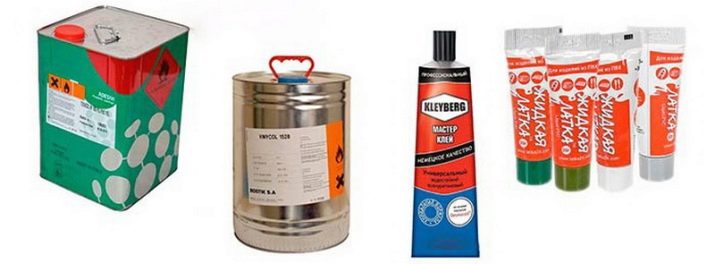
And it should be said that the most high-quality types of glue that can be contained in a repair kit will be: Master Glue, Vinicol-1520, RK-2, 900 I, Penosil, Kernil, UR-mono.
Most common problems
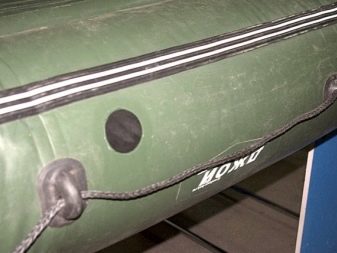
The first most common problem that PVC boat owners face is puncturing or burning through. To fix it, do the following:
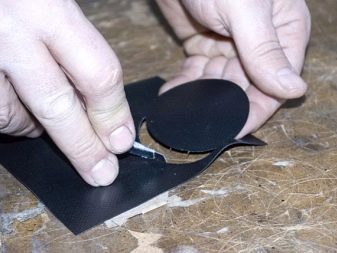
- first you need to cut out from the fabric that comes in the repair kit, a round or oval patch a few centimeters larger in diameter than the damaged area;
- after that, you should level the surface where the patch will be glued to smooth out all the wrinkles;
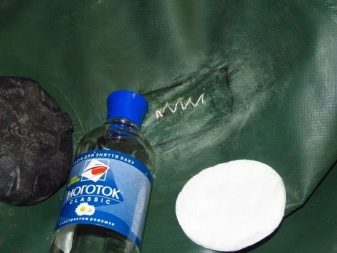
- a board is placed under the area where the repair will be carried out, after which it will be correct to degrease and clean it using a solvent;
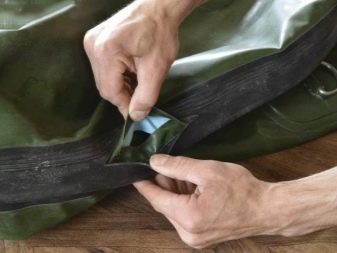
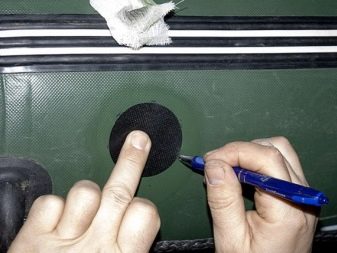
- to seal the boat with your own hands, you need to put a patch on the puncture site and trace its contours with a pencil;
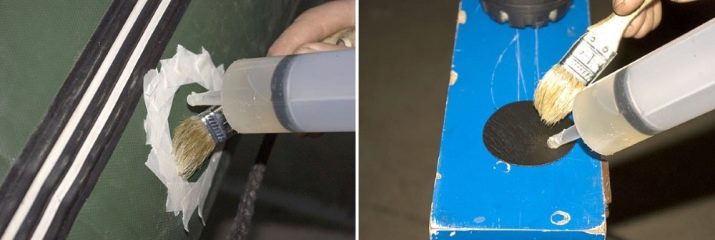
- lubricate the surface with glue and wait for drying;
- after a quarter of an hour, the action should be repeated;
- bonding is carried out a few minutes after re-applying the adhesive, it is worth checking that the seams are of high quality.
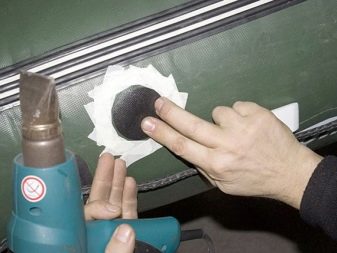
Adhesive must be sticky. The repair area should be gently heated with a hair dryer. It is important to be careful here so as not to deform the gluing. There must be no air between the adhesive materials. Here you can use a roller. After the process is completed, it is required to leave the glued area for about a day until it dries completely.
Another important point is that it is not always possible to glue the patch at low temperatures in case of this type of problem. Everything will depend on the adhesive used. Therefore, before use, you should read the information on the tube in which the composition is stored.
By the way, this glue also allows you to stick a handle to the boat if it is initially missing.
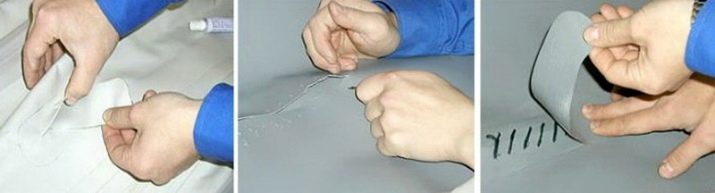
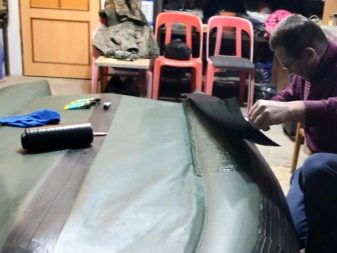
Now let's talk about how to properly eliminate cuts and torn holes. In this case, you need to apply a patch on 2 sides. Would need:
- make 2 patches of the same size in the form of a circle or oval;
- straighten and degrease the area for subsequent repair;
- circle the damaged area with a marker;
- apply glue in 2 layers on both parts;
- allow the adhesive to dry overnight.
Another common problem is the elimination of a cut on the bottom. The problem of NDND deformation is often found on the river, when a person is in a watercraft, and water simply comes in. If this happened, then you should pull the craft out of the water, dry it and then start repairing. With this problem, glue cannot be used due to the constant exposure to water on the bottom.The cut must be sewn with very strong threads.
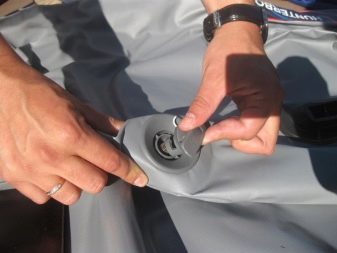
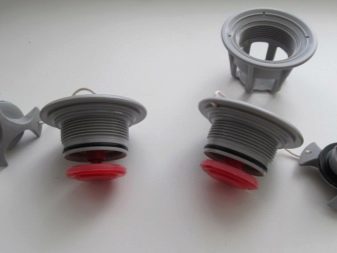
The next problem, which is quite common, is the repair and replacement of the valve. Such a need may arise due to the fact that it does not close completely, which is why it constantly releases air, and the watercraft must be pumped up all the time. To replace the valve, it will be necessary a special key that is not included with the craft. It's easy to make your own. You will need a jigsaw and a metal pipe measuring up to 2 centimeters in diameter.
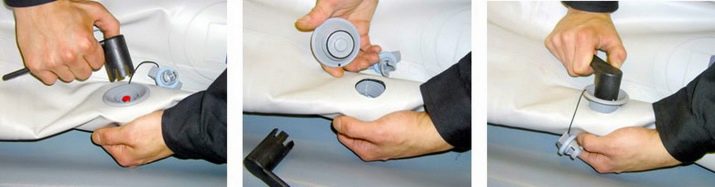
We lower the boat cylinders and make a hole at the top in the form of a cylinder of the specified size. Now carefully unscrew the valve body from your cup holder. We take it out, and then inspect it. If the problem is minor, then you can simply lubricate with grease, after pre-rinsing and drying. If the valve cannot be used, then you need to screw in another one, holding its counterpart.
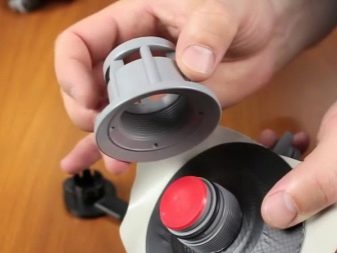
It is not necessary to tighten and press the valve too much because of the possible breakage of the key. By the way, before screwing in, it will not be superfluous to lubricate the place with soapy water so that the parts fit as tightly as possible to each other.
Helpful Tips
Here are some helpful tips and tricks which will facilitate the operation and repair of the PVC water craft:
- descent and inflation of the craft should be done only on a clean and even surface in order to minimize the risk of scratches and various kinds of punctures;
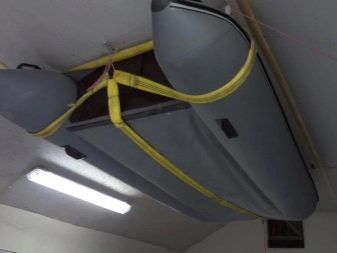
- after use, the boat must be washed, freed from debris, so that there are no things that can damage its fabric shell;
- careful use, storage and proper repair of a PVC boat will extend its life;
- the adhesive joint must necessarily polymerize, only after that the quality of the bonding is evaluated;
- if the gluing turned out to be of high quality, then the boat can be used for its intended purpose the very next day, and in other cases, the waiting period will be 3 days;
- surfaces that stick together should not be heated over an open fire;
- universal adhesive compositions cannot be used, because cracks form in the bonds over time - this calls into question the reliability of the connection;
- if the cuts and torn holes are large, then it is better to contact the specialists, while the repair kit cannot be used to repair cuts longer than 15 centimeters;
- the same applies to some serious physical damage, for example, if the keel is broken, then it is better to take the boat to a service center;
- To reduce the possibility of cuts and deformations of the low pressure inflatable bottom, a protective tape can be purchased.
For information on how to seal a PVC boat in field conditions, see the following video.