Knitted manicure with gel polish
Today, a professional manicure has ceased to be a luxury, but has become an indispensable attribute of a modern well-groomed woman. Regardless of what kind of nails nature has given you, you can trust in modern technologies for modeling the nail plate and make yourself such a manicure as you want.
Thanks to the rich palette and durability of the coating, gel polish has gained immense popularity. With it, you can perform almost any design. Today we will talk about how to make one of the most popular three-dimensional patterns in the cold season - a knitted manicure.
What it is
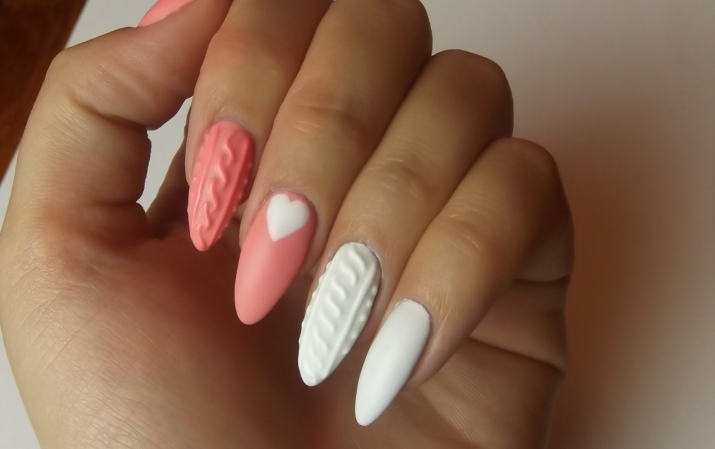
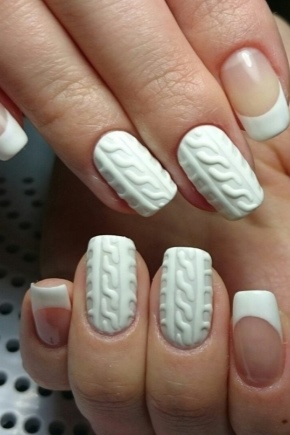
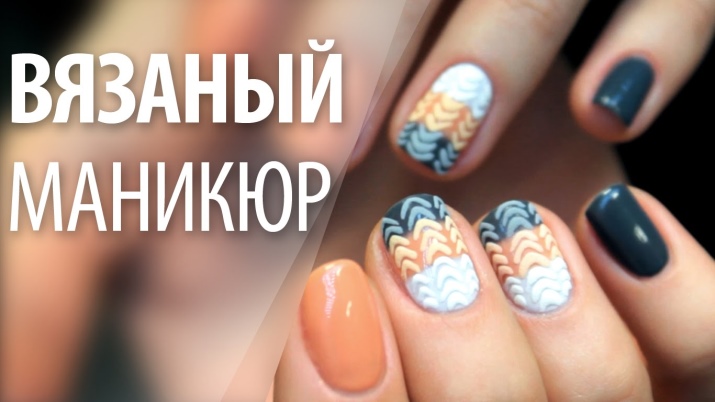
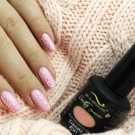
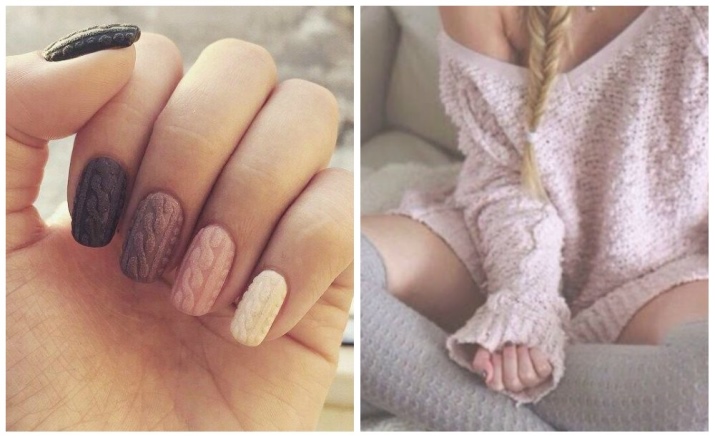
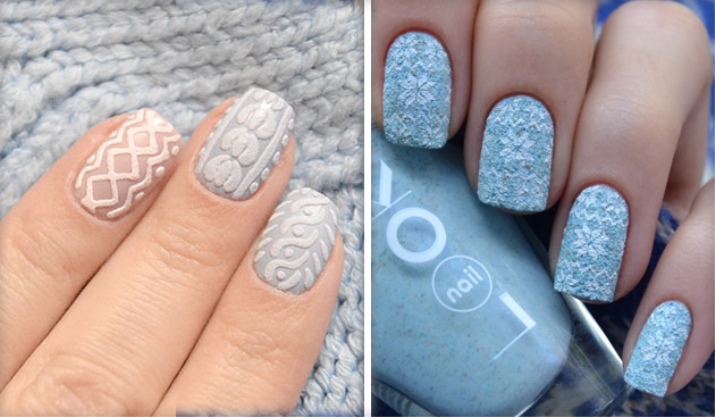
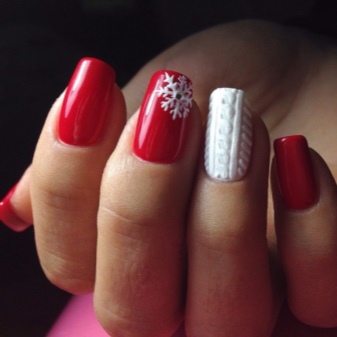
Knitted is a three-dimensional pattern made on the nails in the form of knitting a woolen sweater: rhombuses, braids, cones, etc.
It is most relevant in winter and late autumn. This pattern looks great on nails of any length and shape. For its implementation, it is recommended to use gel polish and auxiliary materials, for example, acrylic powder or “velvet sand”, however, if you have ordinary thick nail polish (for example, TF “Gloss and Volume” varnish, which has a dense texture and glossy finish) and patience , you can try this design without professional equipment.
Advantages and disadvantages
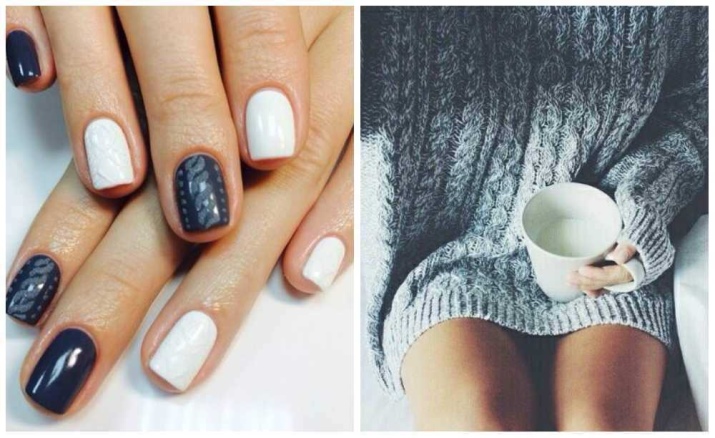
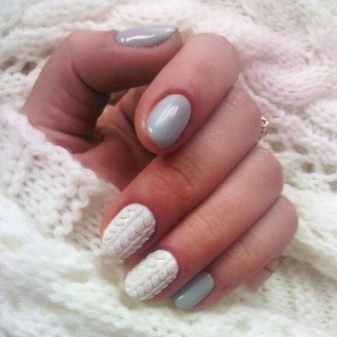
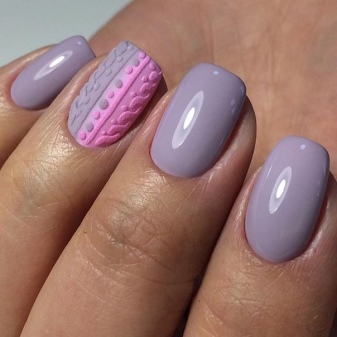
If you are a lover of various designer things and you like to decorate your nails with unusual patterns, take a closer look at a knitted manicure. It looks very stylish and modern, especially when paired with appropriate clothing. "Knitting" can be performed not on all fingers, but only on two, as a rule, they choose the middle and ring fingers.
Although this pattern is voluminous, it does not cling to clothing, rarely chipped and does not weigh down the nail plate, which testifies in its favor.
But with all its positive characteristics, this type of design also has disadvantages. Firstly, it is quite difficult to do it on your own, since this is a rather delicate and painstaking work. Secondly, such a pattern will not look with an evening dress or a formal business suit, only with casual clothes, so if you have some kind of event with a dress code, it is better to choose a different design. And thirdly, this is a seasonal type of print, in summer and spring it is irrelevant.
Fashion trends
Fashion dictates its own rules and in order to be “in style”, it is advisable to follow its trends. This also applies to the nail industry. There are certain guidelines for doing this or that design, although, of course, no one can stop you from experimenting. Here is the best way to do a knitted manicure:
- Use soft pastel shades on a dark background, the pattern will be lost;
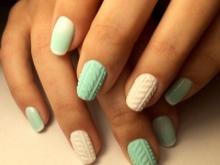
- If you are not attracted to solid nails, knit in a different color - get a "sweater" in the Scandinavian style;
- It is absolutely not necessary to apply the same pattern to all nails. - you can decorate them with different knitted ornaments;
- It is also not forbidden to paint nails with gel polishes of different shades, the main requirement is their harmonious combination with each other;
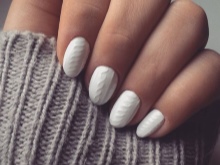
- Knitted manicure looks very nice on a matte surface.
Necessary materials and tools
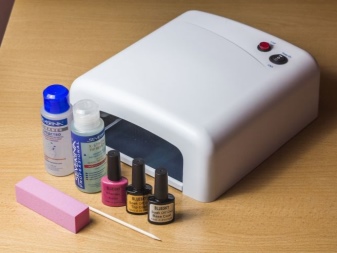
To complete this wonderful design with gel polish, you will need:
- Base coat;
- The primer is acid-free;
- Finish gel;
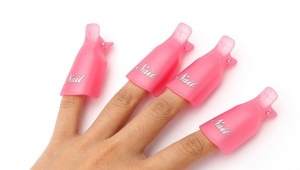
- Removal liquid dispersion layer;
- Napkins are lint-free;
- Files, bafik, manicure machine;
- UV lamp;
- Thin brushes to perform drawing;
- Colored gel polishes;
- Gel paint;
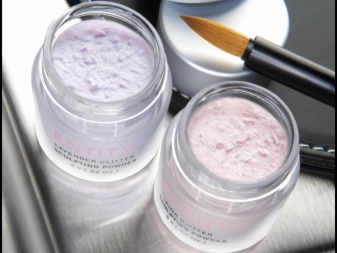
- Acrylic powder optional or "velvet sand".
Step-by-step instruction
So, you have stocked up with all the above materials, now you can start decorating your nails:
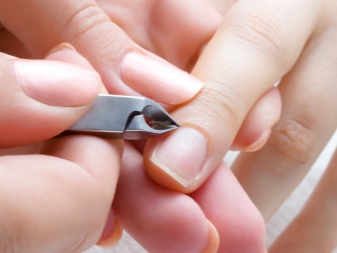
- Let's start with a manicure: remove the cuticle, give a beautiful shape to the free edge of the nail, align the length;
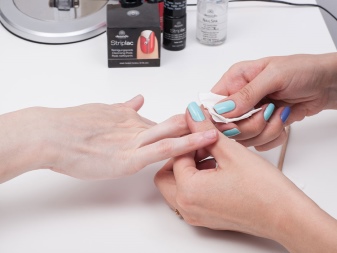
- Cleaning and degreasing the surface nail plate;
- Drip on each nail a couple of drops of primer;
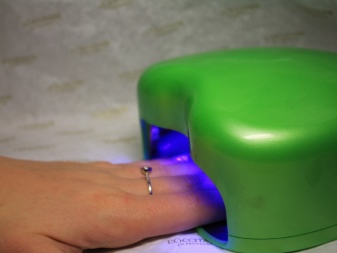
- We cover the nails with a base, dry in a lamp;
- Next, choose a suitable gel polish and apply it in 2-3 layers, each of which must be dried in ultraviolet light;
- Remove sticky layer;
- We select a pattern. It can be a simple “pigtail”, a quilted “sweater” or a “herringbone”. In general, look at the prints on winter clothes and choose what you like;
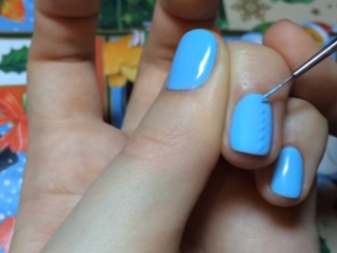
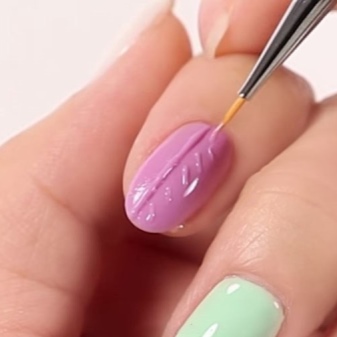
- With a thin brush, scoop up a drop of varnish and apply a pattern to the nail. Gel paint lays down more densely, but gel polish is also not bad. Just do not forget to dry each "knitting" element in the lamp. So you can avoid spreading the material;
- The pattern is applied in several layers, as a rule, three will be enough;
- Finish your nails remove the dispersion layer.
If you want a matte effect, use acrylic powder or "velvet sand". How to work with it: after applying the last layer of gel polish on the drawing, sprinkle it with powder and send it to dry in a lamp for 2 minutes. Shake off excess powder with a soft brush. Nothing more needs to be done.
How to make a knitted manicure with gel polish, see the next video.
Pro Tips
In order for the “sweater” to turn out neat and beautiful, listen to the following recommendations:
- If you are a novice craftsman or a self-taught amateur, do not immediately take on complex patterns. The classic "knitted manicure" is a pigtail. It is easy to perform, so start with it;
- Practice this design on tips, and then switch to real nails;
- Take the figured knitting of woolen sweaters as a basis. Pay attention to the nuances of the pattern, its severity and volume. Try to repeat this with a brush and gel polish;
- To prevent the pattern from spreading, dry your nails thoroughly, remove the dispersion layer;
- The thinner your paint brush will be, the clearer and more expressive the pattern will turn out;
- "Knitting" is applied to the nails in at least 3 layers. Only then can you get the volume you need. Also, the number of layers depends on the consistency of the material with which the drawing is performed;
- This type of design will decorate the nails of any length, but it is important that they are natural. Thick extended nail plates will look very bulky with this voluminous print;
- If you want matte nails, use a finish gel with a matte effect;
- A surface coated with acrylic powder or “velvet sand” does not need to be topcoated. Small particles and without it will be strengthened on the non-dried surface of the pattern after polymerization in a UV lamp;
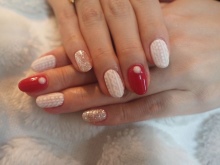
- A variety of decorative additions will help create an original design. in the form of rhinestones, bouillon, sequins.
Reviews
Knitted manicure is quite often used as a New Year's nail decoration. He is loved by women for his "cozy" appearance, the ability to diversify the everyday look with an interesting and unobtrusive design. You can learn how to do it yourself, even without professional equipment and materials. In addition, such a pattern has not lost its relevance for several years, so by completing it, you will always be in trend.
I would like to note that gel polish has firmly won women's hearts. This is due to the durability of its coating and rich color palette, as well as the ability to experiment with different types of nail design. Every season there is something new, and something, on the contrary, loses its relevance. However, there are unshakable classic types of manicure that go from season to season and the demand for them does not fall. One of these designer finds, of course, is the French manicure.
The “knitted” winter version of nail decoration also has every chance of staying in trend for a long time and becoming a classic.
