Veil on nails with gel polish
Psychologists say that people around on a subconscious level create an opinion about a person by the state of his hands. Probably, this fact is one of the reasons for focusing attention to their hands on the part of the female. To achieve the cherished goal in the form of beautiful and well-groomed hands, the representatives of the “fair sex” provide them with comprehensive care, one of the stages of which is nail polish.
You will learn more about creating a lace nail design from the following video.
At any time it is fashionable to be gentle, stylish and well-groomed.
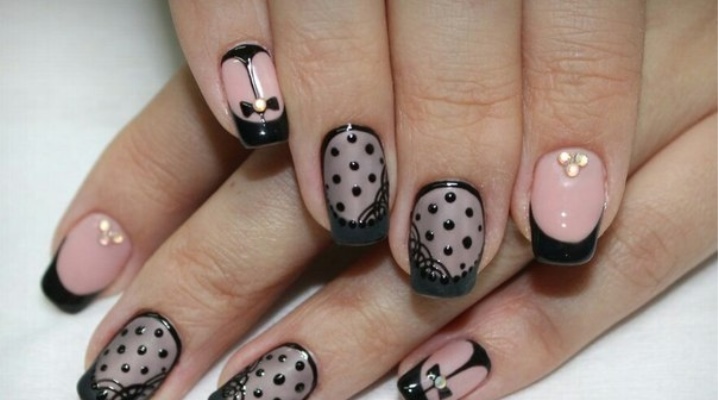
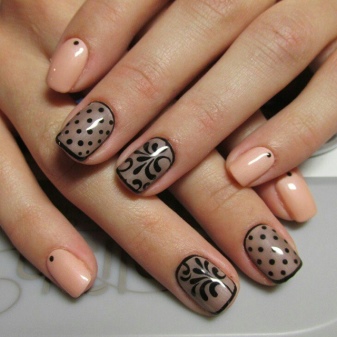
It is known that more than a thousand years BC, the famous Nefertiti painted her nails bright red. But fashion opens up new horizons and requires being on the crest of a wave. Currently, unexpected ideas, unusual solutions and bold proposals in the manicure field are in trend. One of the types of manicure (called differently: "veil", "tights", "stockings", "lace”) is gaining rapid popularity and implies a beautiful translucent nail design with delicate patterns. In this article, we will consider the process of creating a smoky “veil” with gel polish on nails in stages.
Peculiarities
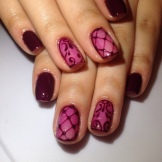
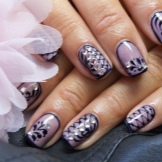
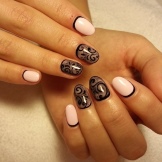
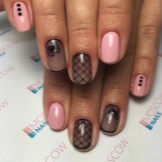
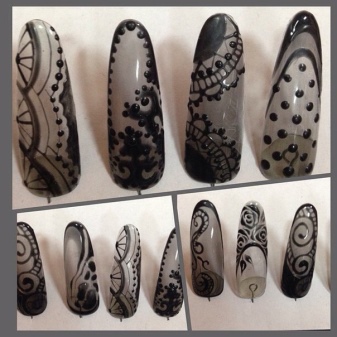
"Veil" is associated with something light, airy, romantic, but at the same time mysterious and mysterious. This design was named so because of the monochromatic pattern depicting the texture of lace women's tights or a patterned mesh that decorates an exquisite ladies' hat. It looks equally good on both long and short nails.
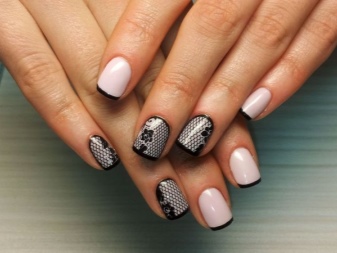
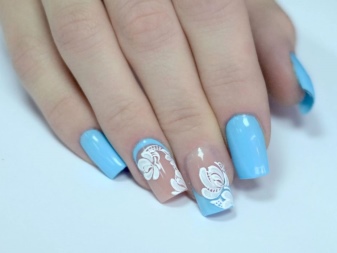
With such a manicure, you can make evening outings, and during the day go to work in the office or in a cafe for friendly meetings.
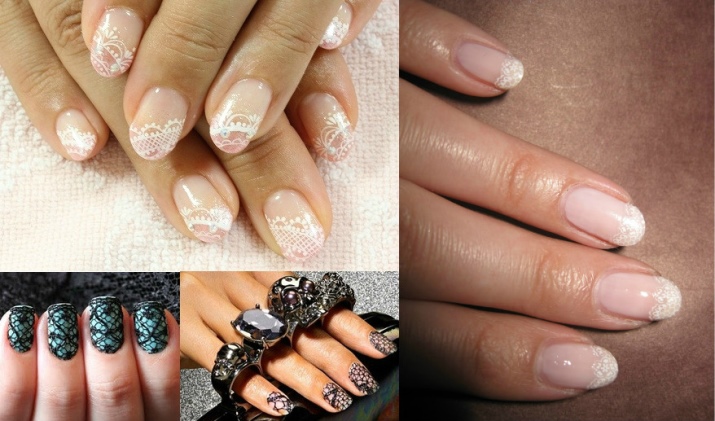
In the process of creating such beauty, you need to consider a number of recommendations:
- any color is suitable for the background, but most often they choose light pastel colors (pink, light brown, beige, white, transparent) or the famous jacket, over which a bright color pattern is applied;
- professionals prefer the use of gel polish for such a design, which helps to create a more realistic smoky effect, but regular nail polish can also be used;
- most often this design is not chosen for all nails in a row, but only for one or two on each hand (for example, on the middle and ring fingers or on the ring and little fingers), combining and emphasizing the “veil” with other versions of the manicure;
- shop counters offer a wide range of ready-made stencils or stickers to quickly create "lace", but nothing beats hand-drawn patterns.
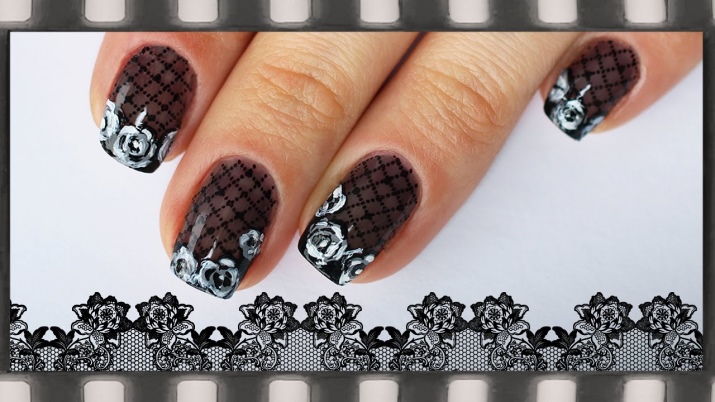
Application rules
Before creating a truly beautiful, delicate and long-lasting “lace”, you need to do some preparatory work.
- The initial step is traditionally the preparation of the nails. To do this, you need to move / cut / dissolve the cuticle, determine the optimal length of the nail, give it the desired shape and polish the nail plate.
- For complete cleansing, degreasing and protection of the nail surface from the effects of gel polish, you need to apply a fresher to the nails, and then a primer.
- This design defines a translucent, delicate base to create a smoky "veil" effect. To make it, you need to mix a few drops of top with a small amount of white or black varnish on a piece of foil. The intensity of the color depends on the amount of added color, so it's better to "start small", gradually adding drops of varnish of the desired color.
- It is better to prepare the base for the veil immediately before the manicure, as it quickly thickens and dries. This style does not require the obligatory application of a smoky tone, but then the pattern will be a simple pattern, and not “tights”.
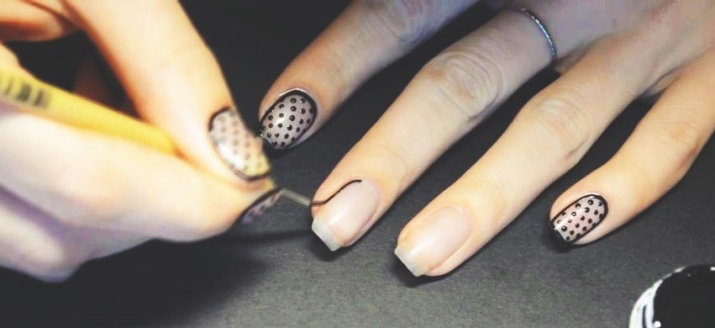
Walkthrough
Despite the apparent complexity of this design, the “veil” is quite easy to make, especially if you have basic skills in creating manicure patterns. Let's take a closer look at the technique for creating translucent grace:
- Apply a thin layer of foundation and dry thoroughly in an ultraviolet lamp (about 2 minutes);
- Outline the edges of the nails thin elegant line with undiluted varnish, making a “veil” edging, then dry the layer.
- Draw a pattern with a thin brush or special manicure tools. It is better to start drawing with large elements, gradually moving to small ones. The rule "the more the better" does not apply to this design. Excessive density of the pattern or overload with patterns can spoil the impression and dispel the effect of the “air veil”. It is quite enough to make one elegant element or a mesh with dots that will imitate women's tights. “Lace” looks beautiful with a pattern not of a dense color, but translucent or a tone darker than haze. You can also use rhinestones, stickers, beads, glitter as an additional decor.
- Apply a thin layer of the previously prepared "veil" and dry.
- After complete drying, enjoy the sophistication and the sophistication of the trendy pattern on the nails.
