Water manicure with gel polish
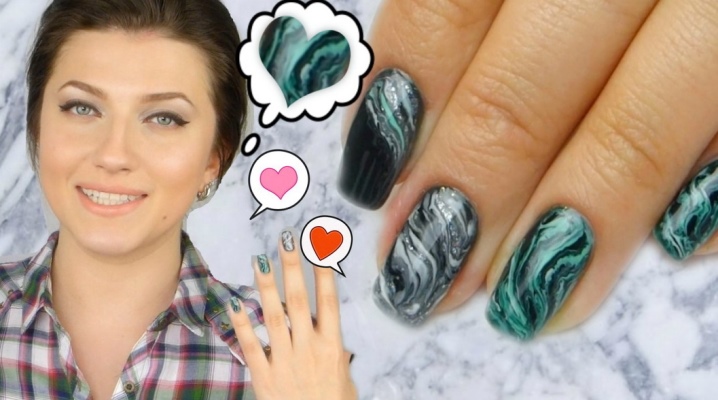
Well-groomed female hands and nails with an interesting design speak of a woman's attitude towards herself. If you are tired of a monochromatic glossy gel polish, we recommend that you get acquainted with water manicure and a simple technique for its implementation, which even a beginner can do.
What it is
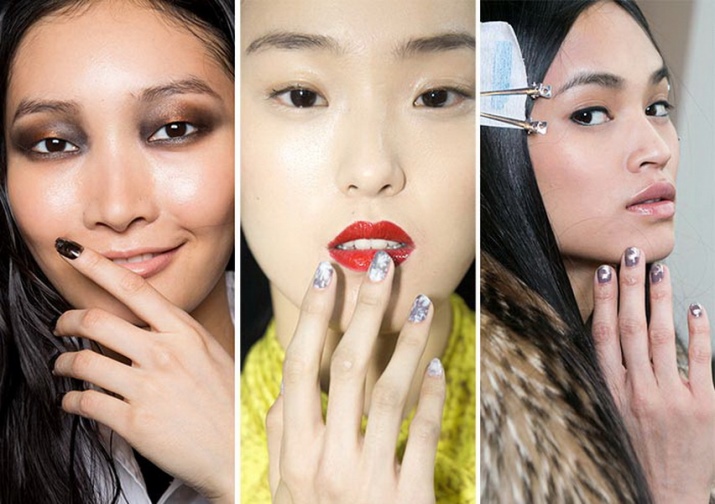
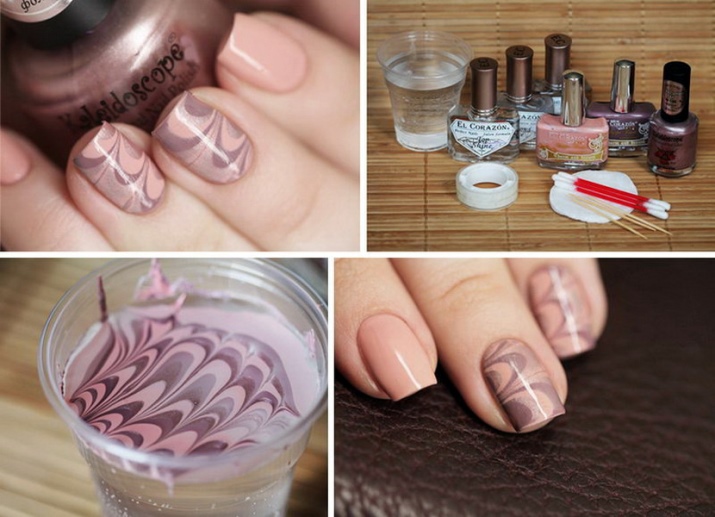
Water manicure is performed using a liquid and allows you to create the most original patterns on the surface of the nail plate. This type of coating is often called a marble manicure for the ability to display the structure of natural stone in design, but women do not always prefer to wear "boring marbleand choose brighter shades. Water manicure designs are suitable for nails of any length and shape, the chosen shades play a big role - they should be combined with each other or create a stylish contrast.
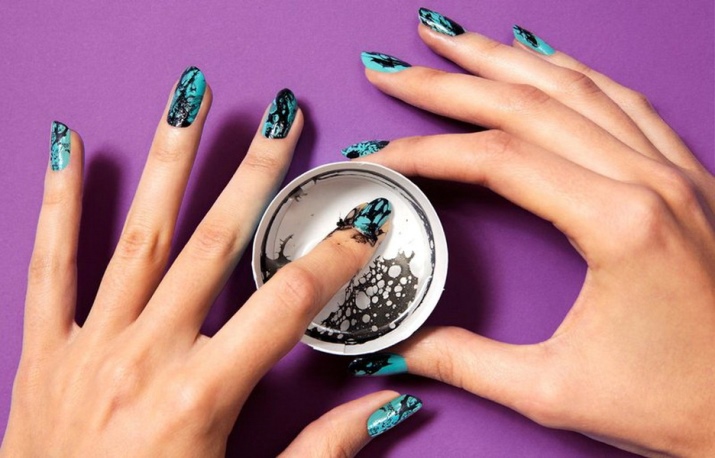
Often the question arises of what varnish is needed to create a water manicure. We answer - any fresh gel polish. It is not recommended to use a too thick dried composition - it will be difficult and almost impossible to draw on it due to its high density, and the natural spreading effect may not work. To create a design, it is necessary to form a drawing directly in the water - this will allow you to get an interesting pattern and apply it to the nail plate by lowering it onto the drawing.
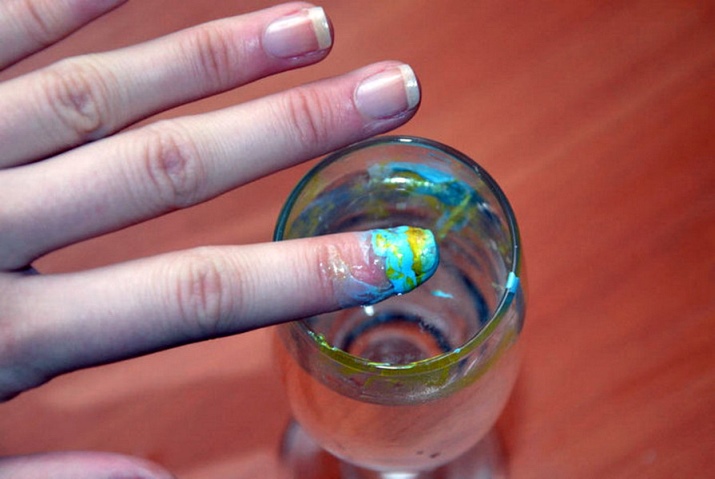
In order for the water design to succeed, it is necessary to use fresh varnishes and apply them to the water one drop at a time. - first one pigment, then another, optionally a third and fourth. It is recommended to use 2-3 shades, maximum 4. To create a black and white design, you need only 2 colors and 5-6 drops, which are superimposed on water in turn.
Manufacturers
To create an original water design, a regular gel polish of a not thick consistency is suitable. It is desirable that the shades have the same manufacturer - this will guarantee their uniform consistency and better distribution when drawing. Examples of suitable brands include:
- Shellac CND;
- OPI Gelcolor;
- Kodi Professional;
- bluesky;
- Laque Runail.
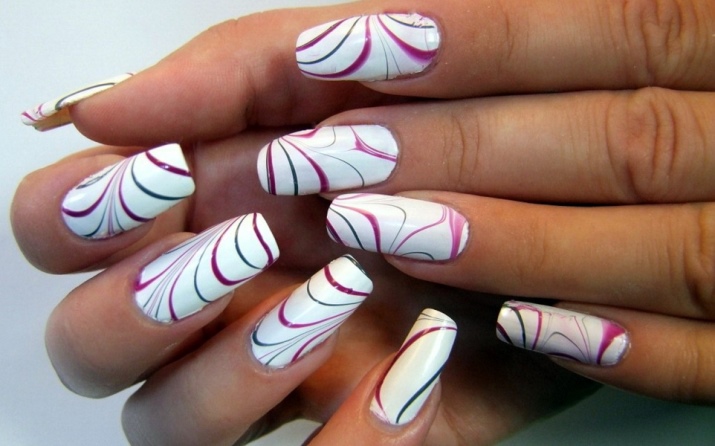
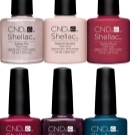
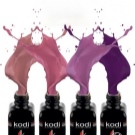
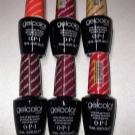
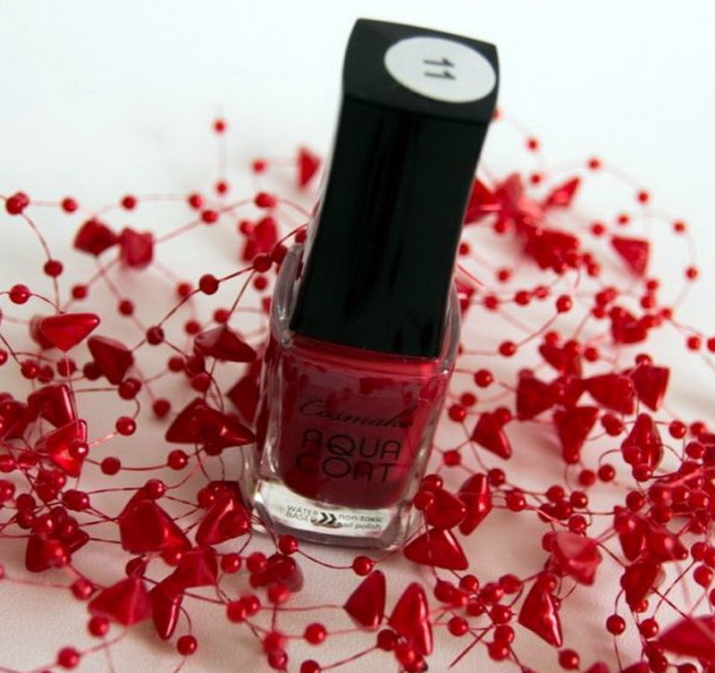
The special Aqua Coat varnish is ordinary, it has a watery texture and is safe to use, especially for allergy sufferers, pregnant women and children.
Design
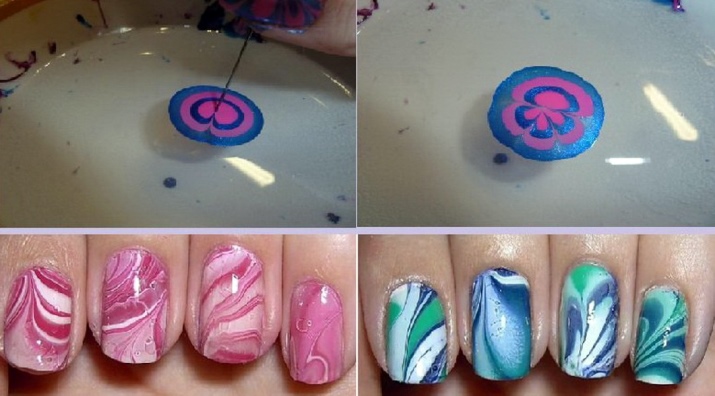
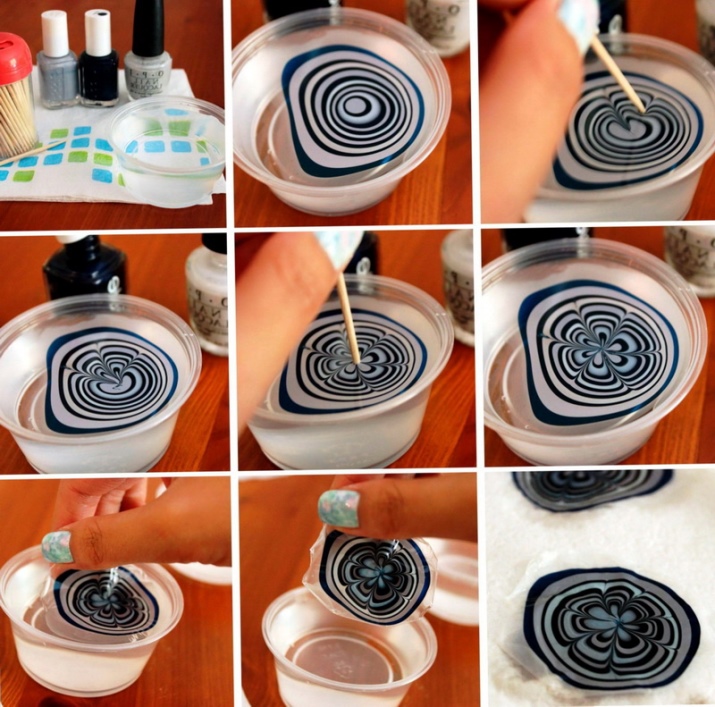
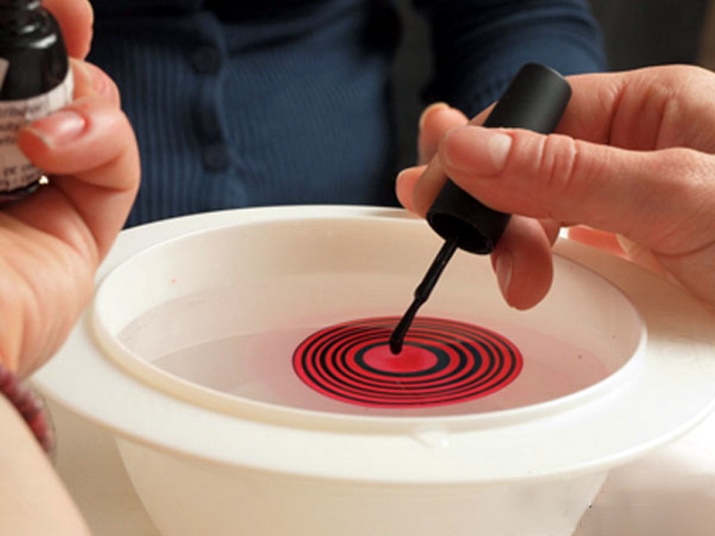
- Black and white. The design will require two colors: white and black. In a prepared container with water, drop a drop of black pigment, followed by white in the center. Alternate application of drops 3-4 times. The resulting circle in a circle can be applied directly to the nail in a “pure” form or create a pattern with a needle;
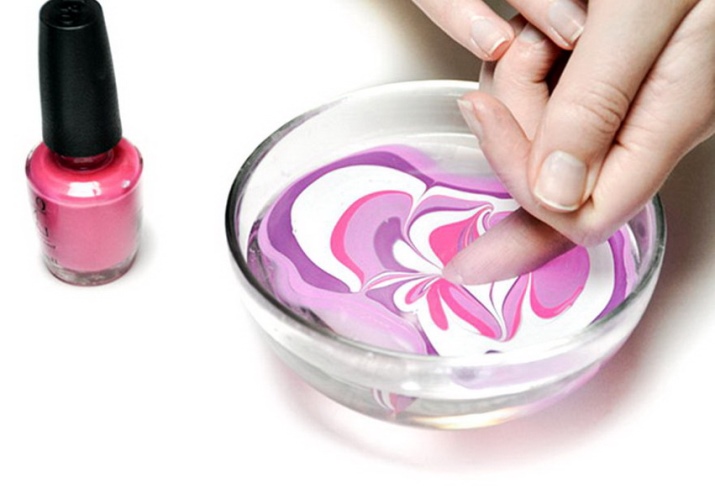
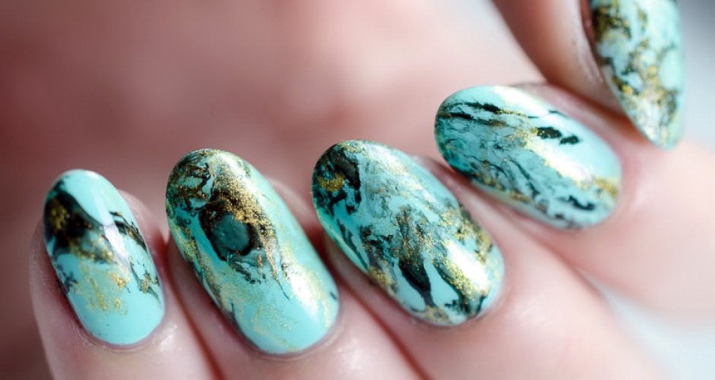
- To obtain a natural marble effect, take white varnish or any nude shade as a basis, it is desirable to make cracks contrast - black, dark gray, brown and even green or emerald. The nail plate can be covered in advance with a plain light coating, the same or a shade different by a couple of tones can be dissolved in water, a drop of contrasting pigment is dropped into it. On a light background, draw irregular lines, reflecting the structure of natural stone. You can use several pigments from one palette;
- «Malachite» - an original design that is perfectly complemented by gold. Green, emerald, turquoise gel polish is taken as the basis: one large drop is applied to the water surface, on top - a little white, golden and any dark contrasting varnish.
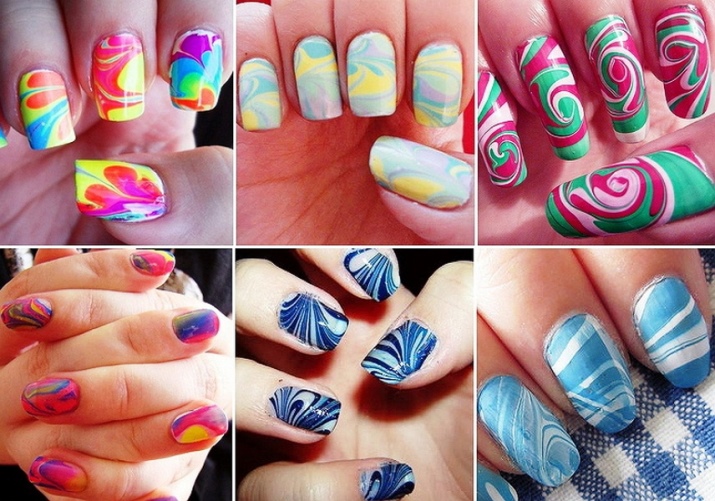
- Bright summer design combines the most relevant shades. You can not be limited to tones, but choose the most juicy colors: blue, green, yellow, orange, pink, lilac. Apply colors next to each other, after forming a pattern. In this case, it is not necessary to follow the same drawing technique; asymmetry also takes place here.
The format of water manicure allows you to use varnishes of any shades and boldly combine with each other. The coating can be additionally decorated with decorative ribbons, rhinestones, holes, beads, or left in its original form.
How to make at home
To create an original water design at home, you will need to arm yourself with materials:
- Convenient container and water at room temperature. For beginners and even masters, it is recommended to use disposable cups - it’s not a pity to throw them away after the procedure and damage them during, and it’s unhygienic to dilute synthetic compounds in your favorite mug;
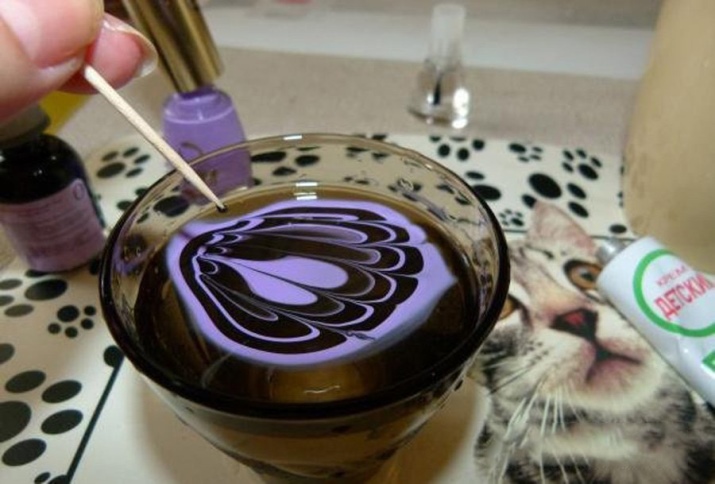
- Toothpicks, thin knitting needles or skewers. They are useful for drawing a pattern on the water and the surface of the nail;
- Oily hand cream, cotton pads, sticks or a special protective film mask for cuticles.
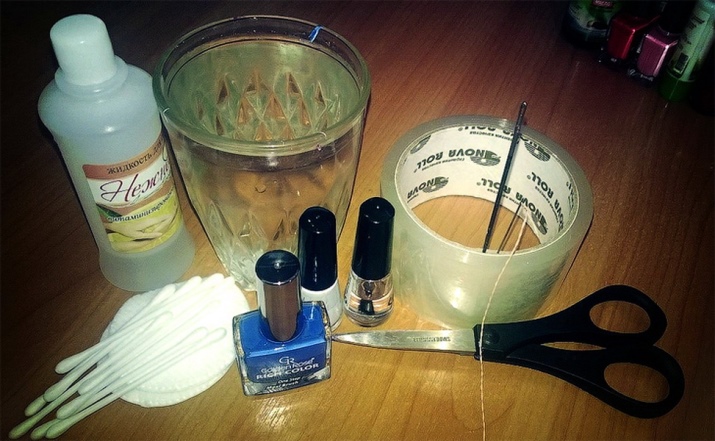
Mandatory "working" accessories are:
- Transparent base and top coat;
- Gel polishes of several shades (it is desirable to choose no more than 3-4 colors).
Now let's talk about how to make a water manicure yourself:
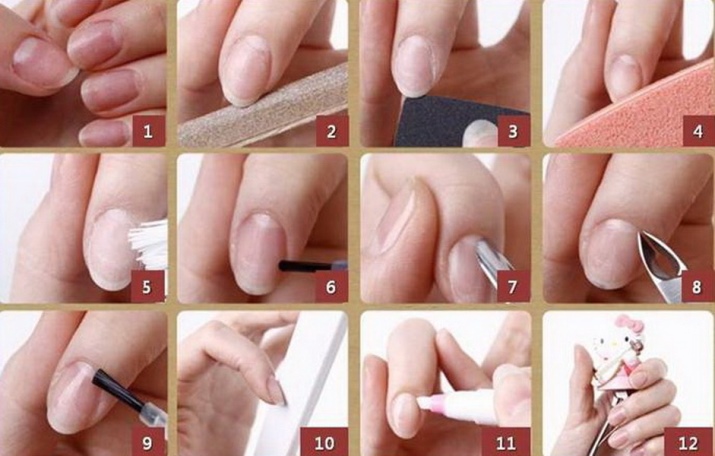
- Prepare your nails: do a classic manicure, shape the nail plate, remove the cuticle and treat the surface of the nail with a buff and a degreaser;
- The first layer is a transparent base. It must be dried in a lamp and only then proceed to the main step. By the way, before the next point, it is necessary to treat the cuticle area with a fat cream in order to remove excess pigment from the skin. Masters recommend applying a greasy product or a special film before applying the base, but you can do it after;
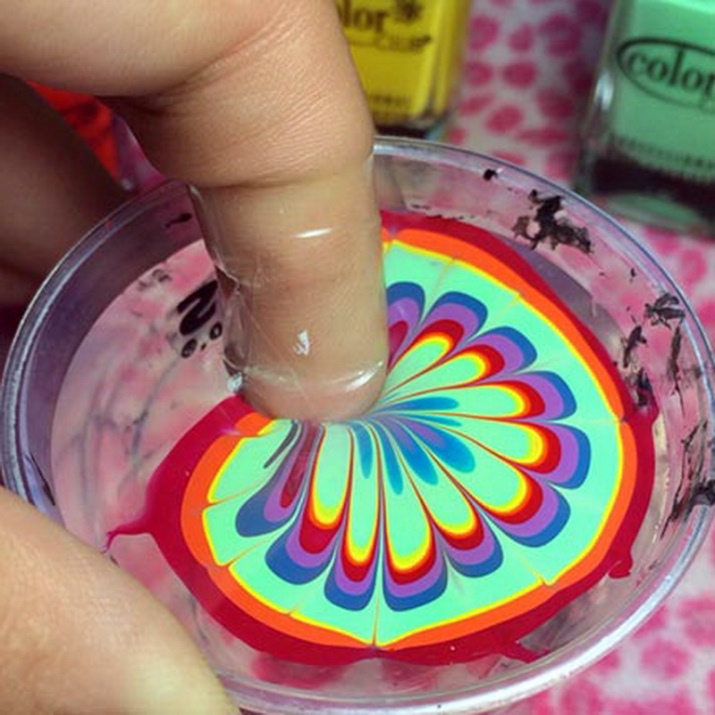
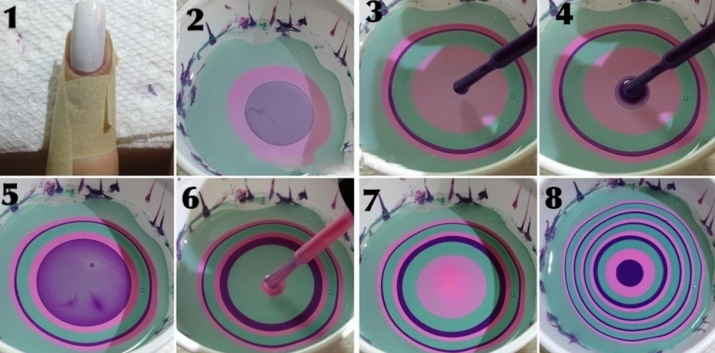
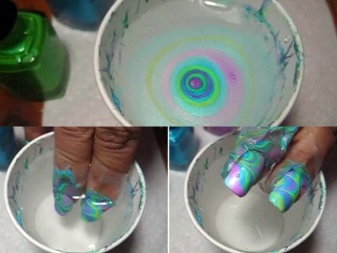
- To start creating and applying a water pattern, drop a drop of gel polish of the selected shade into a previously prepared container with water from a distance of no more than 2 cm above the water surface (otherwise the drop may simply sink). Then drip the second, third drop, it is necessary to direct the drop to the center of the previous one.
- Create a drop pattern with a thin needle, toothpick, or any other tool. Connect the pigments together in a circle or distribute them with a needle in different directions - the fantasy is limitless here;
- To create a truly unique pattern, we advise you to dream up in advance;
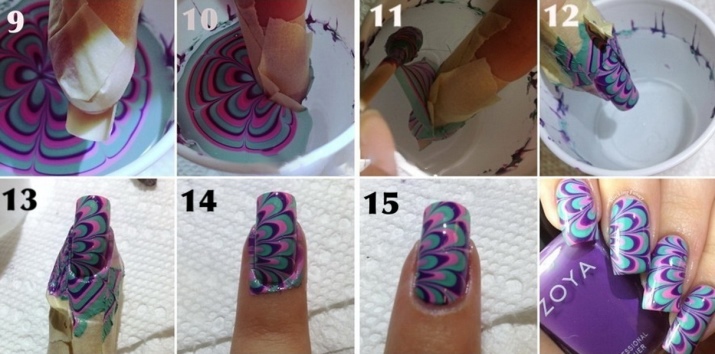
- After creating the pattern, dip the nail into it - strictly parallel to display the pattern in a quality manner. Assemble the drawing on the water onto the plate using gentle movements and a toothpick - the most inaccessible places can be corrected directly on the water or after;
- Remove your finger from the water gently and turn over, let the design dry naturally, remove excess gel from the skin and send the nail to the lamp;
- After fix the design with a top coat;
- Pdo a similar procedure with each nail separately.
Helpful Hints
A few tips will help in creating a neat and resistant coating:
- Apply oily cream only to the skin and avoid getting the composition on the nail. This will lead to an unstable coating, and the base or gel polish will simply “roll off” the nail;
- The cream can be replaced with ordinary adhesive tape, plaster, stencil or special adhesive tape. They are applied around the nail and removed after applying the water pattern;
- In water at room temperature or lukewarm (up to +40 degrees) varnish drops naturally spread and allow you to create patterns on the water surface;
- To prevent the varnish from sinking in water, it is necessary to drip it from a distance of no more than 2 cm;
- A new toothpick is used for each new nail design, a metal or other used object is pre-cleaned with a cotton pad or napkin;
- Liquid varnish must be used. Thick and too dense will not work - it will not spread and give in to creating a pattern;
- After you put the drop into the water, let it settle naturally for a couple of seconds., only then drip the second;
- The total time for the formation of a pattern on the water and applying it to the nail is no more than one minute;
- Be sure to use a top coat - this will even out the texture of the nail and give a uniform glossy shine.
Reviews
Most women try to do water manicure themselves - in the salon this technique will cost more than a classic coating. Women who are inexperienced in this matter often scold water design for its long execution - they spend 2 or more hours on manicure. At the same time, you need to dry each finger separately, plus preparation for manicure, topcoat. A large number of blots is added to the disadvantages of water design, and it is not always possible - the varnish simply spreads over the water in uneven lines and does not always lie smoothly on the plate.
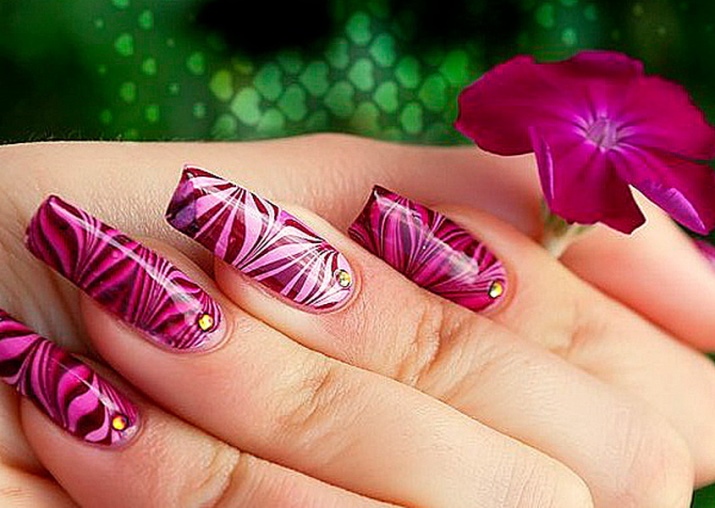
Those who have already "knocked their hand" in this business love water manicure for its lightness and speak of the technique as one of the most unpredictable. Even if you planned to create a symmetrical pattern, it is difficult even for an experienced craftsman to do this. In general, reviews of water technology are average - in beauty salons, masters even paint directly on the nail plate without water, using sponges and devices for precise application.
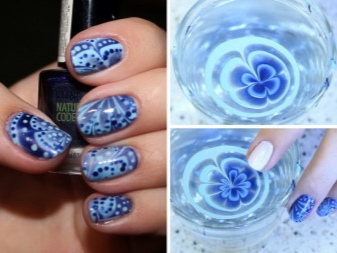
In the next video - marble manicure with gel polish at home.


