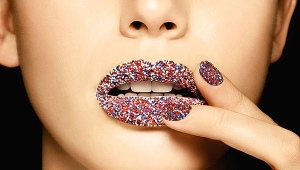
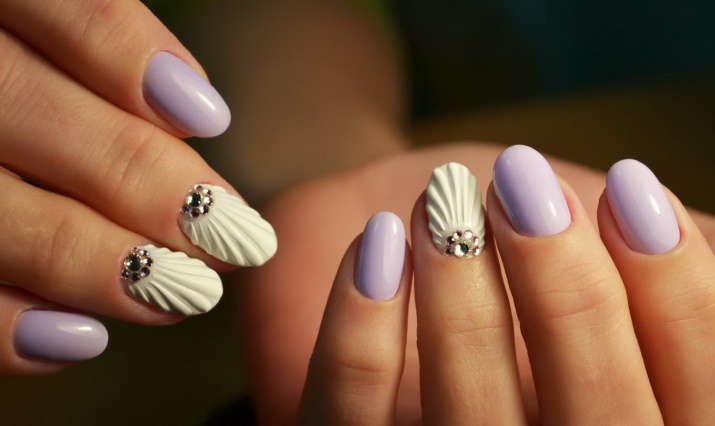
Shell manicure
Manicure at home must be done correctly. Too long nails are not very practical. Even if you constantly do manicures that help keep them in order, they still break quickly at the most inopportune moment and can ruin your whole look.
It is better to bet on the average length of the nails and file them regularly. On the average length of the nails, the now fashionable manicure with a shell looks very advantageous, which, having certain knowledge, can be easily done on your own.
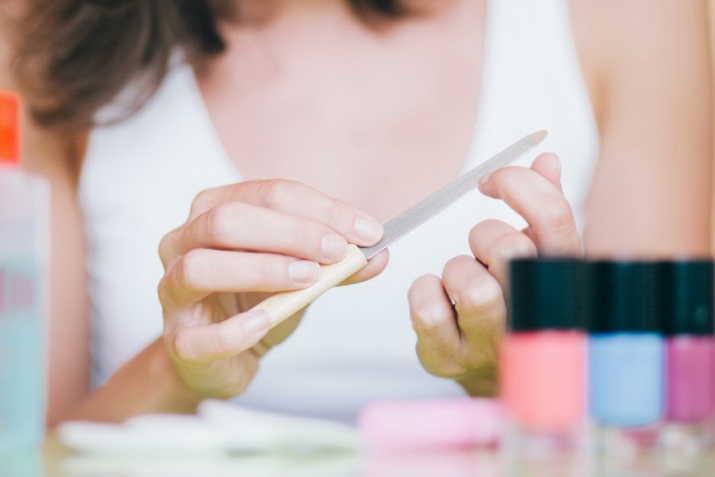
Nail preparation
Experts recommend filing your nails with metal files and doing it in one direction only. In this case, you do not need to make an effort, but it is better to file them gently and smoothly. This will help to avoid unpleasant delamination of the nails.
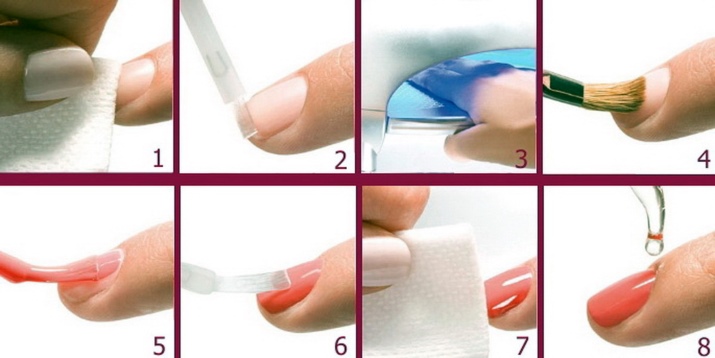
There are the following stages of preparation:
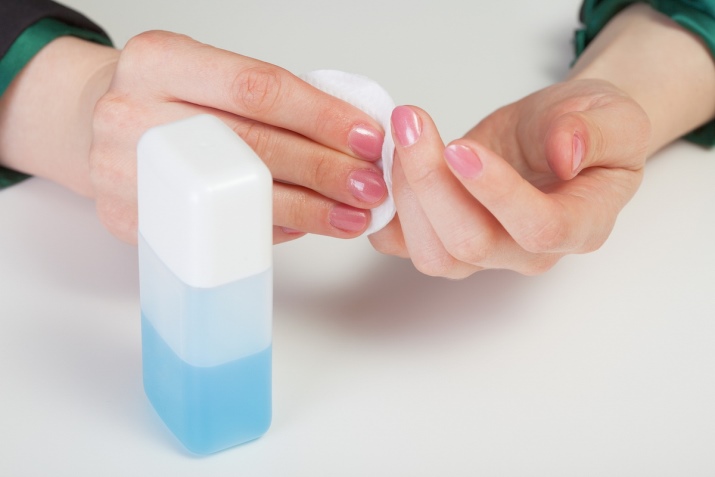
- It is necessary to clean nails from varnish only with appropriate means. Those that contain jojoba, wheat germ or almond oil are recommended for use. Wear gloves when doing household chores. This is one of the main rules for maintaining healthy nails.
- Before you start doing a manicure, you need to completely remove the old varnish or gel polish from the nail plate. To do this, use a nail polish remover that does not contain acetone.Then you need to carefully file your nails.
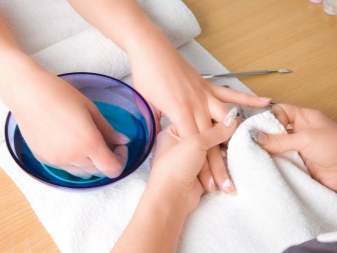
- After that, it is desirable to soften the cuticle (a dense leathery roller that surrounds the nail plate in the lower part) using a special liquid or a warm soapy bath, and then cut it with special scissors. After these procedures, the hands must be thoroughly washed, dry well with a towel and apply a moisturizer on them. It is very useful to massage each finger separately.

A shell manicure has a rather complicated technique and therefore I want it to remain on the nails for as long as possible. That is why you need to carefully prepare your hands.
- Before applying varnish, it must be remembered that the nails must be dry and fat-free, so it is necessary to remove the remnants of the cream with a degreasing agent. You can then coat your nails with a nail strengthener. This not only prevents the delamination of the nail, but also hides all its irregularities. The polish goes on smoothly and lasts longer.
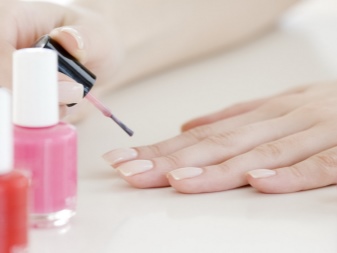
As for the technique of applying varnish, you need to know that it lays down in three steps: first, a stroke is applied in the center of the plate, and then two strokes on the sides. After application, the varnish should dry well.

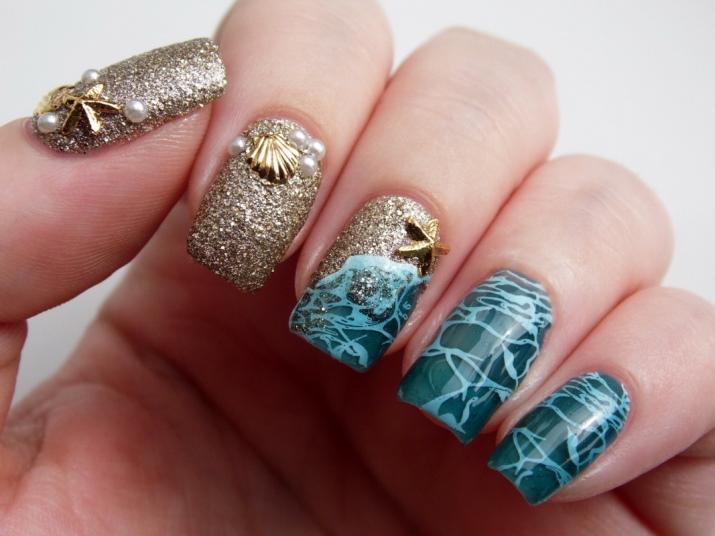
Fashionable beauty trend
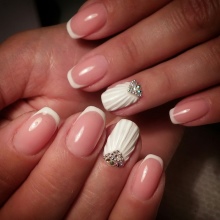
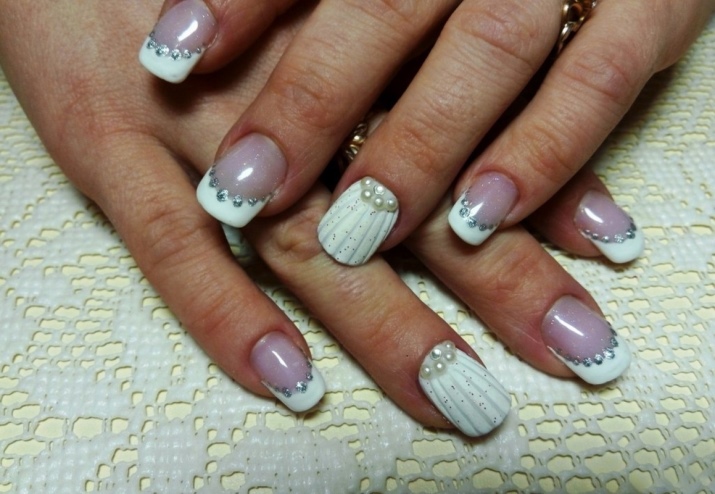
This year will be very fashionable manicure with shells. Beauty experts immediately make a reservation: such an original and interesting design should not be limited to the usual marine shades. The main thing is to create a shell on the nails, everything else is a matter of imagination. A shell manicure can be safely complemented with 3D effects, various rhinestones, pebbles and accessories in the same style.
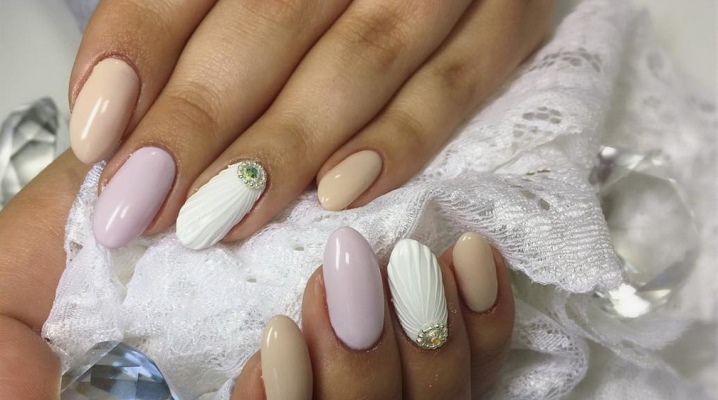
To create a real masterpiece, pay attention to nude, pastel shades: white, peach, beige, cream and pale pink.

Step by step gel polish
Gel polish can effortlessly create a shell on the nails. This method is gaining more and more popularity. To do it correctly, you need to do everything step by step:
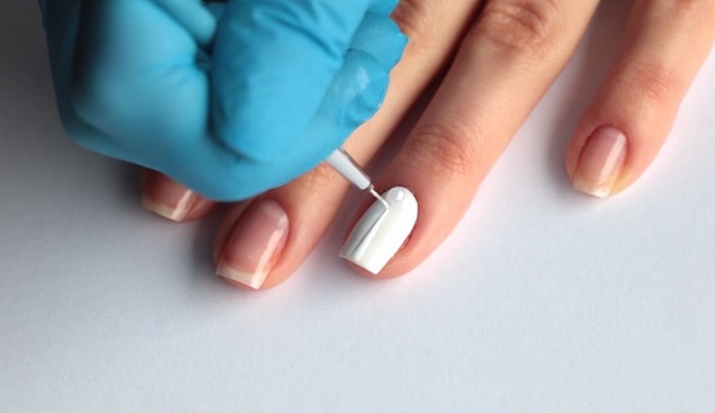
- Primarily you need to prepare your nails. Sand them with a buff and apply a primer.
- Then cover your nails with a base coat and dry them in a lamp.
- Better apply two coats of gel polish. Each must be dried in a lamp.
- We cover the nail plate with top and dry again in a special lamp.
- The final stage - removing the sticky layer from the plate.
Gel polish needs to draw vertical lines. Take a varnish of the same color. The lines should not look thick. The lines are drawn from each other at a small distance. For this, a thin brush is suitable. It is undesirable to draw lines to the hole, leave somewhere 3 mm. Up to 6 lines for the future shell are placed on one nail. They can be slightly bent or made straight. Then you need to proceed in stages:
- Dry the drawn lines in the lamp. In this case, the sticky layer does not need to be removed.
- To give relief, the design is necessary sprinkle with acrylic powder. Choose it in the same color as the varnish.
- All surplus you need to be careful shake off with a brush.
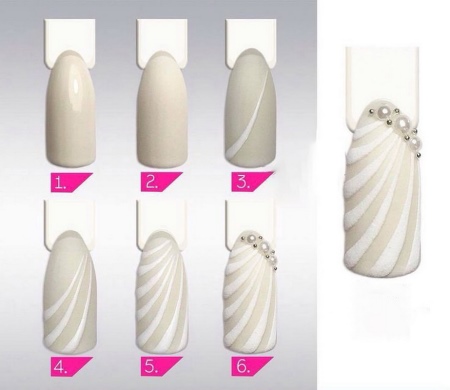
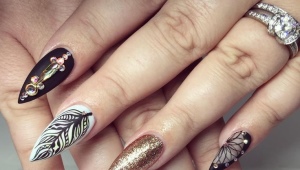
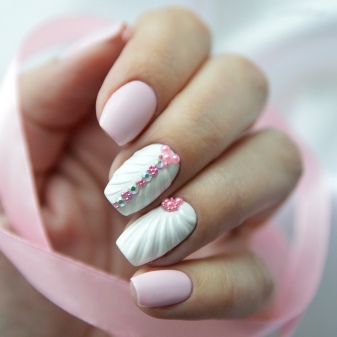
This is the final stage of creating a shell on the nails. If you want to get a delicate texture and velvety, then you do not need to cover the plates with a top coat. Nails can be further decorated, so they will become more spectacular. To create a moon manicure, you can glue rhinestones near the cuticle.
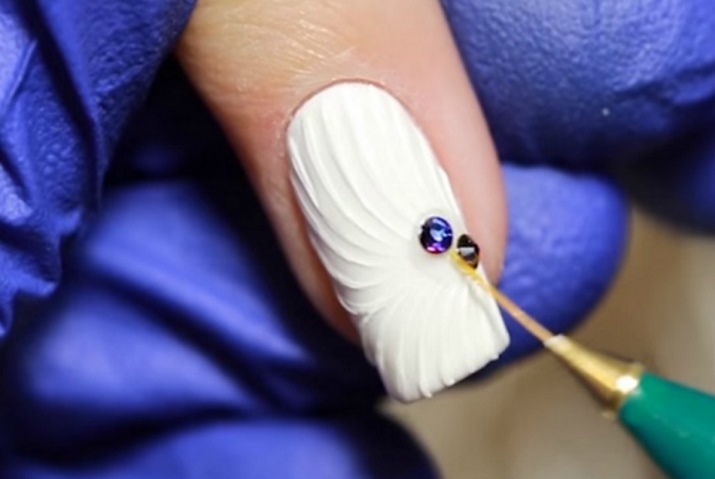
Nails can be safely decorated with any shiny elements. For this, an artificial shell or, for example, pearls are suitable.
Without the use of powder, the technique of execution is not much different from the first:
- Gel polish is also carefully necessary draw main lines.
- After drying top is applied. The nails are very beautiful, but not so voluminous.
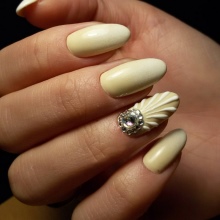
For manicure it is better to choose calm and gentle tones. It is best to use cream, beige or pale pink. If you look at a natural shell, then most often it is these colors that prevail in it. This way you can achieve maximum similarity, and this is exactly what we need.
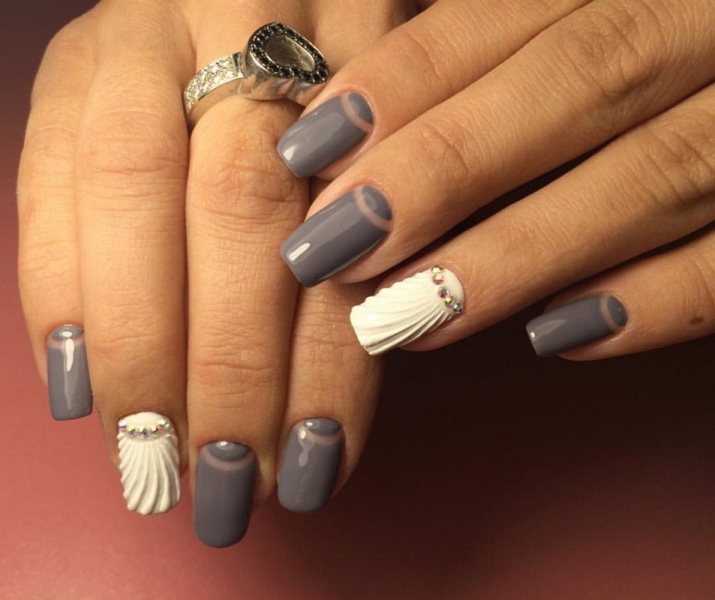
Draw the relief
Stages:
- Coating the plate one coat of varnish selected color.
- Then transparent gel carefully draw lines. On the brush you need to take more funds. This way you get a more voluminous relief.
- Then top coat the plate with another layer of gel polish. Take the color that was used for the base.
- Manicure is possible decorate with stars. Looks great shell, sprinkled with velvet sand.
The ready-made design of your nails will be perfectly decorated with artificial shells. They can be found in a specialized store. You can also look for small decor on the seashore. Before direct application, clean natural shells from sand. It is better to decorate them with no more than two fingers on one hand.
Main features and ideas
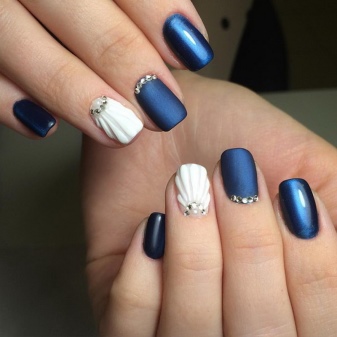
The beautiful half of humanity favors marine manicure. He is very popular today. If you want to try on a shell manicure on your nails, then you need to know some of the features of this nail design:
- It is necessary to choose a varnish of calm tones. This way you get the classic shell option. In nature, it is impossible to see a real shell, for example, acid green or red.The most commonly used color is white.
- Best for this design square shape of the nail plate, but it is desirable that the nails have rounded edges. This shape resembles a natural shell that can be seen at sea.
- You shouldn't do this kind of nail art more than two nails.
- It would be quite logical to do such a manicure only in summer. In winter, it will not be relevant.
Manicure with a shell will not only be an excellent addition to your look, but will also give you a summer mood.
In the next video, watch and be inspired by a beautiful nail design with imitation shell texture and decorations.