Manicure with white varnish
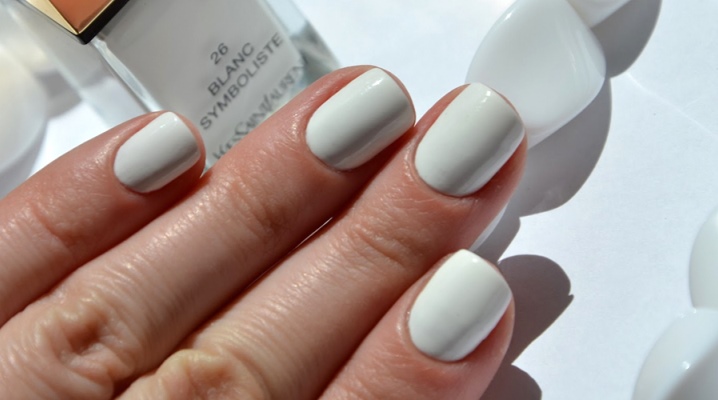
Each season, certain shades of manicure, a variety of design quirks come into fashion. Wanting to be in trend, girls follow these fashion trends. However, there are win-win classic options, using which you will never seem out of date and unfashionable. One of them is a manicure made with white varnish.
Advantages
White nails have not lost their relevance for many years. This is due to the fact that this color goes to almost every woman with any length and shape of the nail plate. In addition, it goes with different bows, combined with all colors and decorations. In the summer, white varnish is a godsend. It perfectly emphasizes a beautiful bronze tan and looks fresh and modern.
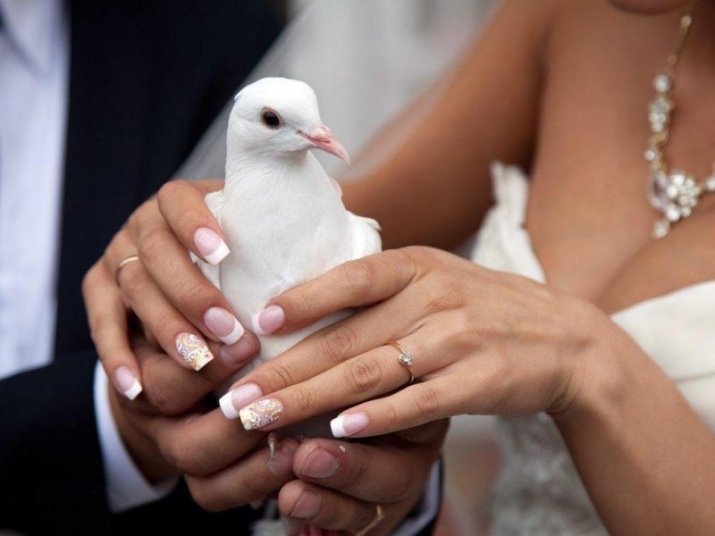
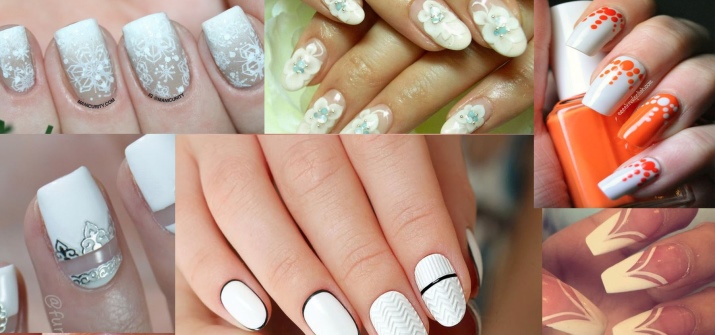
Also, white varnish can be used for any type of nail design. It can become both the basis for the pattern and be used as an auxiliary color. Its virgin purity is especially loved by masters and clients when performing a wedding manicure.
Plain varnish or white gel polish is simply a must in the arsenal of every fashionista and every manicure specialist.
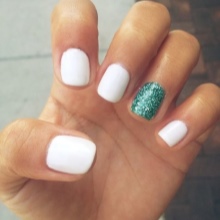
Nail design
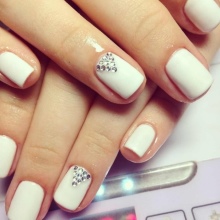
Snow-white varnish is beautiful both alone and in combination with other colors. It looks very organic drawing, rhinestones, broths, glitter. Below we will consider some of the most popular types of manicure with its use:
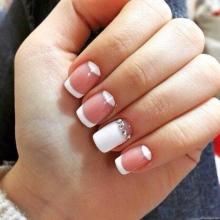
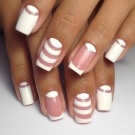
- Lunar manicure. The essence of this design is to highlight the nail lunula. Variations with white varnish are as follows: you can apply it on the lunula or, conversely, cover the entire nail with it, except for it. The most popular option: painting the entire nail plate in a snow-white color and separating the areas of the hole and the main nail with a transparent strip;
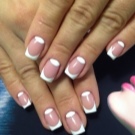
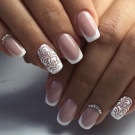
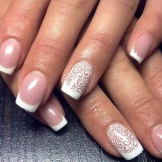
- French. Probably the most popular type of manicure using a white product. Classic. Relevant always and everywhere. Recently, varieties of the classic jacket have appeared: for example, you can leave the “smile” line transparent, but cover the rest of the nail with snow-white varnish. Or “blur” this line, creating a gradient effect, or draw a line not across the nail, but along. In general, even in such a seemingly strict, discreet type of manicure, interesting changes can be made.
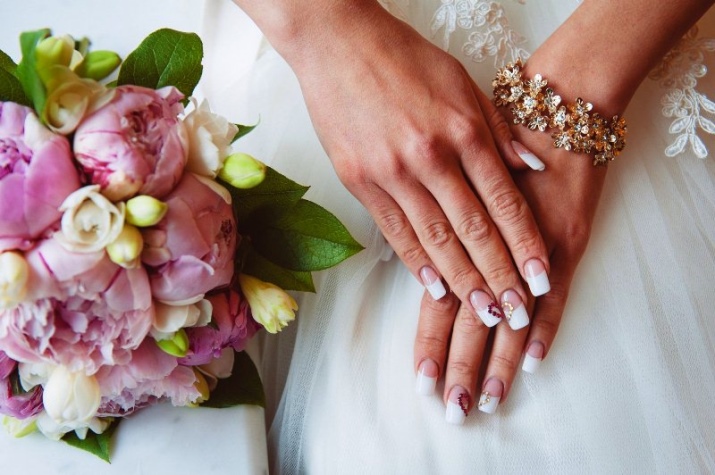
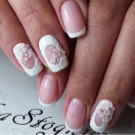
French is often used when creating wedding nail designs. Most often it is decorated with rhinestones, decorative modeling or sequins.
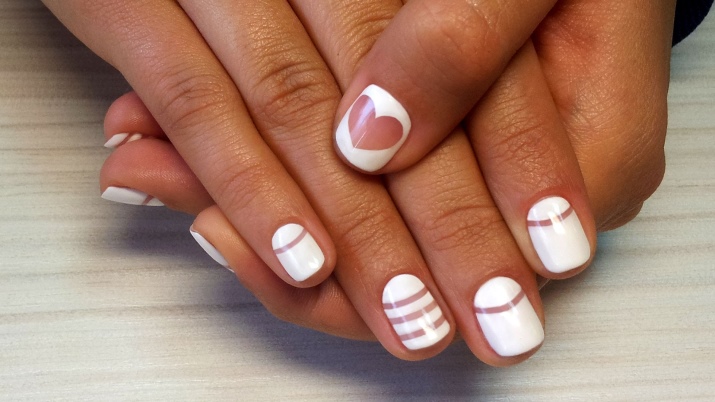
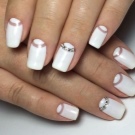
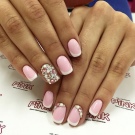
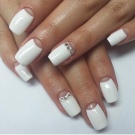
- "Striped" manicure. With the help of randomly crossed lines, you can create a rather intricate abstract pattern that will fit perfectly into your image. White varnish can serve as a background for bright stripes, or be used as a liner for applying them to a transparent or colored surface of the nail;
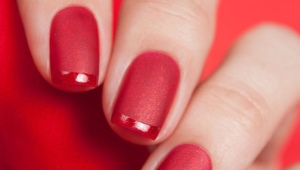
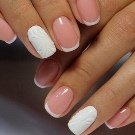
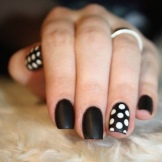
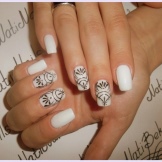
- Matte manicure. This type of nail art is now very in demand. For its implementation, a varnish with a matte finish or a top finish with a similar effect is required. With it, you can decorate all the nails or only two on each hand (as a rule, choose the middle and ring fingers);
- Wedding art. Of course, the classic for the wedding ceremony is a jacket.However, modern brides are not afraid to fantasize and decorate their nails with rhinestones, broths, glitter, modeling.
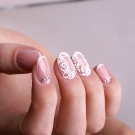
One nail covered with a pattern made in the form of lace looks very nice. All this, of course, is done with snow-white varnish.
Color Ideas
As mentioned earlier, white is in harmony with absolutely all other colors and shades. With it, you can realize any interesting ideas. Best color combinations:
- White + gold. Such a manicure looks expensive and luxurious. However, it is important to observe the measure and not make the nails “too golden”. Most often, an emphasis on 1-2 fingers is enough;
- White + pink. Lovely gentle tandem. And here the basis for the picture can be any of these colors. If you decide to make a pink background, then it is best to apply a snow-white pattern not on all fingers, but only on 2. If white varnish serves as the background, you can dream up. A gradient with a smooth color transition from white to pink and vice versa will also look very nice;
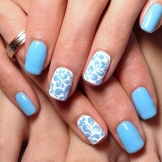
- White + blue (cyan). Classic Russian Gzhel. Looks amazing on nails. Professionals of the manicure industry are very fond of doing work in this folk style, drawing voluminous flowers and ornaments. Also with the help of blue and blue colors, you can create winter prints or variations on the theme of space;
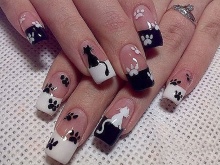
- White + black. A chic combination. There are a lot of options here: you can cover the nail plate with a translucent base, then use white varnish to paint part of it from the middle to the tip and draw a black line on the border. You can draw lace, and both on the one and on the other background. And, of course, a geometric pattern of randomly crossed lines.In general, the tandem of these two opposite colors creates scope for imagination;
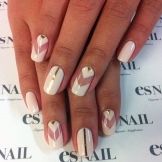
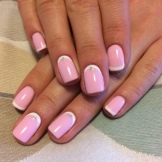
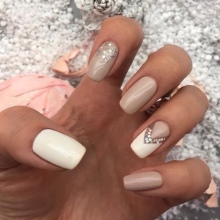
- White + beige. Elegant understated classic. It looks very good with almost any style of clothing, on nails of any length and shape, and is also suitable for ladies of all ages. The most popular combination of these colors in nail design is, of course, French;
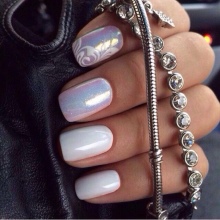
- White + mother-of-pearl. Delicate "glowing" manicure. You can create a pearlescent effect using the appropriate product. White varnish in this case is used as a substrate to create a denser texture of the coating;
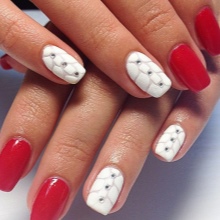
- White + red. Pretty bold and "juicy" combination. Most often, a design in such colors is performed for the corresponding image. For example, the Christmas theme is very popular - "Scandinavian knitting" in red on white, snowflakes, Santa Claus's headdress, stripes that create an imitation of candy.
Decor at home
Before you begin to perform manicure work using snow-white varnish, put your nails in order:
- Move the cuticle as much as possible with a pusher and remove it, process the side ridges around the nails.
- Align them in length, correct the shape of the free edge.
- Take a buff and sand the nail plates well to get a more even coating.
- Use a base before applying varnish.
- After you paint your nails with 2 layers of varnish and dry, apply a finish, sealing the area of the free edge.
We recommend watching a video tutorial on applying gel polish.
When buying a pure white product, remember that even this color has variations. Therefore, take a closer look at the shade of your skin and determine which color type you belong to.“Winter” ladies will suit snow-white varnish, a “summer” girl will be decorated with a cold bluish or grayish-white color; “Autumn” will become even more beautiful with champagne-colored nails, and spring beauties can safely flaunt a manicure reminiscent of creamy ice cream in tone.
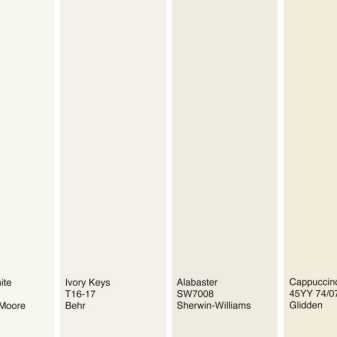
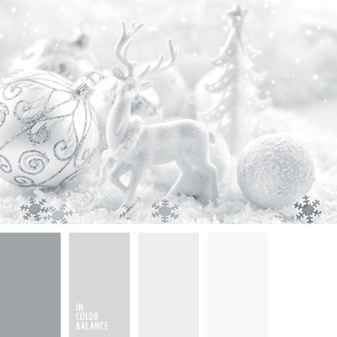
White lacquer fits very well into any image and style of clothing. However, sometimes you really want to decorate your nails with additional decorative elements. This can be easily done. Below are a few simple tutorials for decorating nails at home.
Performing a manicure with rhinestones
Rhinestones is an imitation of gems made of glass or plastic. They are used to decorate wardrobe items, accessories, phone cases, etc. They have taken their place of honor in decorating nails. According to the rules for their use in nail art, first think carefully about what pattern you will form with their help. You can even pre-spread the rhinestones and see if it turns out beautifully.
Remember that their excessive use is fraught with bad taste and provinciality, so follow the measure.
After completing the design, cover the nails with a transparent finish. So you strengthen the rhinestones on the surface of the nail. Do not wear such a manicure every day. It doesn't fit the style at all. "casual"and office dress code. Leave this beauty for celebrations and holidays.
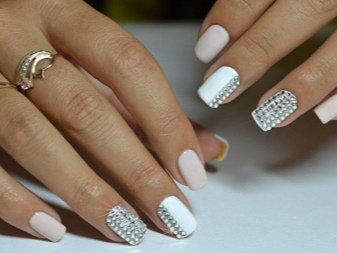
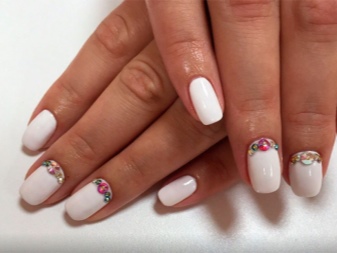
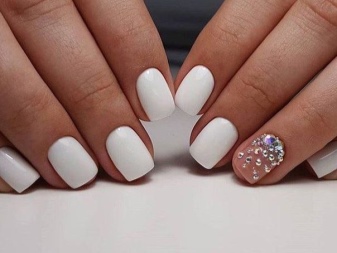
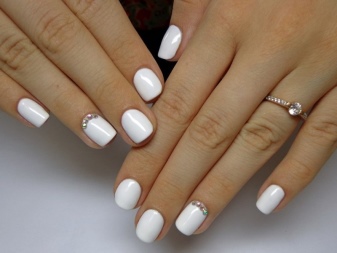
Now let's find out how to make this nail art. The technology is quite simple: first, we perform manicure work and prepare the nails. We apply a transparent base, white varnish in 2 layers and dry the surface. After that, we take a little transparent varnish or a special adhesive and dot it on the attachment points of the rhinestone.Laying out the pattern. The final stage is the coating of the nails with a colorless finish and thorough drying. Festive art is ready.
Below we offer you to watch a video with the correct technique for fixing jewelry on the nail.
Glitter decoration
Pretty popular nail art. Sequins are widely used both in the festive and in the everyday version of the manicure. In order to choose the right glitter for the occasion (the second name for sequins) and apply it correctly, read the information below.
The fact is that sequins are different, no matter how obvious it may sound. There are two types of glitter: dry and liquid. Dry is, in fact, a brilliant powder that is poured onto the nail plate, covering it completely or creating a pattern using a superimposed stencil. Its adhesion to the coating occurs by applying to a non-dried surface and strengthening after drying. The finish is usually not applied.
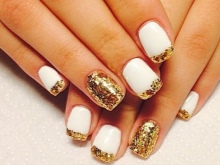
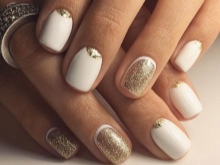
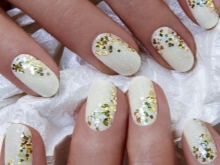
liquid glitter - This is a colorless varnish with an admixture of shiny elements. It is applied with a brush on a completely dried nail. If the sequins are too large, you can cover the nails with a finish.
Liquid type glitter is applied with a brush. The less glitter in its composition, the easier it is to use. Most importantly, do not forget to pre-dry the varnish base. You can try to lay out a drawing with large curly elements. To do this, take a match or a toothpick, pick up the sparkle with it and stick it on the nail.
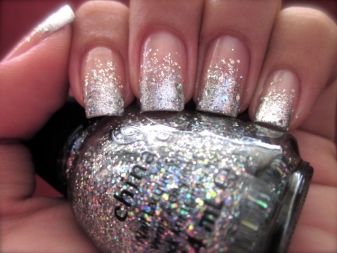
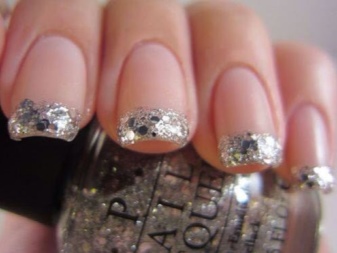
Also, sequins vary in shape and size. There are very small ones, like grains of sand on the seashore, there are also large ones - up to 1.5 mm. Those that are larger, as a rule, have the shape of a circle, square, star, etc. The color spectrum includes all the colors of the rainbow.
Dry glitter is more difficult to apply. First, cover the nail plate with a colorless varnish. Then, depending on the desired result, proceed in one of the following ways: if you need to make the nail completely shiny, place it in a jar of powder and slowly press the sparkles to the surface of the nail; if you want to get a curly print, paint it with a colorless varnish, and sprinkle glitter on top.
To get the ombre effect, apply shiny sand in a dosed manner - at first, sprinkle abundantly, then less and less.
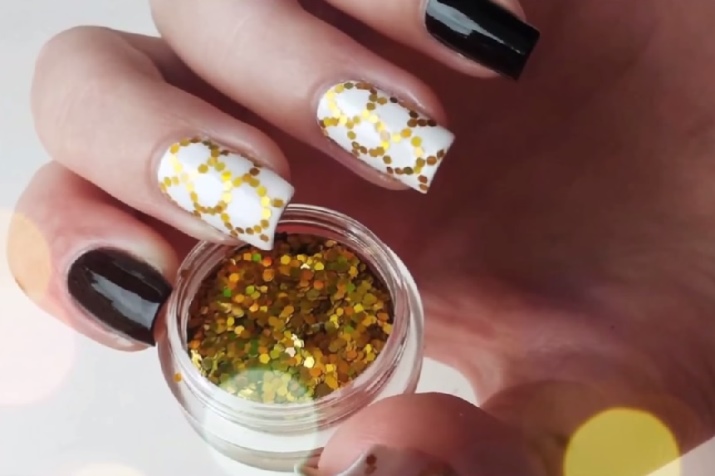
patterns
To perform various patterns on the surface of the nail, auxiliary elements will be needed. We will analyze such methods as using a regular sewing needle, stamping (stamp), ready-made stickers, acrylic paints and even water. So let's get started.
- Print with a sewing needle known for quite a long time. In order to create it, stock up on varnishes of various shades and, of course, take a needle. Cover your nails with the chosen varnish and, until it is dry, drip a few drops of a different color and connect them with a needle. Wait for the surface to dry completely, apply a colorless finish.
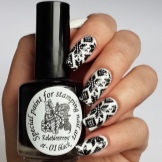
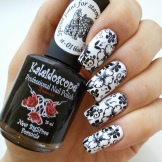
- Stamping (stamping) is performed as follows: a print is applied to varnished and slightly dried nail plates using a special print with a pattern. "Stamp" the selected areas, dry the varnish, cover the nails with a finish.
In order to decorate your nails in this way, you will have to purchase a stamping kit.
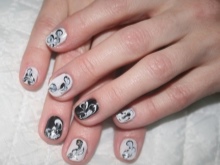
- If you want to decorate your manicure with a beautiful decorated pattern, your choice - ready stickers. They are sold in the form of a film with a pattern applied to it.So, apply white varnish, prepare the required number of cut stickers; then remove the transparent protective layer from each picture and place it on the nail with a sticky layer down. Now you need to remove the paper base. Carefully pick it up with eyebrow tweezers and slowly remove it, pressing the patterned film against the nail plate. If the sticker has gone beyond the free edge of the nail, cut it off and file the tip with a file. Apply a colorless finish.
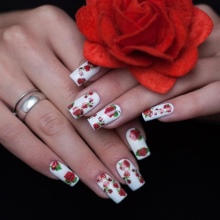
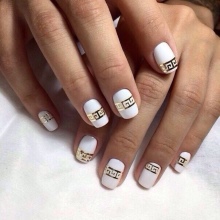
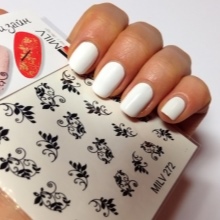
- If you feel artistic talent in yourself - use acrylic paints. With their help, you can create real masterpieces. You will need, of course, paints, a thin brush, white varnish as a "canvas", a colorless finish. Yes, you will still need water to rinse the brush. And then it all depends on your imagination and skills. You can create a simple pattern in the form of openwork roses or intersecting lines, or you can try to draw a real picture.
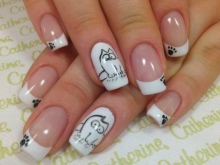
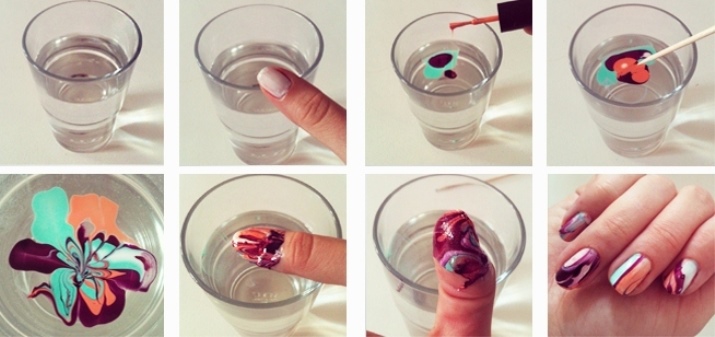
- And another interesting way: creating prints with plain water. Prepare the following materials: a bath of warm water, a couple of beautiful colored nail polishes, a match or a toothpick, a Q-tip, and nail polish remover. Drip the selected varnish into a bath of water. Move a match over these drops, turning them into stains. Put your fingers in the bath, remove excess varnish from them. Turn your finger and pull it out. Soak a cotton swab in nail polish remover and wipe away any remaining polish from your skin.
Brands
It is very important to choose a quality proven product. Do not chase the low price, as a rule, it corresponds to the quality, in the end you will be disappointed in the purchase. Below are a few of the white nail polishes that have proven to be the best and have received the most positive reviews from beautiful consumers:
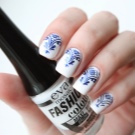
- "Eva Mosaic Fashion Color" No. 053. Excellent varnish with high quality coating and long service life. Produced in a small bottle, so you do not have time to get fed up with it and throw it into a dark corner. Has a glossy surface. Equipped with a wide brush, easy to use;
- Essie nail polish shade 01 "White". Durable varnish with a dense texture. Completely covers the nail plate even with a single application;
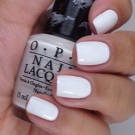
- OPI "Angel with a Leadfoot". Collector's tool, released for the anniversary of the company "Mustang". Has a creamy finish. It is applied in 2-3 layers;
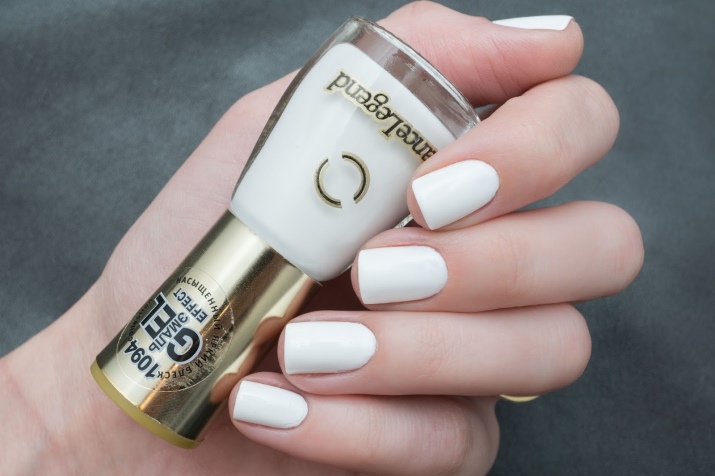
- Dance Legend 323. A unique product that flickers with neon light in ultraviolet rays. Due to the density of the coating, it is possible to apply only one layer. The surface of the nail is glossy and shiny. The tool dries very quickly;
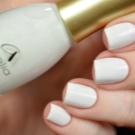
- Aurelia Glamor G01. White lacquer with loose coverage. It is desirable to cover the nail plate with three layers;
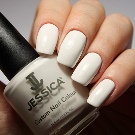
- Jessica "Chalk White" 832. The snow-white varnish keeping durability of a covering till 2 weeks. Evenly covers the nail plate, leaving no “bald spots”. Has a dense texture. After drying, it acquires a glossy sheen. The composition contains vitamins A, D and E;
- Haruyama "Classic White" No. 001. The only gel polish in our rating. Awesome durable quality product. When used in tandem with products from the line, this gel polish provides durability of the coating up to a month, has a glossy sheen and a dense, uniform texture.Polymerization in ultraviolet light is required.
Reviews
Snow-white manicure was and remains one of the classic universal coating options. Its use is always justified: whether you are doing a festive nail art or just a regular everyday design. Due to its compatibility with any shade of the color spectrum, white varnish can be an excellent background for an intricate pattern and decorative decoration of nails, and you can also use it to create delicate lace or a classic jacket.
Probably no nail polish color has as many uses in nail art as white. Its simplicity and purity emphasizes the beauty of women's hands, beautifully sets off the tan and attracts the eye.
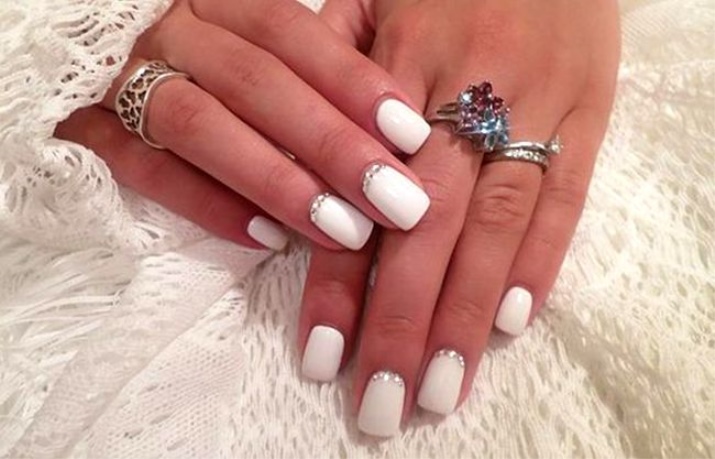
White varnish is good in both glossy and matte finishes. It is most often used in thematic types of manicure: for a wedding ceremony, New Year and Christmas celebrations, school graduations, etc. Volumetric modeling, patterns of rhinestones, broths and glitter, various patterns look beautiful and organic on it. Get yourself one of the aforementioned snow-white nail polishes and you will always be in trend. Such coverage is unlikely to ever lose its relevance.
