Gradient on nails with gel polish
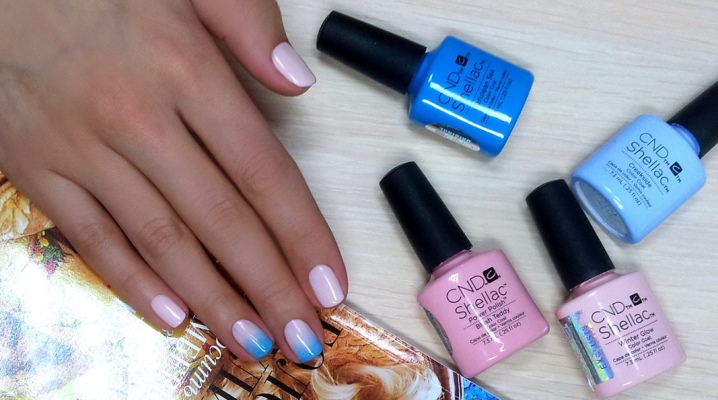
Every woman wants to look stylish and fashionable, to keep up with the times. Well-groomed hands of a lady become the key to her success in all areas of activity, including the opposite sex. A neat and creative manicure will be the subject of enthusiastic views of your family and friends. In this case, it is not necessary to go to the salon, you can do the procedure at home. It is important that the materials and tools are of high quality and reliable.

Recently, an interesting technique for applying gel polish is gaining popularity - a gradient. Consider its features and benefits in our article.
What it is
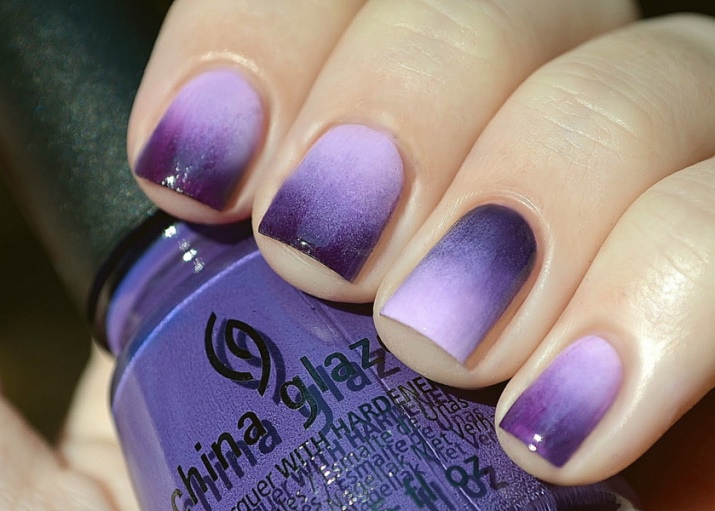
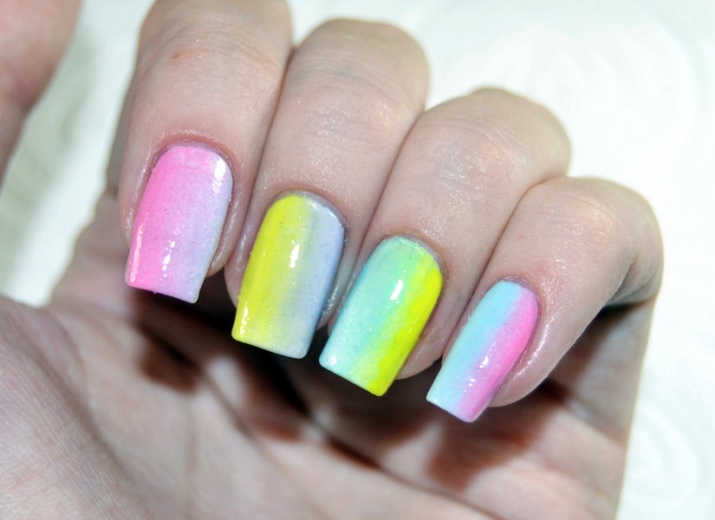
Gradient manicure (aka stretching, aka Ombre style) is a smooth transition from one shade to another. In the world of nail design, he appeared relatively recently, but has already won the hearts of many fashionistas. Now this type of coating is also in great demand and popularity.
Many ladies prefer this particular technology, because it allows you to use several colors at once. Such nails will always look fashionable, creative and successfully complement the stylish image of any fashionista. At the same time, it is worth noting that the border between colors is smooth, but not pronounced. Shades penetrate each other, complementing the previous color.
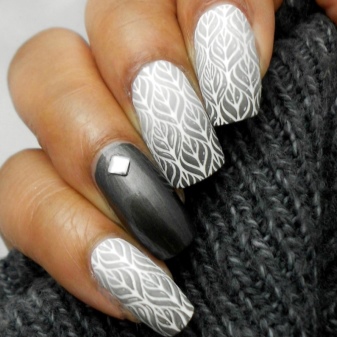
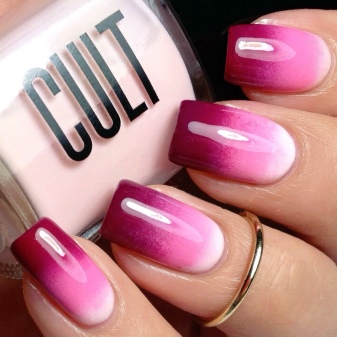
From the French "Ombre" is translated as "shadow". The word "gradient" is of Latin origin. However, no matter how you call this nail technique, the result will not change - the nails will be attractive and well-groomed.
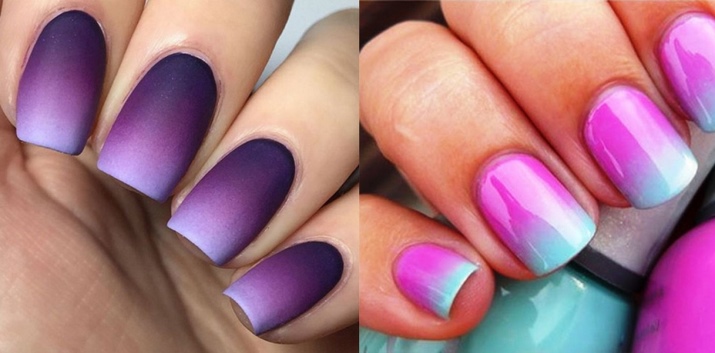
There are several types of gradient. You can choose the option that suits you, which will look fashionable and attractive:
- Vertical manicure. This option is a color transition from top to bottom. This design will look great on your nails, transforming them.
- Horizontal option. Accordingly, the hue will change from left to right. Especially attractive with this technique will look like nails of medium length.
- Original manicure. This option is a transition of shades from one finger to another. This nail design will look great even on short nails.
- french gradient. With this technique, a white color is applied to the edge of the nail, which will turn into transparent towards the bottom of the nail. This option will look great on long and thin nails.
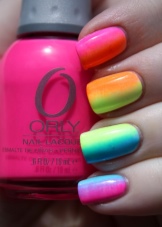
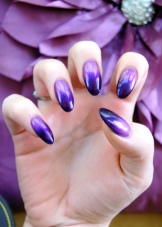
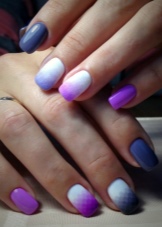
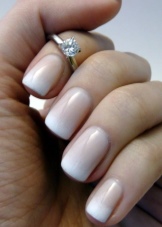
The main advantages of this technology include the following:
- Simplicity and lightness. Of course, in order to masterfully create such a creative design, you should be patient, especially for beginners. With the help of practice, as well as high-quality reliable materials and tools, you can achieve professionalism over time, pleasantly surprise your loved ones.
- Availability. You can purchase gel polish for creating this technique at any professional store. You will only need to choose the right color palette, choose your favorite brand and use the product with pleasure.
- democratic value. You can buy cosmetic products at a bargain price. The optimal combination of the price-quality parameter will pleasantly surprise all ladies. You can save your family savings.
- You can also save time. Now you will not need to visit expensive beauty salons, wait for an appointment with the right specialist. You can independently, at home, create a creative design with your own hands. Again, this will require regular training and quality products. With experience, you will be able to make the gradient smooth, beautiful and graceful.
- Excellent mood. Design "ombre"- stylish and fashionable. It is ideal for any of your style. Well-groomed and attractive hands will be the key to success in business and the attention of others. All this will cheer you up and put you in a positive mood.
How to do such a manicure
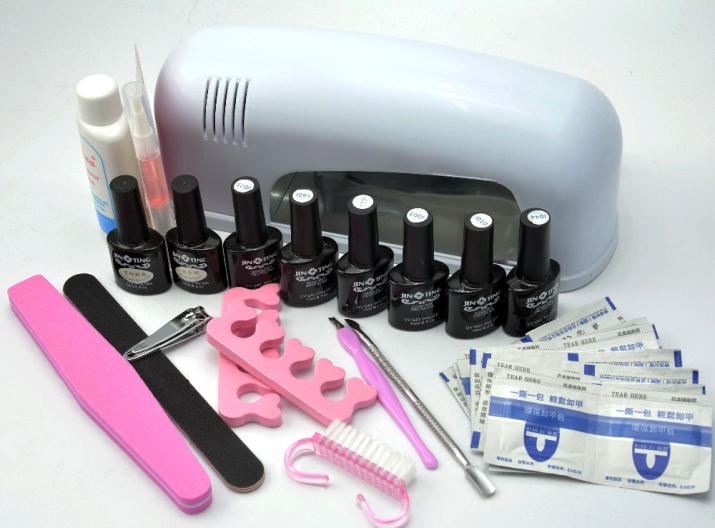
If you are just learning the basics of manicure and have no idea how to make a gradient on your nails, the following information will be useful to you. There is nothing difficult in technology. You can create a beautiful nail design yourself. To get started, you will need to stock up on all the necessary equipment.
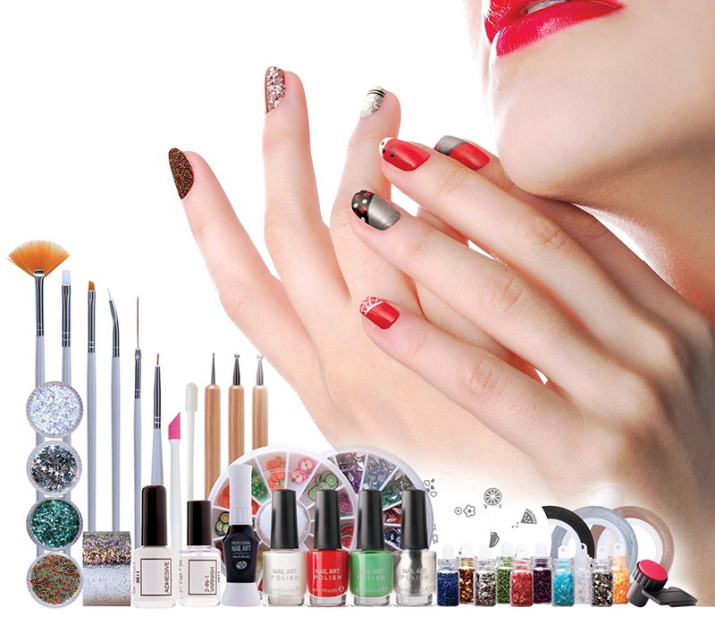
There are several ways to apply varnish. You can use any of them:
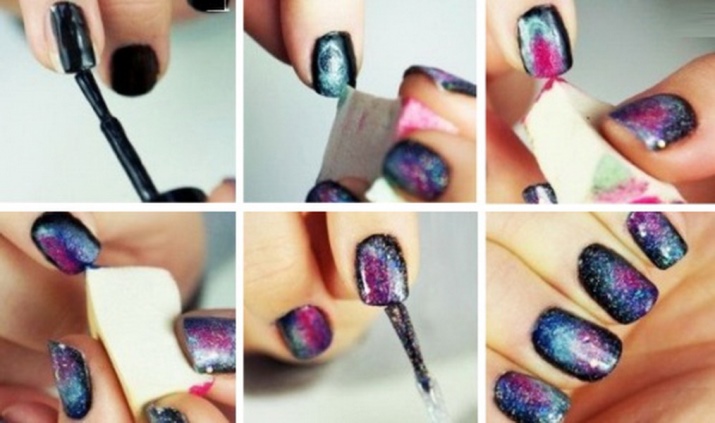
Sponge
With the help of a sponge, you can bring a creative design using the Ombre technique to reality. You need to take a few colors that suit or like you the most. Now it is worth varnishing part of the surface of the sponge with the desired shades. Apply slowly stripes of color that will be in contact with each other.
remember, that The sponge must be well washed and dried. The one with which you wash the dishes will do. It will need to be cut into small pieces first. Remember to protect your cuticles too.To do this, it should be closed with tape or smeared with PVA glue. At the end of the procedure, you can easily remove this layer and the varnish will not remain on the skin of your fingers.
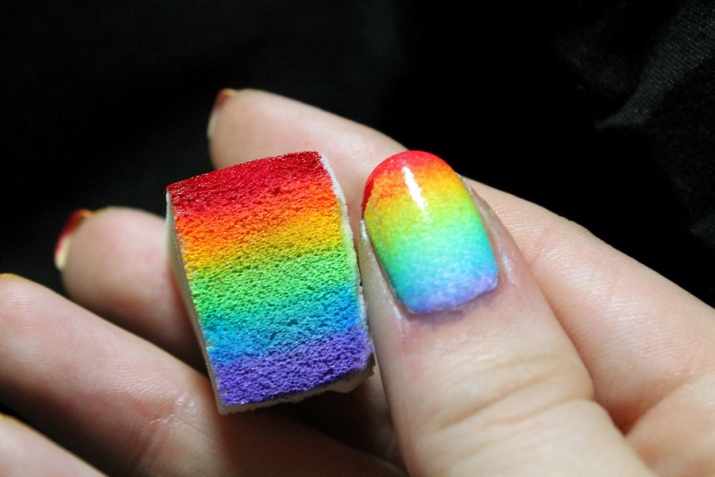
Consider the various technologies for high-quality coating with a sponge:
- First, put a base on the nail platewhich will dry under a UV lamp.
- Take the foil and make a few drops of gel polish on it close to each other. Now it’s worth mixing the substance together, creating a medium shade with a toothpick.
- Take a sponge and apply it to the varnish. Let her drink it. If you want to avoid unwanted bubbles on the surface of the nail, you should make the first couple of prints on the foil.
- Using gentle springy movements, transfer the gel polish to the nail. Do as many layers as needed to achieve the desired color saturation.
- It is worth noting that each such coating must be dried well under a lamp.. After the color suits you, apply the top and dry well in the lamp.
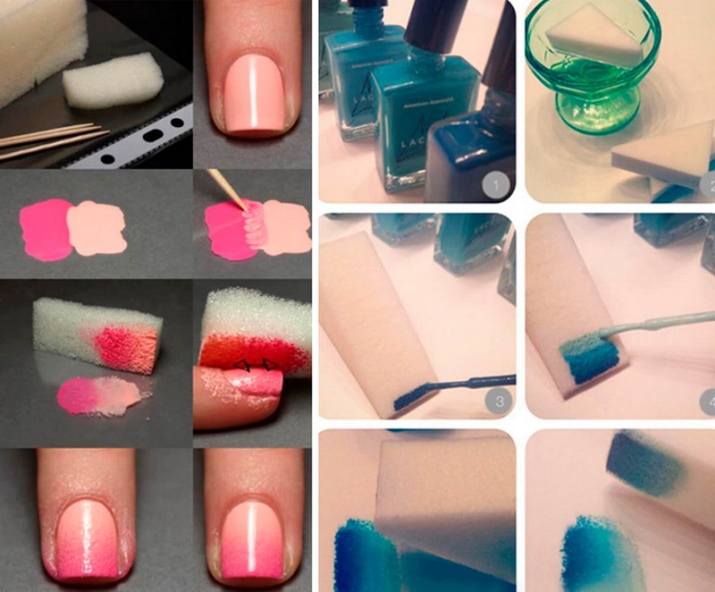
There is another option for applying gel polish with a sponge:
- Base should be applied first and dry it well under the lamp.
- Now take your two favorite shades and apply them directly on the nail plate end-to-end in a thick layer.
- Next, take a sponge and quickly blot the nail. This should be done easily, but with a little pressure. As the tone evens out, reduce the pressure. This way you can get rid of the bubbles.
- Do not immediately rush to dry the nail. Wait a little while the product takes the form of the nail surface. Take care of the rest of your fingers. If random bubbles appear, they should be eliminated with a toothpick.
- Then apply the second layer in a similar way.. Their number will depend on the desired effect, as well as on the materials used.
- After that, it is worth covering the surface with a top and fix under the lamp.
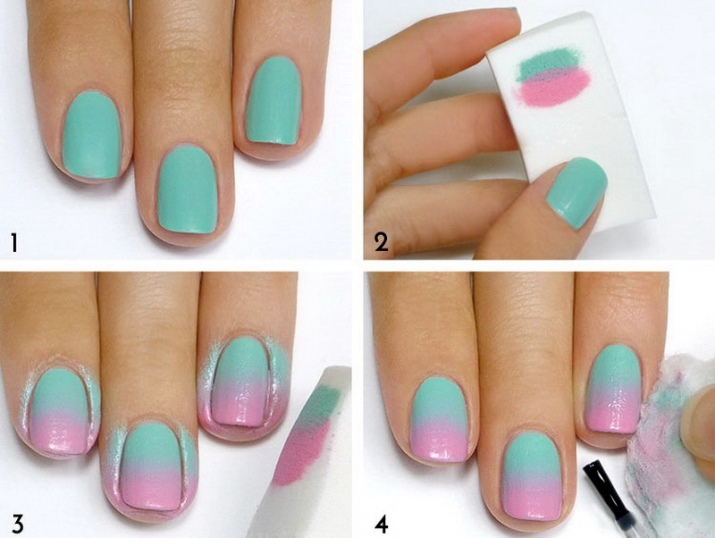
If you didn’t manage to create a smooth transition the first time, don’t be discouraged. Just lightly dust the color mixing area with clear glitter. This design will be even more interesting and creative.
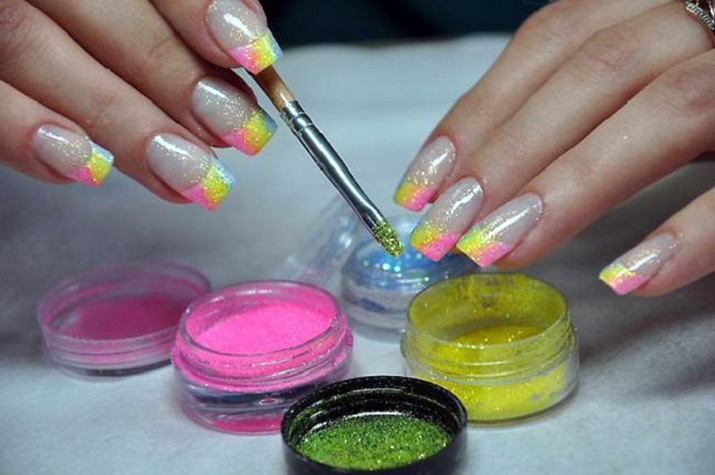
Brush
You can also create a gradient with a brush. There are also several ways to help make a creative manicure. To do this, take a flat synthetic brush with a straight or semicircular end. Or is it better to use the one with which you apply the base. The main technology is as follows:
- It is worth choosing several shades of gel polish and cover half of the nail with each of them. Layers should be made thin so that it is easy to shade them.
- Now take a flat brush, soak it in the clinser, let it become wet. Now, with the help of light movements, swipe it from the cuticle to the tip of the nail. You need to hold the brush almost parallel to the nail surface. This is done so that it does not spoil the gradient, but smoothes it evenly. When you see that the transition area has become soft, you can send your hands to dry under the lamp.
- Now, using the same technology, it is worth applying a second layer and a third. Then the color itself will be saturated. Fix everything with a top coat and dry the surface.
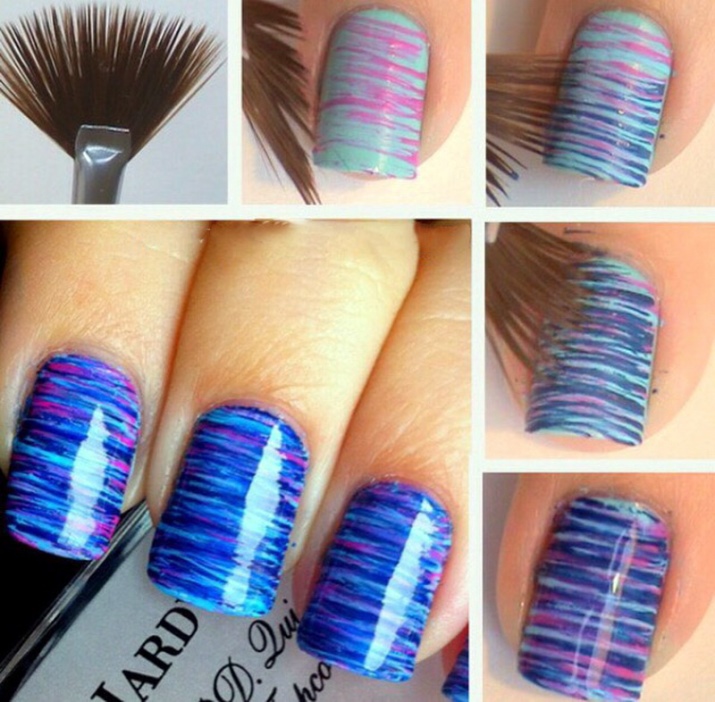
You can create a styleombre» and using a fan brush. Of course, the transition will not be as smooth, but this will be the highlight of this design. You can quickly create the manicure you need at home. It's easy to do this:
- First you need to apply a base on the nail surface. Take the lightest shade that you will use in the gradient. Apply varnish in one or more layers. Now let everything dry under the lamp.
- The next step is to take the foil. Mix suitable shades on it to get an average color. You will apply it to the middle of the nail. This will be the transition area.
- A little lower almost at the very tip, apply the darkest shade. Now take a slightly damp brush and move it from side to side, lightly touching the surface of the nail. Do this until you get the desired effect.
- Now all this will need to be dried in a lamp..
- Then add a second layer and repeat the above procedure. Remember that the main shade is best applied to the upper area of the nail so that it does not overlap the gradient. Dry everything under the lamp.
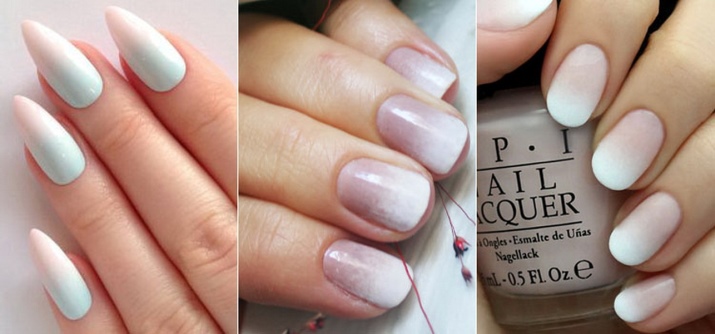
For adherents of the classics, you can create an unusual jacket using a gradient. It is created similarly to the technologies described above. In this case, it is worth taking the classic shades as the basis. An experienced master will easily make your hands beautiful and attractive. Yes, and at home, you can independently make yourself a similar coating.
Design
It is worth noting that with the help of a gradient, you can create the most diverse design. We have already analyzed the horizontal and vertical options, which can be done with a wide brush or comb, as well as with a sponge.
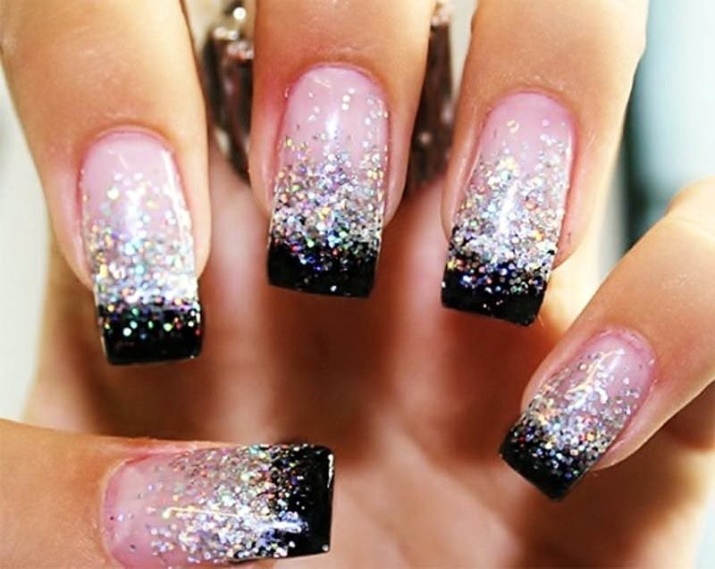
- This technique with sparkles will also look elegant. You can focus on your nails. Such a manicure will perfectly fit into any solemn event, a friendly party or shower family gatherings.
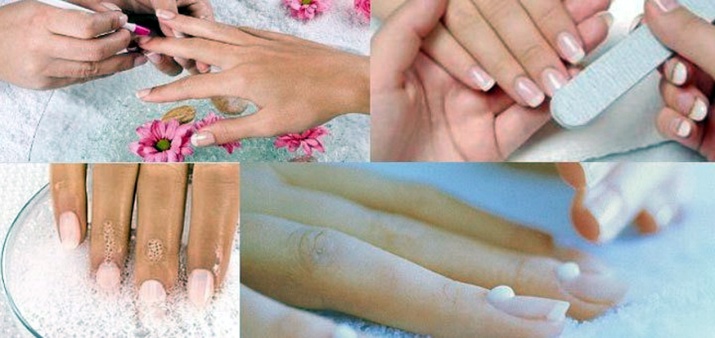
It should be noted that no matter which method you choose, you need to carefully prepare the nails for this procedure. To do this, first of all, it is worth giving the nails the desired shape and length. This is done with a soft nail file. The next step will be the correction of the cuticle. This is done without steaming in water.
To do this, you first need to soften the cuticle with a special tool, slightly pushing it back. Now take a buff and remove the shine from the nail surface. In conclusion, it is worth degreasing all marigolds, including the cut and cuticle. And only after the pens are prepared, you can begin the procedure itself: apply the base, gel polish, top, dry in a lamp.
- Another common way to create a gradient is geometric.. It looks quite stylish and original, it will bring a fresh touch to your image. The design itself is done with a thin brush. To create it, you will need two shades. For example, you can take colored and white gel polish. It will be necessary to consistently dilute the colored shellac, creating lighter options. With the help of them you will draw geometric shapes.
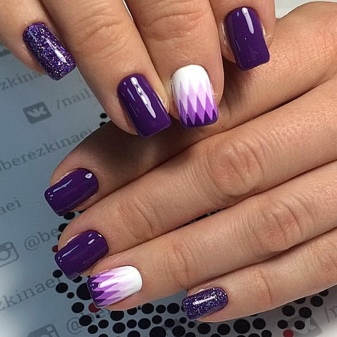
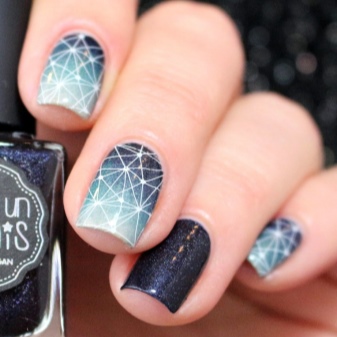
Go from the lightest shade to the darkest. In this case, only a thin layer should be applied so that the gel polish does not spread. It is not necessary to dry each layer. Only after completing the whole process, the nails can be sent to dry under the lamp. One of the sought-after geometric gradients of this season is the rhombus. It looks fashionable, stylish and attractive.
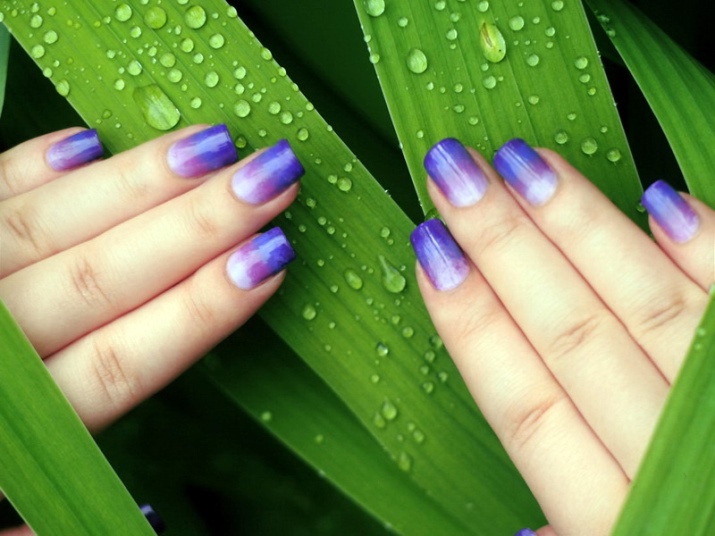
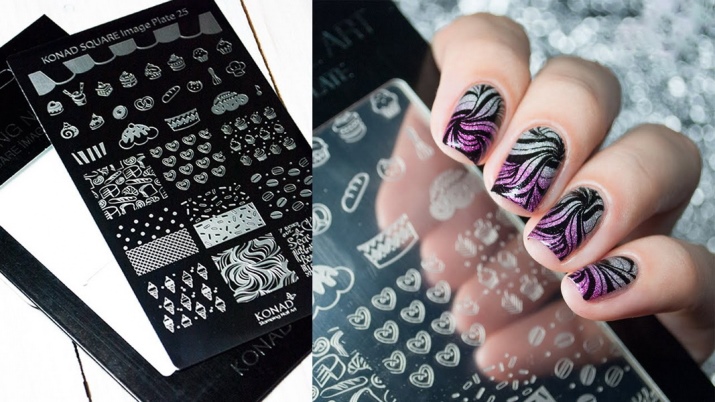
In order for this design option to turn out clear and neat, you should use special stencils. However, it should be remembered that the structure of the gel polish is such that it can flow under the stencil. Be extremely careful and cautious. Once you get used to it, you will do it quickly and accurately.
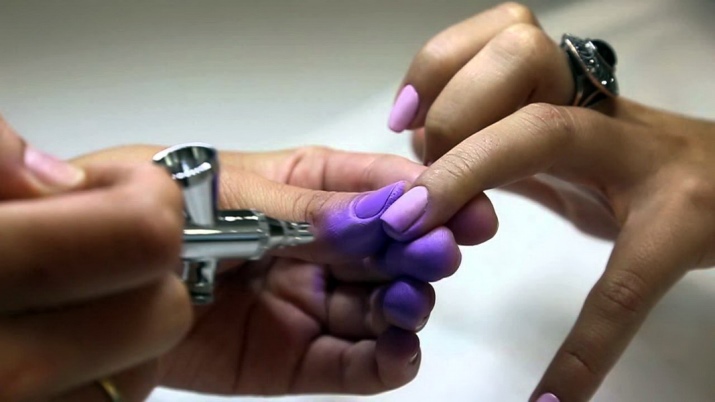
- Another trendy option air gradient. It is done with an airbrush.The advantages of this method include efficiency, accuracy, accuracy and speed. Thanks to this device, you can create a fashionable design in a short period of time. One nail will take about two minutes.
To do this, pour the paint into the apparatus, turn on the compressor and spray the product onto the surface of the nail plate. As a rule, the paint is created on a water basis or alcohol. Then, after application, the skin can be cleansed with a special liquid. It is noteworthy that the paint itself is sprayed in a thin layer. Thus, its consumption will be minimal. You will get a beautiful manicure even at home.
Of course, the gradient is best done with gel polish. This surface will last much longer, you will be able to do your household chores without fear that the varnish will crack or lose its original appearance. The saturation of the color coating is also an advantage of each bottle of the product. Shiny nails will be the key to your success and good mood.
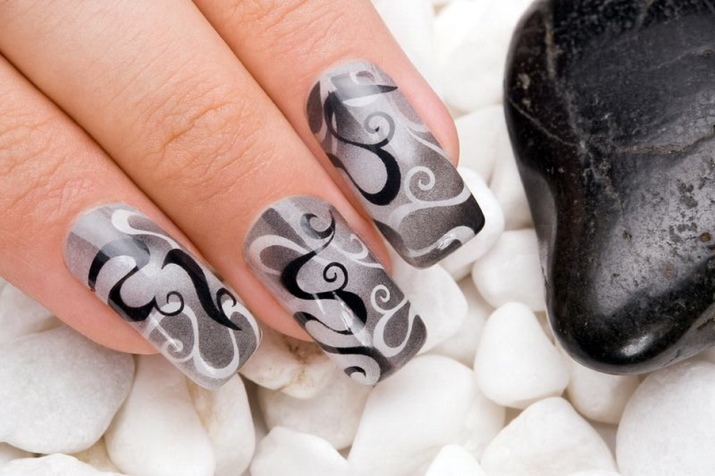
Colors
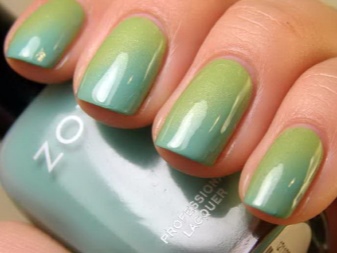
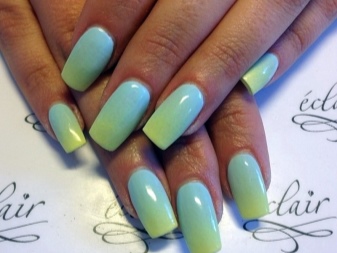
As for the color, there is no consensus on which one to choose is better. It is worth focusing on your taste preferences, favorite shades. Do not be afraid to experiment and combine colors. You will be able to get, to your surprise, an attractive original version.
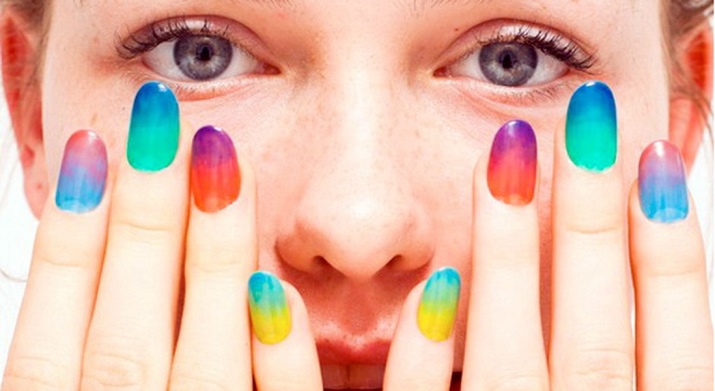
- Many conservatives prefer the classics: black and white shades. With their help, you can create an office manicure with a gradient that will look stylish on your fingers and will suit any of your business suits.
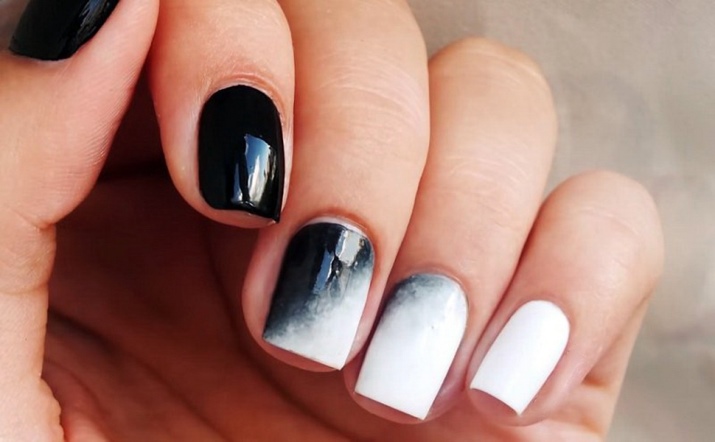
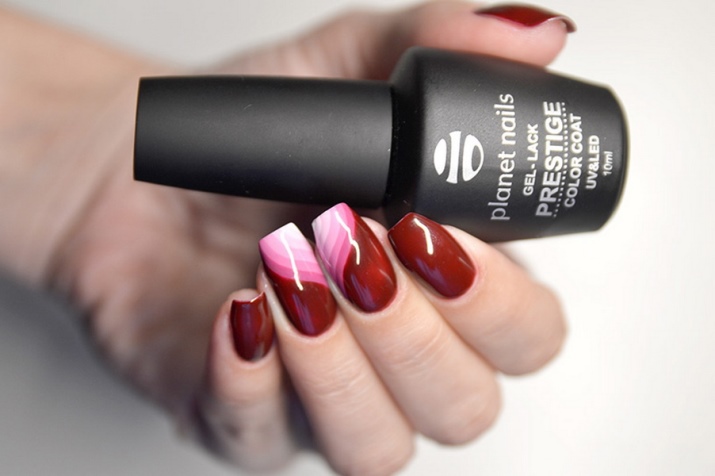
- Bright persons who strive to stand out from the crowd, to emphasize their individuality, prefer red shades. They can be successfully combined with pink, white, burgundy, lilac, black and other colors. If you create a manicure for the exit, then you can use sparkles. So your image will turn out extravagant. Do not forget to observe moderation in clothing.
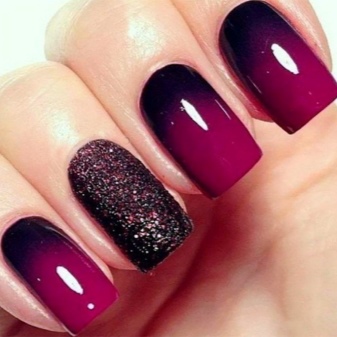
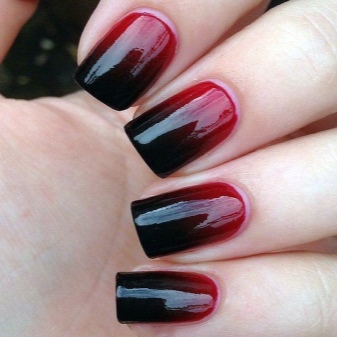
- The original onyx color is fashionable this season. It can also be paired with your favorite shades. It is worth remembering that it is better to select contrasting light and dark tones. They will look great on your hands.
Master classes
Experienced masters in beauty salons will be able to quickly and seamlessly demonstrate the Ombre technique. However, many beginners in the field of nail service will have a hard time. At home, and even more so on short nails, it is sometimes so difficult to create such a design, although nothing is impossible.
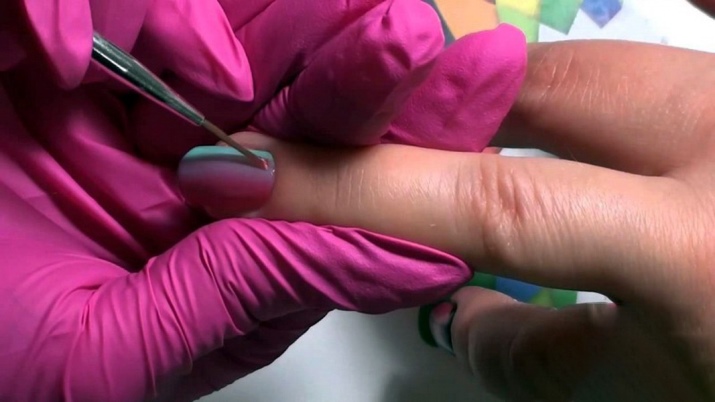
Consider step by step how to apply such a coating simply, correctly and effectively.
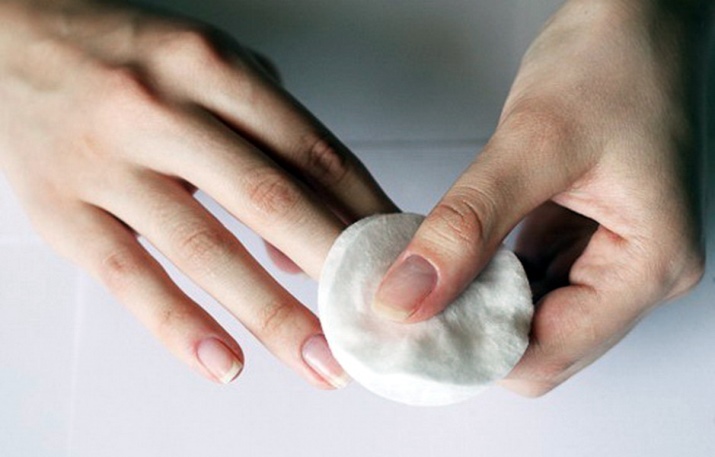
- Step 1. The gradient technique is special in that you need to create a smooth transition from one color to another. In order for the coating to turn out to be of high quality and durable, you need to properly prepare the nail plate, degrease it. Remove the old coating, correct nails and cuticles, set a certain length. In order for the gel polish to have good adhesion to the surface of the nail, you need to apply a special primer, as well as cover the nails with a special base. We dry everything well under the lamp.
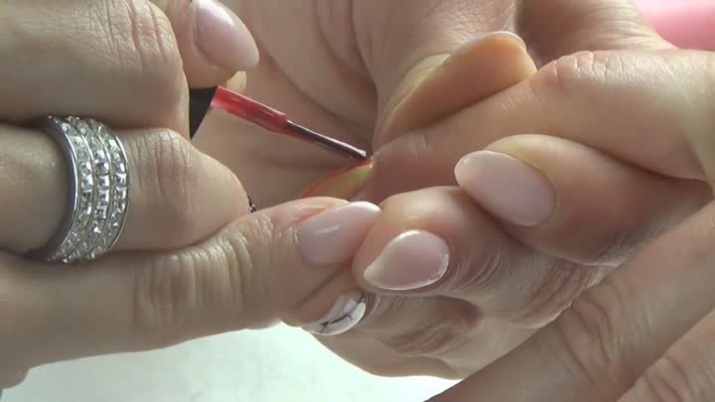
- Step 2. After everything is thoroughly dried, you can begin to create a design. We apply two colors of varnish on the nail end-to-end with a brush.
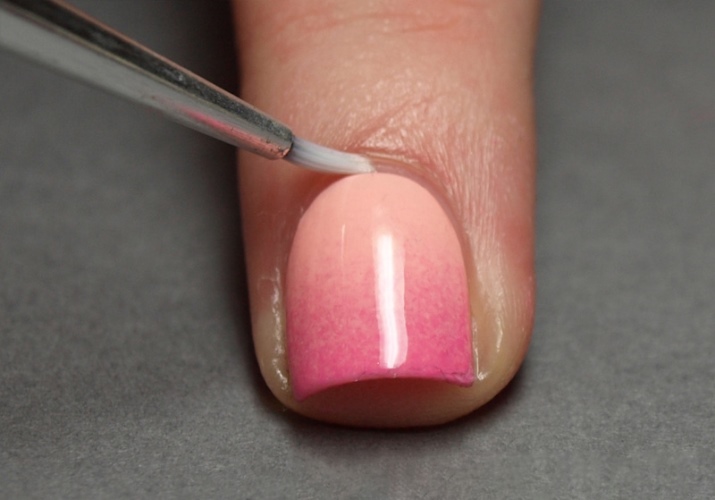
- Step 3. Take a brush and gently shade the border of shades. Then you need to apply a layer of varnish again, repeating the same procedure.It will be necessary to achieve the desired color brightness, not forgetting to dry each layer in a UV lamp.
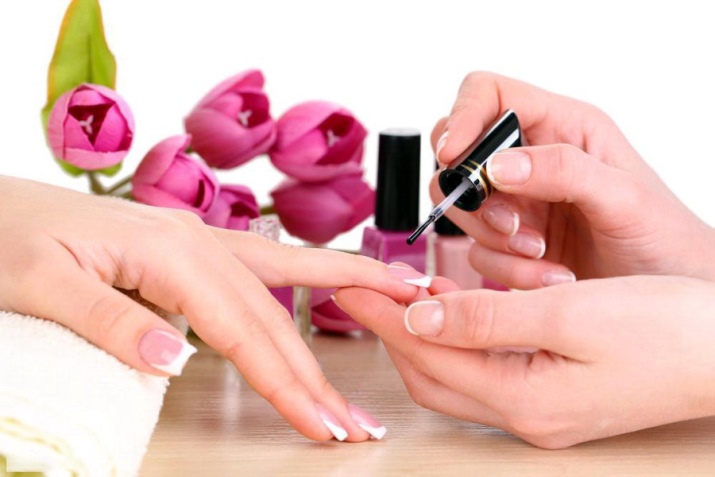
- Step 4. Now you can cover the nails with a top. Be sure to dry the surface well under the lamp. As a result, you will get a beautiful and fashionable manicure that you can easily do at home.
Reviews
Among the many positive reviews, women note the beauty of this option for applying gel polish. Ombre nails look stylish and attractive. They will help to emphasize your individuality, pleasantly surprise your colleagues, and attract the attention of the opposite sex.
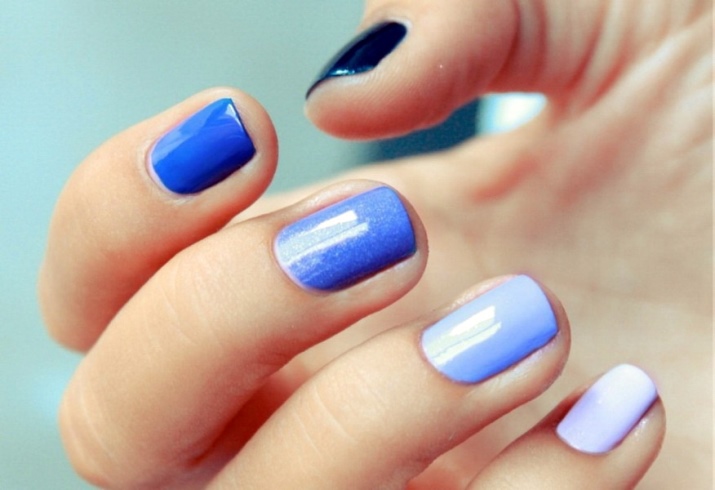
Like girls and what this design will never go out of style. You can make a variety of unusual color combinations, matching them to clothes or your mood. Ladies note the simplicity and ease of application. From the first time it seems that it is quite difficult to apply and shade gel polish with the help of various devices. However, this is not the case. Over time, you will gain experience and will only enjoy the process.
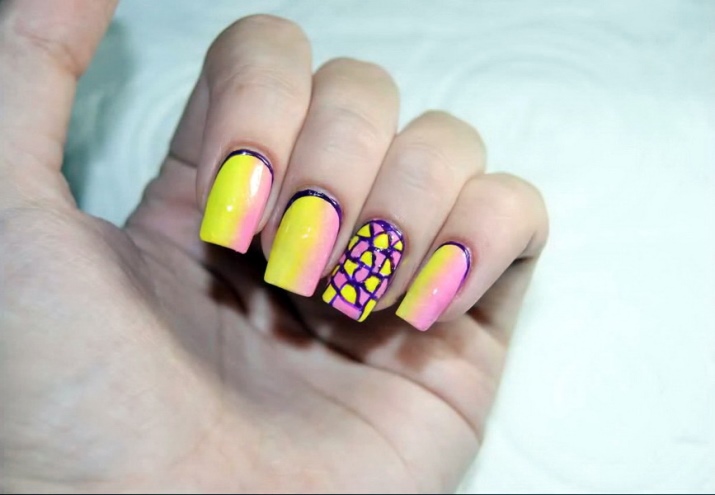
Availability of funds is another advantage. You can please yourself with a new tone of varnish at any time by buying it in a professional store. It is worth buying there to avoid fakes. Of course, in any case, you should be vigilant: carefully inspect the goods before buying.
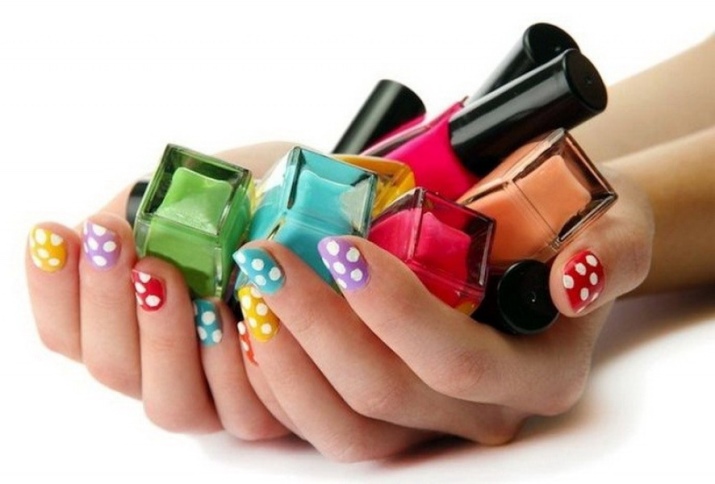
The ability to create beauty at home is a significant savings in your budget. You will not need to go to expensive salons, make an appointment with a master, you can master the technology yourself at home and carry out the procedure perfectly. At the same time, you will save family savings, the process will take place comfortably, in a familiar environment. This is another positive point that beauties note.
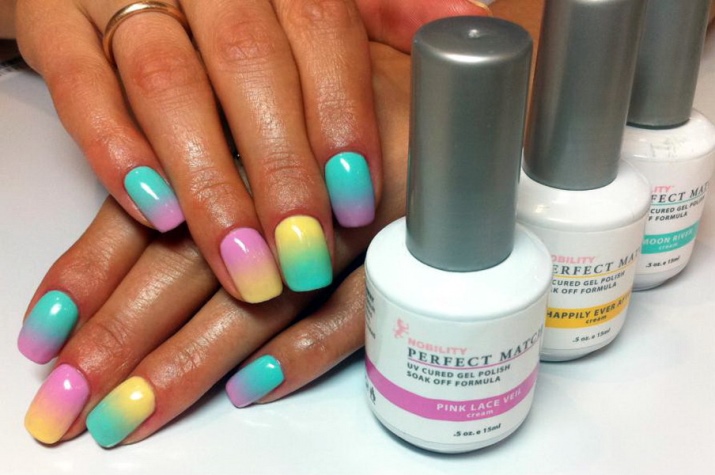
Of course, it is worth paying special attention to the choice of varnish. Do not forget to purchase additional tools and accessories that will help you in caring for your hands. Before proceeding with the procedure, make sure that all materials and tools are prepared. Only with the help of a careful plan can you create a worthy option that will show off on your fingers.
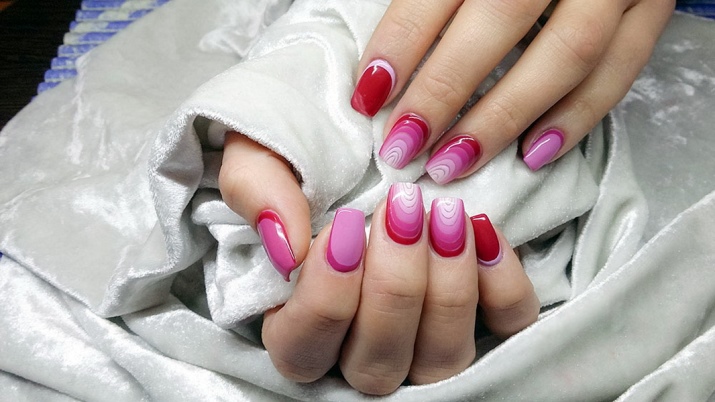
Many women find that the gradient is a design that is perfect for any age. It can be used by both young ladies and mature respectable ladies. Here you can vary the color, creating different images.
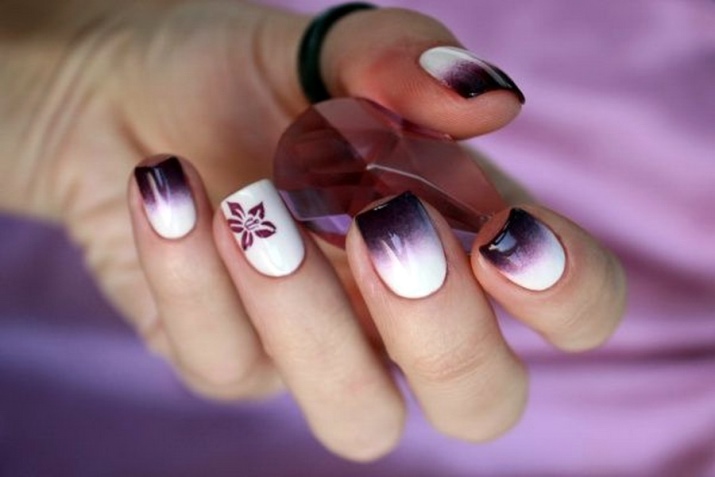
In the article, we examined what is remarkable about the gradient on the nails, which is created using gel polish. Now you can start practicing on your own. Remember that the more often you use this technology, the more experience you gain and the better your work becomes. Don't be afraid to improvise, mix tones, include sequins and even rhinestones, but don't overdo it. Let your hands be beautiful, attractive and tell about your success and self-confidence.
This is followed by a video tutorial that is dedicated to one of the techniques for creating a gradient with gel polish (other names: stretching or ombre on nails).


