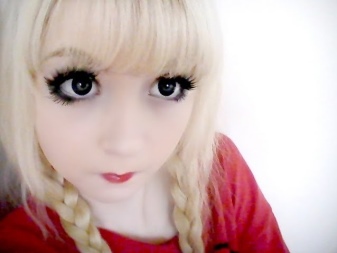
Makeup "anime"
Anime fashion has gained popularity not only in Asia, but also in Europe, in Russia. Few now do not know what it is. The popularity of cosplay, the worship of gyaru, the constant meetings of Japanese culture lovers and mass comic sessions only fuel interest in this style. Fashion and makeup did not bypass.


What it is?
The style and techniques of anime-style makeup look quite extreme. However, trying on such images for yourself, you can very easily hone the art of makeup. You will know how to make really giant eyes, how to achieve a perfectly even tone of the face, how to make a “doll” alluring mouth, and so on.
Yes, such makeup is suitable only for specific events or photo shoots, and not for everyday life, but sometimes you really want to believe in a fairy tale, so why not! Immerse yourself in Asian makeup culture from the ground up.
Style Features
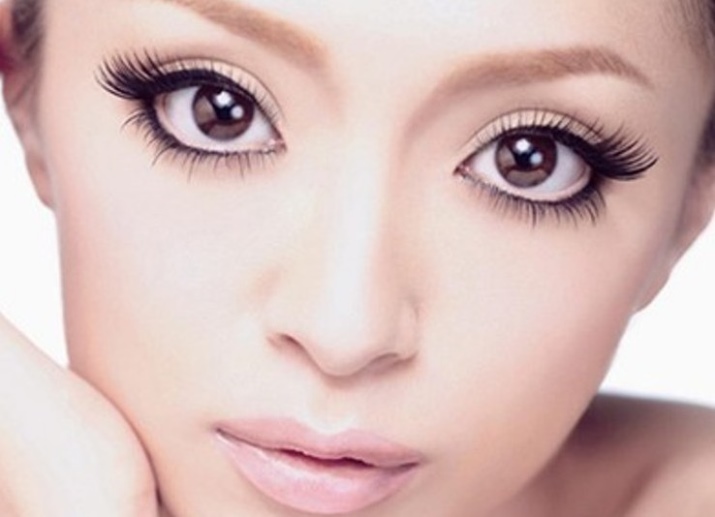
The following distinctive features of the style can be distinguished:
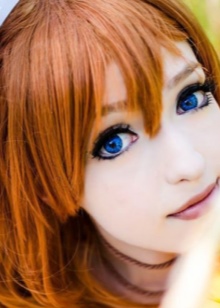
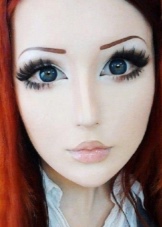
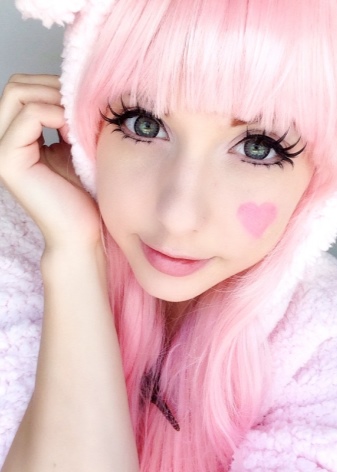
- Big eyes, colors are often unnatural. How to achieve this effect will be described below.
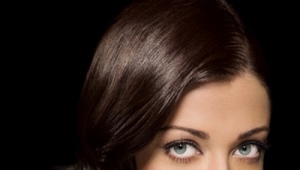
- Even tone of the face.
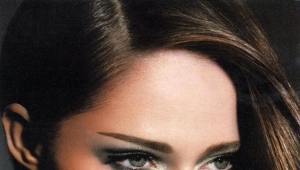
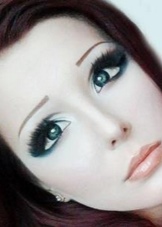
- Perfect brow shape.
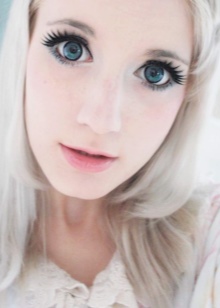
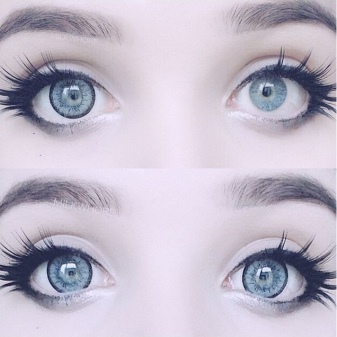
- Very thick and long eyelashes - both lower and upper.
- Puffy cheeks with an unnatural flush that may start from the lower border of the eye.
- Cute "doll mouth".
- The edge of the transition of the nose to the cheekbones is practically invisible, no shadows and contouring.
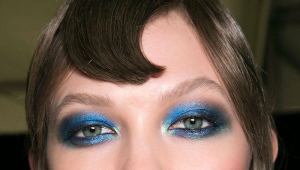
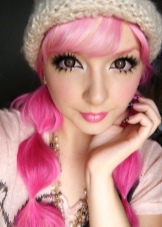
- Lots of glitter and sequins.
- Bright colors in all shades of the rainbow.
The modern look of the anime is becoming very close to the cartoon characters. Suits, wigs and colored lenses complete the look very well, but you can start with the face.

The wonders of Japanese makeup at home
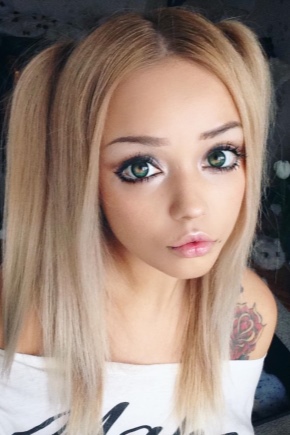
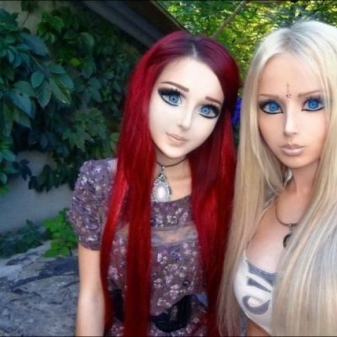
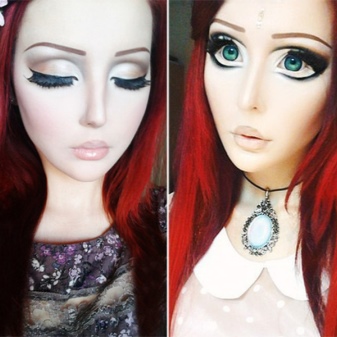
Of course, it is best to start your acquaintance with video tutorials. If you do not know who you can be inspired by, then here are two names of real masters of reincarnation - Valeria Lukyanova (Amatue) and Anastasia Shpagina. There are a huge number of images that came out from under their light hand - you will definitely have enough to be inspired.
Most likely, you will not succeed in makeup the first time (and not even the second). Stock up on patience, materials and micellar water to quickly fix smeared lines and extra strokes.
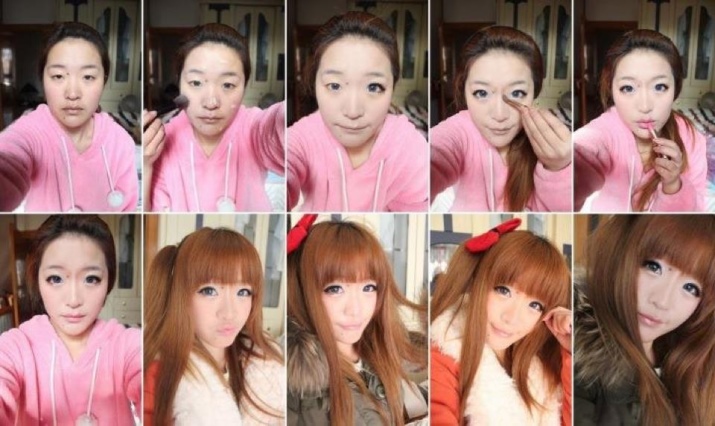
How to do?
Not everyone knows how to do all this yourself. It is worth disassembling the basic techniques in stages.
So, we turn into a geisha. Agree, the first thing that comes to mind when you hear about such an image is incredibly smooth white skin, like a porcelain doll. In the old days, Japanese women took several hours to create such beauty. Now the task is greatly simplified (thanks to the many decorative cosmetics).
It is recommended to proceed step by step. We base everything on white powder or the lightest shade of foundation that can be found. To create a very even surface, you will need to pre-apply a primer. Work this "primer" carefully so that the face really looks even, almost perfect.
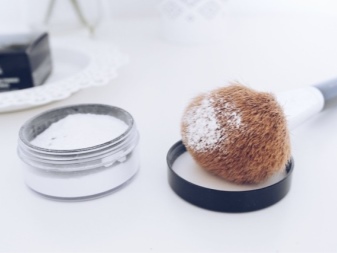
After covering with the base, you can proceed to white makeup.If you use the baking technique in everyday life, a powder designed to highlight certain areas will help you make up faster.
Do not forget to paint over not only the face, but also the neck. Most likely, it will be open to the eye, and the difference between the tones of the natural color and the painted zone will seem comical.
When the overall tone is completed, you can take up the eyebrows. Of course, they must be black as coals. Leave fashionable wide and angular eyebrows. The classic form of geisha makeup is much shorter and thicker. Eyebrows are drawn slightly rounded, without angular creases and clearly traced hairs. One solid thick line.
Having completed work on the eyebrows, you can move on to the eyes. The most important element is the contour line on the top of the eye. Pencil, eyeliner or shadow should be very black, and the line itself should be incredibly even and clear. You will have to draw with smooth movements, from the nose to the temples. The line should go to the thickening.
A similar story also occurs in the lower part of the eye, only the tone of the eyeliner should be a little lighter. When both lines are ready, connect the far corner of the eye in the manner of the Banana technique, achieving an Asian cut.
The final touch of this image will be the lips. Small, but bright - like a bow on the head of a young schoolgirl. The edges can be whitened and made to look like lips folded for a kiss. The color of lipstick varies from scarlet to pale pink.
If you previously used red shadows to further decorate your look, it would be logical to use this shade in the lip area.


Another additional color that can decorate the eyes is yellow. Warm tone can be added to the corner of the eye or over the black arrow on the upper eyelid.
Such traditional makeup is not very difficult to repeat. Some specific moments (for example, correction of the shape of the eyes) are easily transferred to the everyday look. The following types of Asian-inspired makeup are unlikely to be used in the ordinary life of a Russian woman, but it is very interesting to try to recreate them.
How to make big eyes with makeup?
The eyes are the mirrors of the soul. In the anime style, these mirrors are so large that you could find out the whole story through them. It is around the eyes that the beauty of the image is built, and it is worth starting with them.
You should decide with what minimum set of tools you can recreate such a cute and strange image. You will need:
- base under the eyes;
- white shadows;
- white eyeliner (preferably waterproof);
- taupe eyeliner (to create a shadow effect);
- black eyeliner;
- false eyelashes.
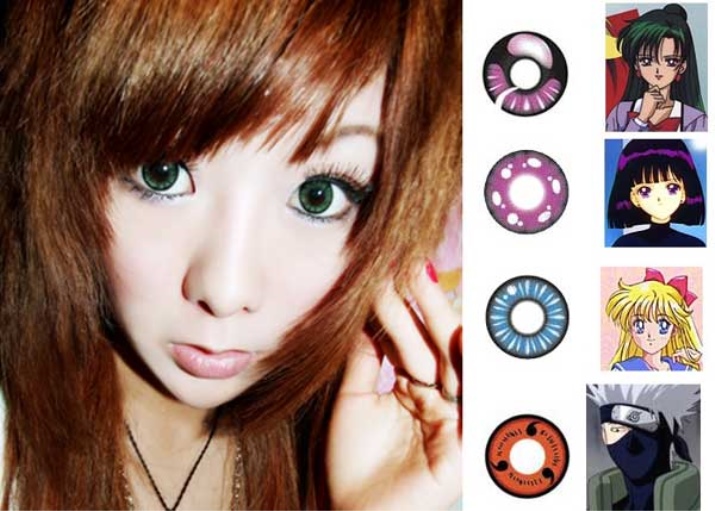
As additional "chips" for the image, you can use rhinestones, sparkles, any shades of shadows and colored lenses. If you want really big and unusual eyes, lenses are just what you need.
Tips
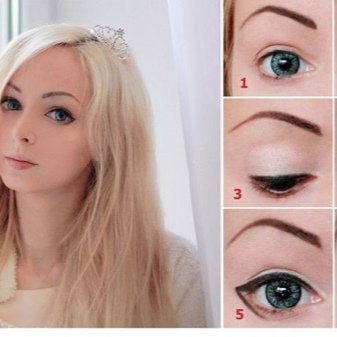
The first thing to do is apply primer to your eyes. It will allow the white pigment, which is very necessary for a deceptive visual effect, to appear in all its glory. Apply the primer not only on the upper eyelid, but also affect the area in which the so-called bags often form.
Then remember the Nike logo. Under the eye, you will need to draw with white shadows a shape resembling this checkmark. By drawing this outline, you designate the lower border of the drawn eye.
Also paint over the upper eyelid with white, capturing the area above your natural eyelid crease. White color should end almost at the very eyebrow.
Carefully draw the water line of the eye with a waterproof white pencil so that the water line and the check mark from the white shadows seem to be one.
Then put the white aside and take the black eyeliner. Draw a neat arrow from the middle of the eye that points down. Its bottom edge should follow the shape of the white checkmark drawn earlier. So you visually expand the boundaries of the eye.
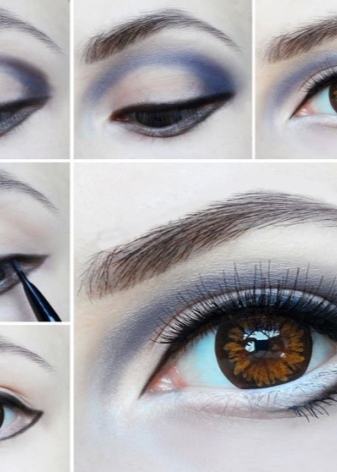
Once you're done with the bottom edge, move on to the top. Now that you have a path outlining the recreated eye sockets, you can draw a nice upward arrow. Start drawing from the bridge of your nose. Carefully pull the corner up, make the arrow thick enough. You will have to paint in several layers. It will be possible to correct irregularities with the help of the same white waterproof pencil or foundation. It is better to use a brush for this, not fingers. Having created a beautiful wave, proceed to drawing additional highlights and contours.
In the place where the superciliary bone protrudes the most, draw a straight line. To begin with, this can be done with the pencil that you left to create shadows, but then it will need to be touched up with eyeliner. Fill the space between the black arrow and this line tightly with white. Parallel to the first line, draw another one, a little closer to the nose, and you need to make it so that it repeats the curve of your eyebrow a little more.
Once you've drawn the two lines in black, start adding the shadow. Take a taupe pencil and start with the very bottom line that forms the drawn eye.
Completely duplicate the silhouette with a pencil - just below the black outline. Perform similar actions with respect to the two drawn stripes on the eyebrows.
Important: if the shadow is drawn from the inside of the upper strip, then it is drawn from the outside of the line following it.
Then paint over the corner of the eye, located closer to the nose, with a brown pencil. Start a little from the inside and bring the little arrow out. Then use black eyeliner again: draw a small triangle on the very edge of the water line.
Then the matter remains only for false eyelashes. You can leave the top row as your own, just cover the hairs with mascara for thickness and color. But on the line below you will need to stick a number of artificial ones. The technology is the same as always, only the attachment point changes.
To make doll lips, you can use two colors of lipstick - a light and a darker shade. It is better to apply lipstick with your fingers, so the color will be very soft. Fill the main contour with a light shade, and apply a dark spot in the middle of the lips. With your fingers, gently blend the transition so that you get an ombre. Do not draw the triangles of the lips - on the contrary, try to round the top. This will make your lips look plumper.
Here are some tips for the most common anime style looks:
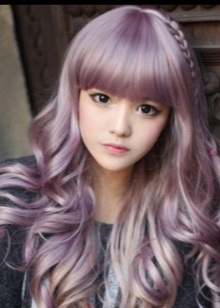
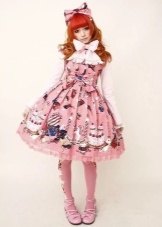
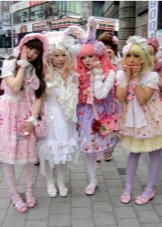
- Lolita image. In Japan, this is a whole cult. Lovely girls in cake-like dresses, invariably big eyes and lots of pastel colors.
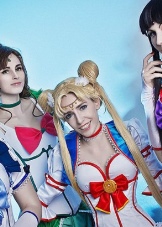
- Warriors in sailor suits. It is unlikely that someone does not remember this famous cartoon. Make your childhood dream come true!
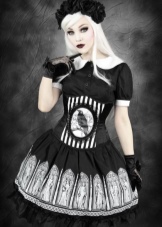
- Gothic Lolita. Dark sad angel in the form of a little girl. It's so mysterious, innocent and very sad at the same time.
- Harajuku style. In short, it can be described as "all at once." Teenagers in Japan like to put on ten layers of clothing, piles of hairpins, badges, overhead strands.They paint their faces with colored freckles and just blots of paint.
No one will forbid you to come up with your own unique image. It can include the features of different characters or completely copy the look of one. This style of make-up was created with one purpose - to entertain and bring a kind smile (both to the subject himself and to those around him). Change is great. You can return to your usual European look with a couple of movements with a sponge thoroughly moistened with micellar water.
In this video, a beauty blogger transforms into a cartoon character with makeup.