Headphone bracelet
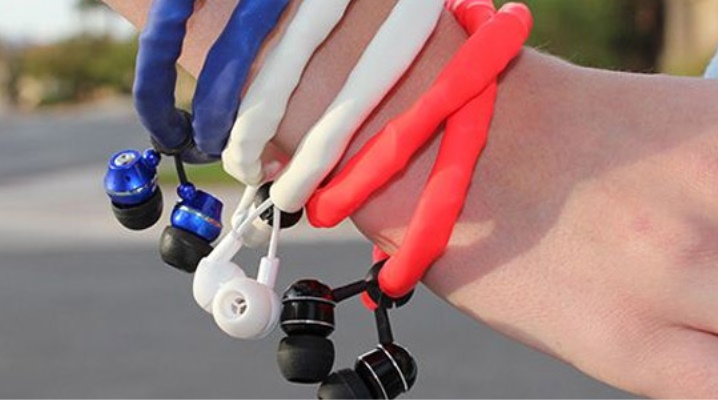
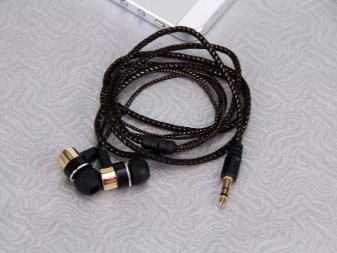
If in the 90s and 2000s, teenagers were really fond of weaving baubles (bracelets) from beads and floss, now not only specialized tools for jewelry are used, but everything that comes to hand. One of the fashion trends was the weaving of bracelets from old headphones. Why from headphones? There are explanations for this:
- teenagers are very fond of listening to music that reflects their inner state, torment and search. Therefore, a bracelet made of headphones is a kind of symbol of freedom;
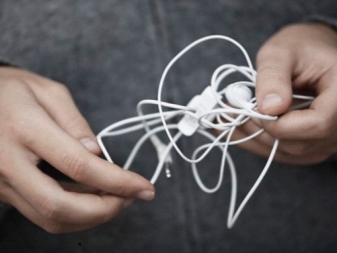
- since teenagers love to listen to music, but do not have enough money for good headphones, they quickly accumulate a ball of broken wires. Such material is simply created in order to create something beautiful and rebellious;
- some teenagers switch to an MP3 player with wireless headphones and the old wires are no longer needed.
Weaving options
There are several possible options for composing jewelry from broken headphones: weaving from stripped wires, weaving with knots and weaving in the style of macrame.
The most effective and easiest way is macrame weaving. Bracelets in this technique are very beautiful, neat and original.
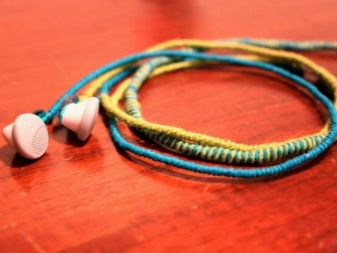
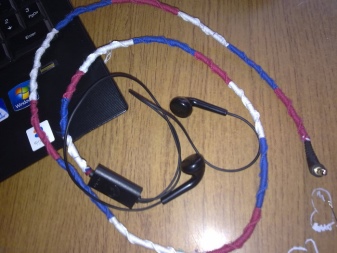
Making bracelets from wires without braid requires additional tools: for example, a soldering iron. Knotted headphone bracelets are the simplest jewelry.This technique is available even to a primary school student. But the appearance of such decoration is far from neat.
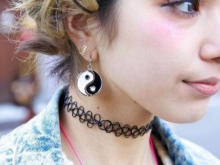
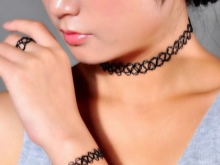
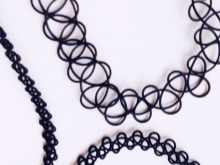
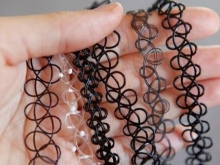
Separately, it is worth highlighting the bracelet around the neck - a choker, which is very popular with girls. If the purchased jewelry is made only in black, then using cords, you can create a variety of color combinations.
Macrame
A great way to make a beautiful headphone bracelet is a flat macramé knot, which is woven on a pencil.
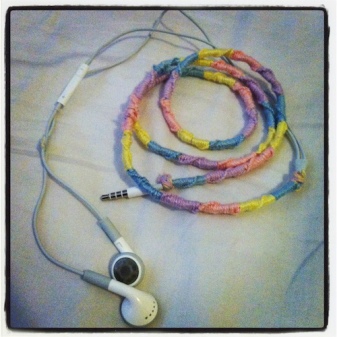
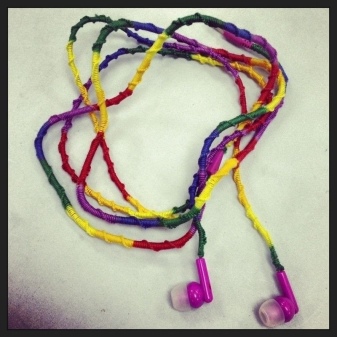
Bracelet making technique:
- Two loops are attached to the pencil (two sets are required) from the headphones so that 4 cords of the same length are formed. It is easier to call them numbers from 1 to 4 from left to right, so as not to get confused.
- The rightmost wire of the 4th number is taken and thrown over the number 2 and 3, the leftmost one passes over the fourth, falls under the second and third and goes into the loop of the fourth. Now the first number becomes the fourth and the same manipulations are performed with it. The resulting knot is tightened.
- Now the process is repeated on the other side in mirror image. Thus, the entire bracelet of the desired length is made.
You can see how to make a macrame headphone bracelet in the following video:
knots
This bracelet will require two earphones with a round cord, or one pair with a flat double wire that can be broken by pulling on the ends. Initially, you need to cut off the headphones themselves and attach the two ends with tape to the edge of the table, fixing them securely. If the cord is double, then just do not cut off the plug, but attach it to the table, so it will be easier to work.
Weaving begins with tying the first knot, which stretches to the end of the fixed edges. After that, a second knot is tied and stretched to the first.You need to pull the knots one to another tightly and evenly so that the bracelet is neat.
You can see how a nodal bracelet is made from headphones in the following video:
A variant is the knotted weave, in which the earmuffs serve as a clasp. To do this, a knot is tied on the wires a couple of centimeters from the headphones. Further, the knots are adjusted one to another, forming a rigid bracelet. As soon as the bracelet of the desired length is ready, a loop is formed at its end, into which the clasp earphones are dragged.
From copper wires without braid
It is necessary to remove the braid from the wire without cutting the plug. This will keep the wires from falling apart.
Weave a pigtail of four wires along the entire length of the cord. We divide the resulting pigtail into segments that correspond to the size of the girth of the wrist. We solder these segments with a soldering iron from both ends to get a lot of braids in the bracelet. Metal tubes from lock fittings, sold in any needlework store, are put on the ends.

The disadvantage of such decoration is not only the need for the ability to solder, but also the fact that the bracelet can stain the skin.
choker
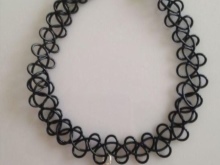
The choker has a kind of weaving that allows the bracelet to stretch to the size of the head and shrink to the size of the neck, without squeezing it. The decoration woven in this style looks spectacular and is very easy to perform.
For a choker, it is better to choose headphones with a round section, because the flat ones will not fit into the desired shape of the knot. In addition, the wires on the headphones must be doubled so that they can be divided into two thin ones. For this decoration, the wire with the headset is not suitable, because it will have to be cut off and in this case the length of the wire will not be enough.
Making a choker bracelet - in the following video:
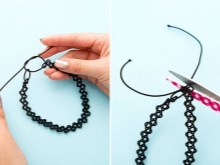
Prepared wires are fastened with a paper clip. The right wire circles the left one in front and is pulled back over the loop formed. The same thing is done with the left wire - it is circled in front around the right one and pulled over the girth. Thus, both wires are alternately woven to a chain of the desired length.
There are several ways to fix the ends with each other: using ordinary knots, using a braided copper wire, and using a microphone box.
In the first case, firmly fasten the cords with knots and cut them as close to the knot as possible. In the second case, you will have to remove the braid from the cord, twist the wires together. Ideal if you fill them with hot glue so as not to prick the skin of the neck. For the third option, you will need to open the microphone box, remove the wires from there and insert the ends of the choker in their place. Then close the box.
with wire
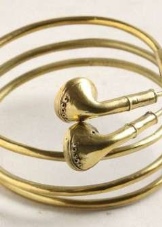
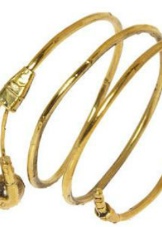
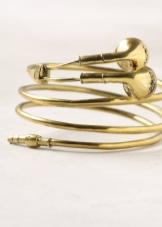
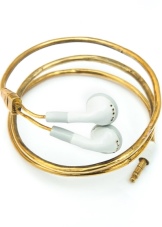
If you want something completely original, then it is possible that a strong wire of the required length is inserted into the headphone cord. Then a spring of several curls is formed from the wire. The bracelet painted with gold or silver acrylic looks impressive. In order for the headphones themselves not to hang on the wrist, they can be fixed in the desired position with hot glue.
