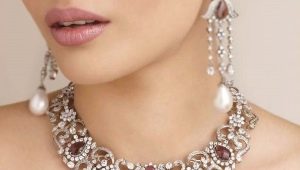
Leather jewelry
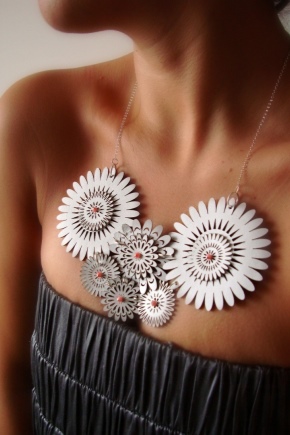
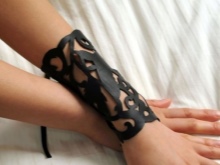
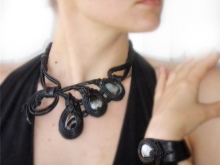
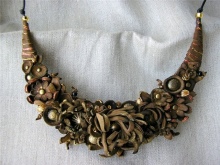
Leather jewelry is now very popular and designers like to work with this material. Girls often make such jewelry with their own hands. It is really pleasant to work with leather: it is easy to cut and model.

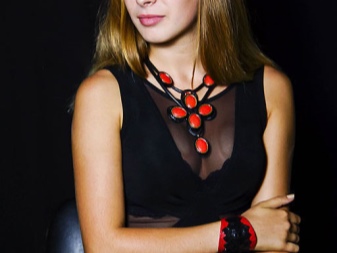
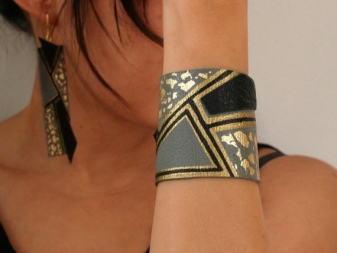
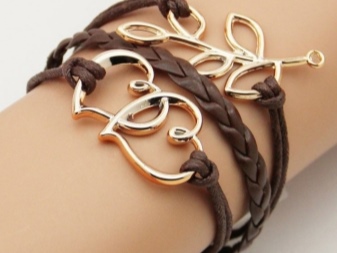
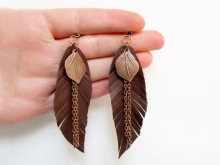
Material combination options
Leather jewelry can be complemented with other natural materials. This way you will create a coherent and interesting composition. The main examples of a successful combination:
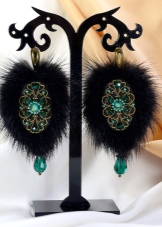
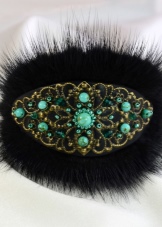
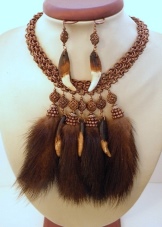
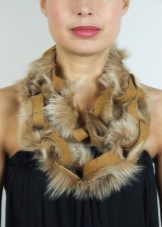
- Leather and fur products. You have often noticed such a neighborhood of materials in clothes, now it is possible in jewelry. This combination is suitable for making elastic bands and hair bands, extravagant earrings and necklaces.
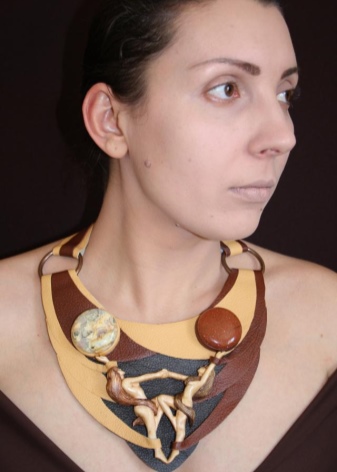
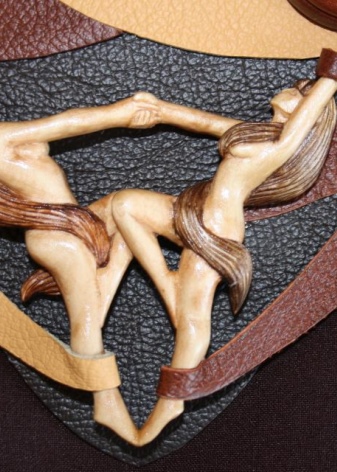
- Leather and wood products. These are frequent neighbors in neck jewelry. Leather figurines are intertwined with wooden beads and create an interesting ensemble. Such an exclusive necklace will set you apart from the gray masses.
.
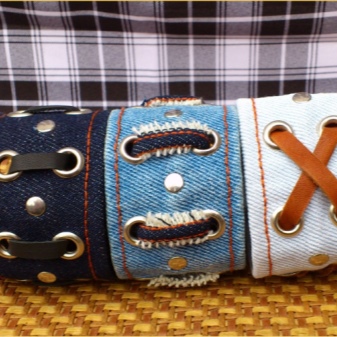
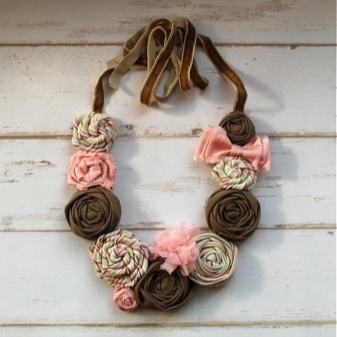
- Leather and fabric products. Interesting friendship bracelets, neck and hair ornaments are created from leather laces and fabric strips.
Selection Tips
It is extremely easy to distinguish quality material from other garbage. Basic Rules:
- Read the inscription on the label. Written should not be believed for sure, but this is the first step.
- Suspiciously low price suggests that the quality of the skin is much lower than stated.
- The skin always has a noticeable weight. And the substitute is lighter than the fabric.
- The smell of the skin is significantly different from the fake. The latter gives chemistry and vinyl.
- Quality material always has a rough surface on both sides. Leatherette, as a rule, has a sliding surface and a fabric lining.
- The plasticity of real leather is different from artificial material. In the first case, the color at the fold will change, but there will be no trace. In the case of a substitute, the opposite is true.
- Genuine leather absorbs water, dermantin lacks such an ability. Swipe over the material with a wet finger and evaluate the result.
- If possible, test the material with fire. Genuine leather will not catch fire from a match, a fake will flare up and begin to emit an extremely unpleasant odor.
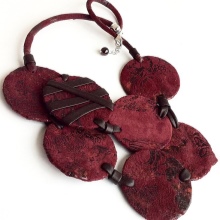
DIY manufacturing
curls
Making curls from leather is used to create earrings, pendants, decor for bracelets, headbands and hair ties. Such products are applicable as a separate accessory or decorative addition. Necessary materials:
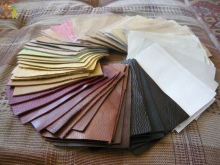
- shreds of soft leather up to 1 mm thick;
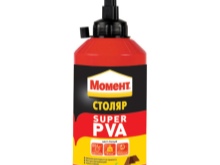
- building glue PVA Moment;
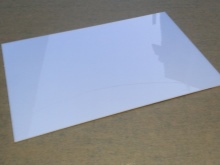
- plexiglass or plastic as a work surface.
Manufacturing:
- Long shreds need to be twisted into bundles. With a neat strip or dots, apply glue close to the cut and distribute with an awl. We turn the strip about 0.5 cm and press it with a soft cloth for better bonding and removal of excess glue. We push the entire length and cut with sharp scissors. The harness is ready!
- We do the first stage so many times to get the right number of harnesses.
- We wrap the tourniquet (or several) with a small piece of evidence and drip glue into the middle. Now you need to press the workpiece to the plexiglass and wait until the glue grabs.
- Further twisting is done on the surface.To do this, make a strip of glue around the workpiece. At the moment of the turn, we grab the glue with a cut. Thus, the material will be fixed to each other, and there will be no glue contamination on the outside.
- Wrapping can be done with one bundle or several (up to 3). If the band is over, then it needs to be increased. To do this, grease the side of the tourniquet with glue and hold for a while.
- Leave the product overnight so that the skin adheres well. The next day, we separate the workpiece from the work surface with a ruler or something similar.
- Flip the product over to the wrong side and drip glue into the central part. Spread it over the entire surface and leave for another day.
- Decorate the back as follows: glue a solid piece of leather of the desired size to the wrong side.
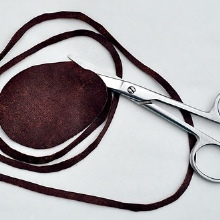
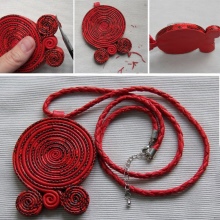
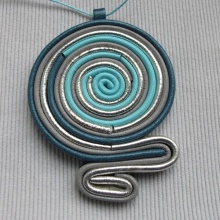
Further manipulations depend on the type of decoration. If you created a pendant, now glue a loop between the curl and the back. If it's a brooch, fasten the pin.
Flowers
List of materials:
- leather;
- waxed threads;
- PVA glue Moment;
- sewing needle;
- decor materials: rhinestones, beads, buttons, etc.
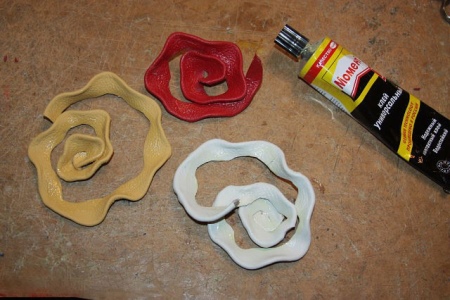
Manufacturing:
- Make stencils out of durable paper for the petals. Draw stencil petals on the skin and cut out with nail scissors. Make the required amount.
- Repeat the first step for the petals of the inner row. Make a smaller stencil.
- Glue the lower part of the petals from the wrong side with glue, apply glue closer to the middle. Now you can create a three-dimensional relief of the leaf.
- Glue the pieces together.
- When the glue has taken, but has not yet dried, it's time to use a needle and thread. Make a couple of through stitches for a more secure fit.


